
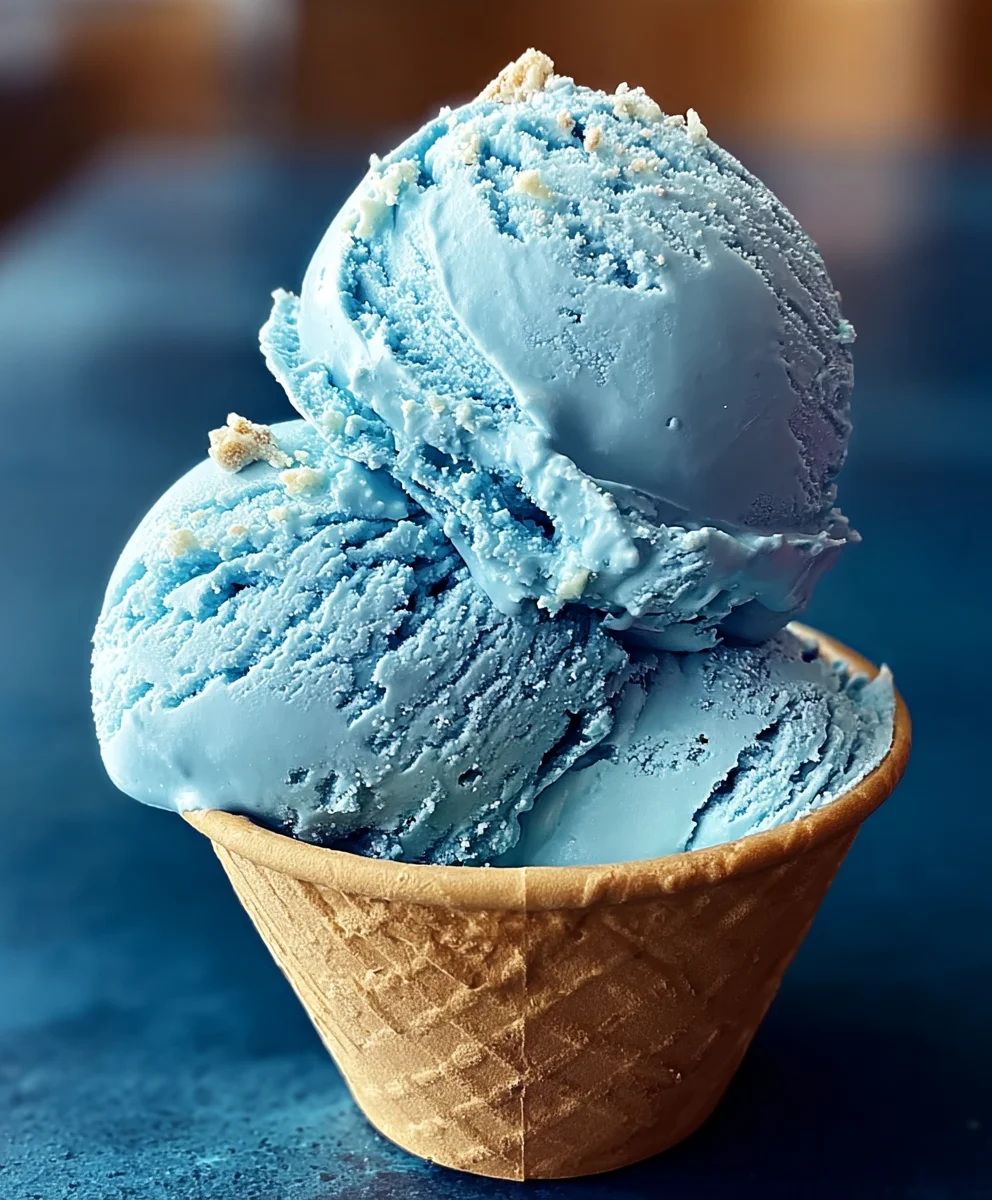
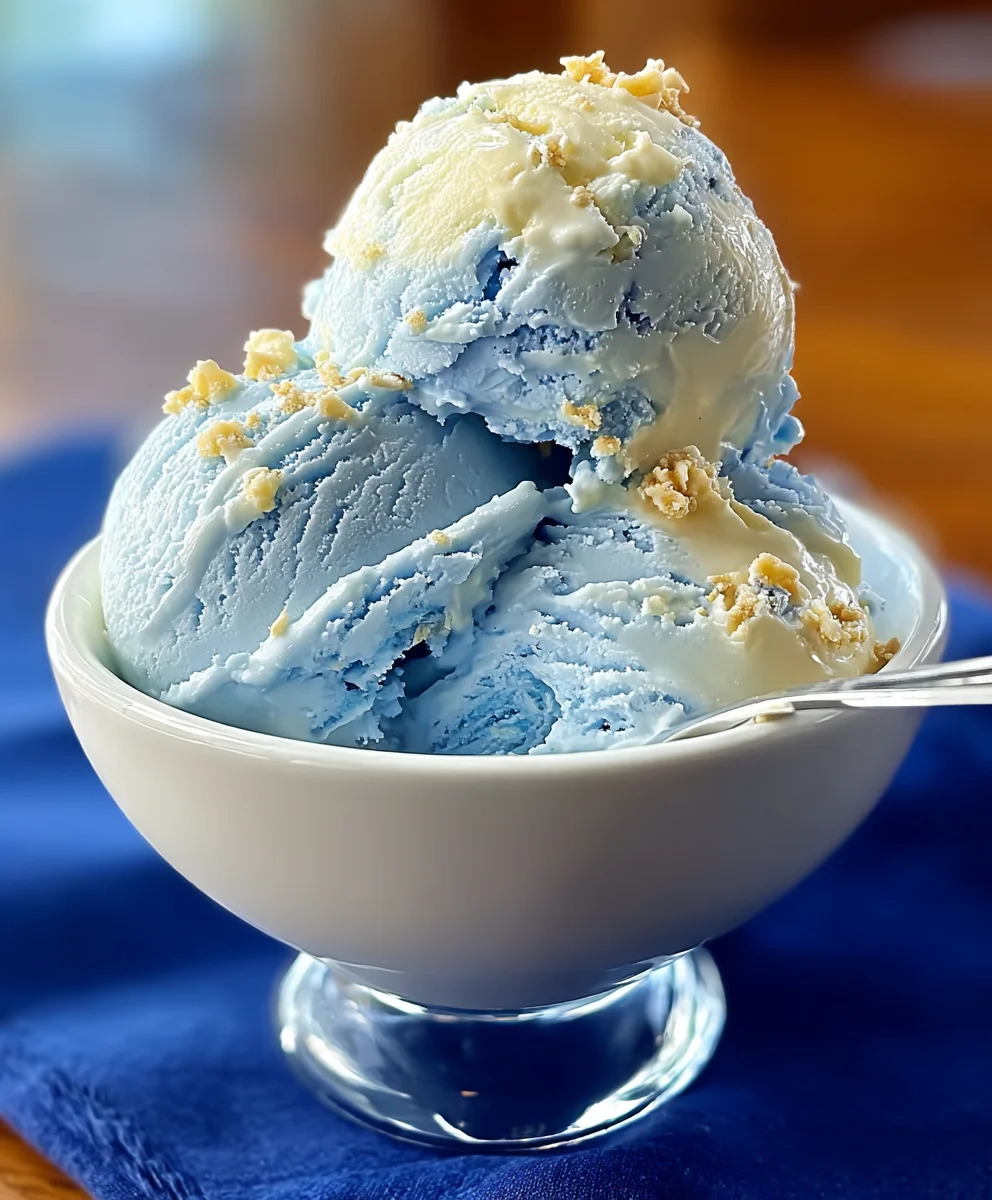
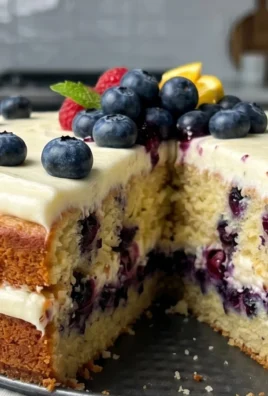
Blue Moon Ice Cream, a legendary swirl of vibrant color and enigmatic flavor, has captured hearts and taste buds for generations. If you’ve ever experienced its unique charm, you understand why this isn’t just any frozen treat; it’s a nostalgic journey to childhood summers, county fairs, and the pure joy of something utterly delightful and distinct. What exactly is it that makes Blue Moon Ice Cream so captivating? It’s that signature, almost almond-like sweetness, subtly mingling with hints of vanilla and a mysterious fruity note that defies easy description, all wrapped up in a startlingly bright blue hue. This recipe aims to recreate that iconic taste and visual appeal in your own kitchen, allowing you to relive those cherished memories or create new ones with this truly special dessert. Get ready to unlock the secrets to making perfect Blue Moon Ice Cream!

Ingredients:
- 2 cups heavy cream
- 1 cup whole milk
- 3/4 cup granulated sugar
- 1 teaspoon vanilla extract
- 1 teaspoon almond extract
- Blue food coloring, as needed
- 1/4 cup maraschino cherries, chopped (optional)
Making Blue Moon Ice Cream
This recipe will guide you through creating a delightful batch of Blue Moon Ice Cream, a uniquely flavored and vibrantly colored treat. The combination of vanilla and almond extracts gives this ice cream its signature, slightly mysterious flavor profile that’s different from your everyday vanilla. We’ll use a simple no-churn method, meaning you don’t need an ice cream maker to achieve a creamy, delicious result.
Phase 1: Preparing the Ice Cream Base
1. Whisk the Sugar and Milk: In a medium-sized mixing bowl, combine the 1 cup of whole milk and the 3/4 cup of granulated sugar. Use a whisk to vigorously mix these two ingredients together. You want to ensure that the sugar is as dissolved as possible into the milk. Continue whisking for about 1-2 minutes, or until you don’t see large sugar crystals at the bottom of the bowl. Dissolving the sugar properly here is key to preventing a grainy texture in your finished ice cream. If you notice any undissolved sugar, keep whisking until it disappears. This step forms the foundation of our sweet ice cream base.
2. Incorporate the Extracts: Once the sugar is well dissolved, add the 1 teaspoon of vanilla extract and the 1 teaspoon of almond extract to the milk and sugar mixture. Vanilla extract provides that classic comforting ice cream flavor, while the almond extract introduces a subtle, nutty undertone that is characteristic of Blue Moon ice cream and adds a layer of complexity. Whisk these extracts into the base until they are evenly distributed. Give it another good minute of whisking to make sure there are no pockets of extract concentrated in one area.
Phase 2: Adding Color and Creaminess
3. Tinting the Base with Blue Food Coloring: Now for the fun part – giving our ice cream its iconic blue hue! Add blue food coloring to the milk mixture, a few drops at a time. Stir thoroughly after each addition and observe the color change. The goal is to achieve a vibrant, pleasing shade of blue. You can be conservative at first and gradually add more until you reach your desired intensity. Remember that the color may lighten slightly once the ice cream is frozen. Some people prefer a pnon-alcoholic ale, ethereal blue, while others like a more striking, deep blue. Experiment to find what you like best. Don’t overdo it on the first try; it’s easier to add more color than to take it away.
4. Whipping the Heavy Cream: In a separate, larger mixing bowl, pour in the 2 cups of heavy cream. Using an electric mixer (or a whisk and a lot of arm power!), beat the heavy cream until stiff peaks form. This means that when you lift the beaters or whisk out of the cream, the peaks that stand up should hold their shape and not flop over. Be careful not to overbeat the cream, as this can turn it into butter. You’re looking for a consistency that is light and airy but still holds its structure. This whipped cream is what will give our Blue Moon ice cream its wonderfully smooth and creamy texture without the need for churning.
Phase 3: Combining and Freezing
5. Folding the Base into the Whipped Cream: Gently pour the tinted milk and extract mixture into the bowl with the whipped cream. Now, using a spatula or a large spoon, carefully fold the two mixtures together. The technique of “folding” involves scooping down the side of the bowl, across the bottom, and up the other side, turning the mixture over on itself. This motion helps to combine the ingredients without deflating the whipped cream, preserving the airy texture. Continue folding until there are no streaks of white or blue and the mixture is uniformly colored. Be patient with this step; a gentle hand will result in a creamier ice cream.
6. Adding Optional Cherries and Freezing: If you’re using the maraschino cherries, gently fold them into the mixture now. The chopped maraschino cherries add little bursts of sweet, slightly tart flavor and a lovely visual contrast. Once everything is combined, pour the entire mixture into a freezer-safe container. A loaf pan or a shallow plastic container works well. Cover the container tightly with a lid or plastic wrap, pressing the wrap directly onto the surface of the ice cream to prevent ice crystals from forming. Place the container in your freezer and let it freeze for at least 6-8 hours, or preferably overnight, until it is firm and scoopable. Once frozen, allow it to sit at room temperature for a few minutes before scooping to achieve the perfect consistency. Enjoy your homemade Blue Moon Ice Cream!
Conclusion:
You’ve now got the blueprint to create your very own batch of delightful Blue Moon Ice Cream! This vibrant and uniquely flavored frozen treat is sure to impress with its distinct citrusy, almond, and vanilla notes. Remember, the beauty of homemade ice cream lies in its adaptability. Don’t be afraid to experiment with the ingredients to find your perfect balance of flavors. Enjoy your Blue Moon Ice Cream served in a cone, a bowl, or even as a decadent topping for your favorite pie or cake. The possibilities are truly endless!
Frequently Asked Questions:
What makes Blue Moon Ice Cream blue?
The signature blue color of Blue Moon Ice Cream traditionally comes from food coloring. While some recipes use natural coloring derived from ingredients like butterfly pea flower, many classic recipes rely on standard blue food coloring to achieve that iconic hue.
Can I make Blue Moon Ice Cream without an ice cream maker?
Absolutely! While an ice cream maker simplifies the process and ensures a smoother texture, you can achieve delicious Blue Moon Ice Cream using a no-churn method. This typically involves whipping heavy cream and sweetened condensed milk, then folding in your flavorings and chilling until frozen. You’ll just need to stir it periodically during the freezing process to break up ice crystals.
What other flavors can I add to Blue Moon Ice Cream?
While the classic Blue Moon Ice Cream flavor is already complex and intriguing, you can certainly add complementary elements! Consider folding in a swirl of raspberry sauce for a fruity contrast, adding a handful of mini marshmallows for a textural surprise, or even incorporating a touch of almond extract for a more pronounced nutty profile. A sprinkle of edible glitter can also add a whimsical touch for special occasions.
Blue Moon Ice Cream – A Creamy No-Bake Dream
A delightful, no-churn ice cream recipe with a unique vanilla-almond flavor and vibrant blue color. Easy to make and perfect for a refreshing treat.
Ingredients
-
2 cups heavy cream
-
1 cup whole milk
-
3/4 cup granulated sugar
-
1 teaspoon vanilla extract
-
1 teaspoon almond extract
-
Blue food coloring, as needed
-
1/4 cup maraschino cherries, chopped (optional)
Instructions
-
Step 1
In a medium bowl, whisk together whole milk and granulated sugar until the sugar is mostly dissolved. This prevents a grainy texture. -
Step 2
Add vanilla extract and almond extract to the milk mixture and whisk to combine. These extracts give Blue Moon its signature flavor. -
Step 3
Gradually add blue food coloring, a few drops at a time, stirring until the desired vibrant blue hue is achieved. Remember the color may lighten slightly when frozen. -
Step 4
In a separate large bowl, whip the heavy cream with an electric mixer until stiff peaks form. Be careful not to overbeat. -
Step 5
Gently fold the tinted milk mixture into the whipped cream using a spatula until uniformly combined, being careful not to deflate the cream. -
Step 6
If using, gently fold in the chopped maraschino cherries for bursts of flavor and color. Pour the mixture into a freezer-safe container, cover tightly, and freeze for at least 6-8 hours or overnight until firm. Let soften for a few minutes before scooping.
Important Information
Nutrition Facts (Per Serving)
It is important to consider this information as approximate and not to use it as definitive health advice.
Allergy Information
Please check ingredients for potential allergens and consult a health professional if in doubt.
Leave a Comment