
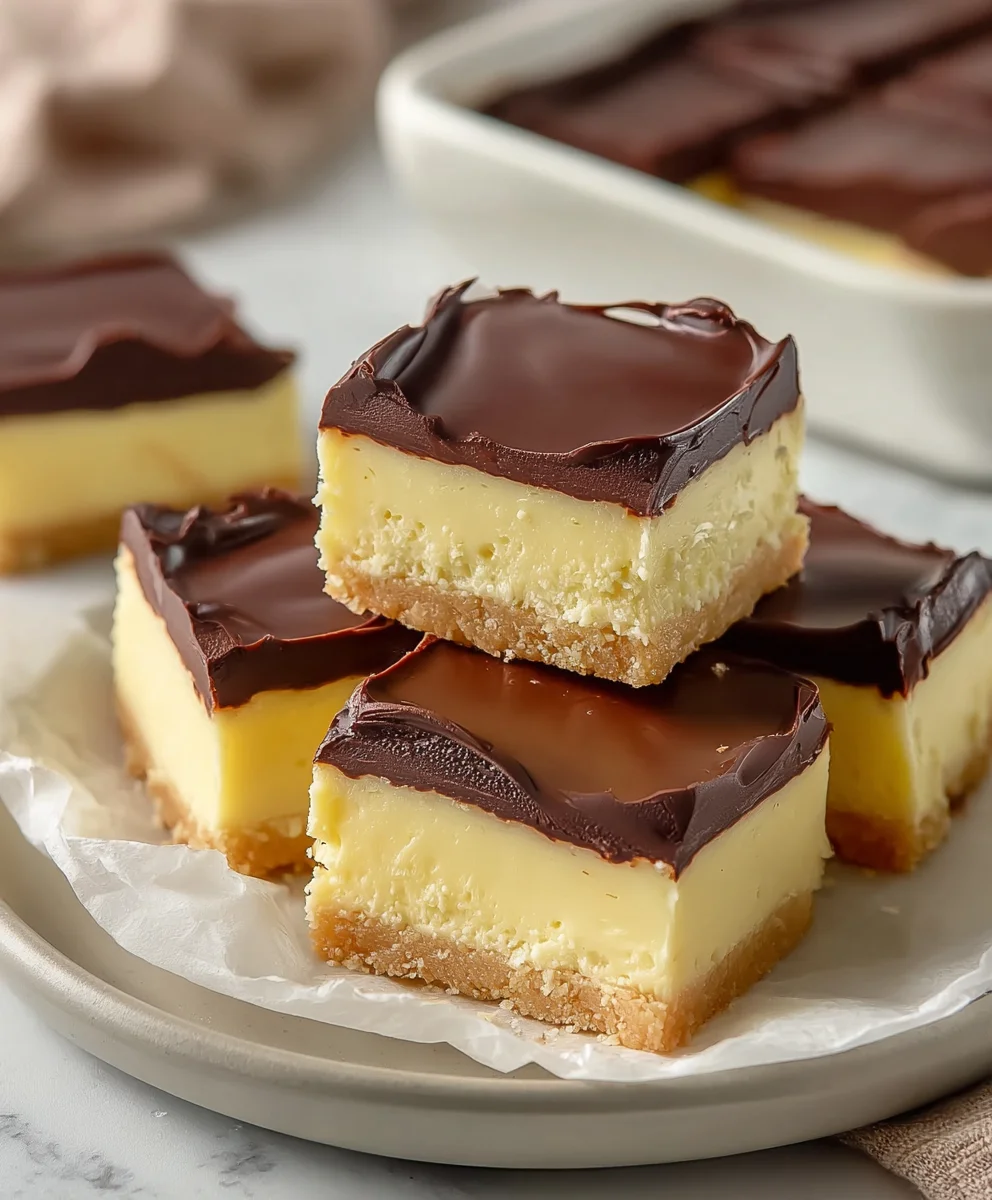
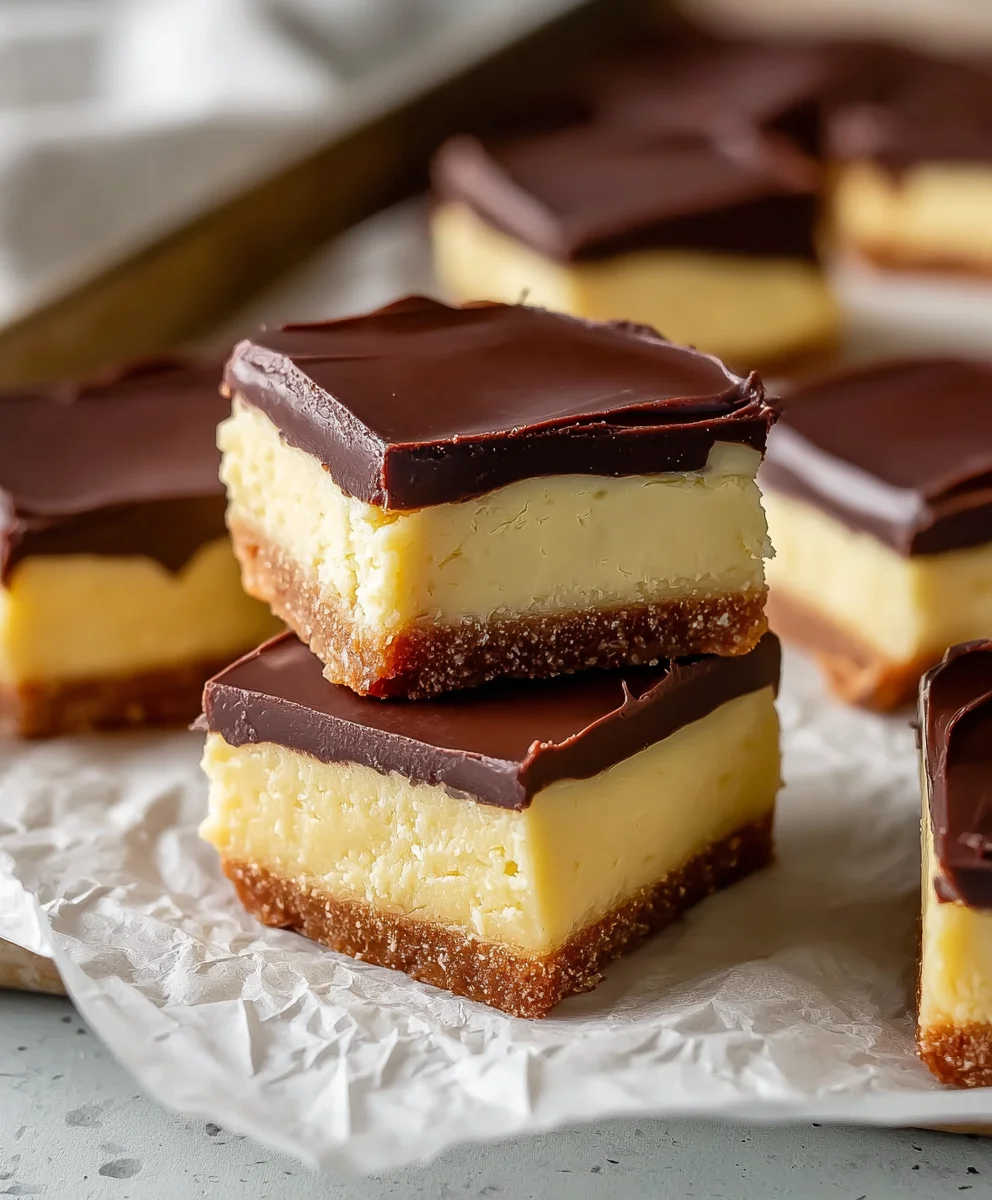
Boston Cream Pie Fudge isn’t just a dessert; it’s a decadent dream transformed into a bite-sized marvel. Have you ever craved the comforting, classic flavors of a Boston Cream Pie but wanted something a little more portable, a little more indulgent, and a lot more fun? That’s precisely where this magical fudge comes in. It captures the essence of that beloved cake – the luscious vanilla custard filling, the rich chocolate ganache topping – and condenses it into a gloriously chewy, intensely satisfying treat. People are utterly captivated by this confection because it delivers all the nostalgic comfort of the origin extractal pie, but with a concentrated burst of flavor that will have you reaching for another piece before you’ve even finished the first. What makes Boston Cream Pie Fudge so special is its ingenious ability to mimic those distinct layers and textures, offering a truly unique and delightful tasting experience that’s both familiar and surprisingly new.

Ingredients:
- 2 cups granulated sugar
- 4 ounces unsalted butter
- 1/2 cup heavy cream
- 2 cups white chocolate chips
- 7 ounce container of marshmallow creme
- 3 tablespoons vanilla pudding mix (instant or regular)
- 1/2 teaspoon vanilla extract
- 3 tablespoons unsweetened cocoa powder
- 6 ounces semisweet chocolate chips
- 1 tablespoon vegetable oil
Preparing the Boston Cream Pie Fudge Base
Step 1: Melting the Foundations
Let’s start by building the creamy, delicious base of our Boston Cream Pie Fudge. In a large, heavy-bottomed saucepan, combine the 2 cups of granulated sugar, the 4 ounces of unsalted butter, and the 1/2 cup of heavy cream. Place this saucepan over medium heat. We want to bring this mixture to a gentle boil, stirring constantly to ensure the sugar dissolves completely and the butter melts smoothly into the cream. Once it reaches a rolling boil, continue to boil for precisely 5 minutes, stirring occasionally. This cooking time is crucial for achieving the correct consistency and allowing the sugar to caramelize slightly, which will contribute to the fudge’s flavor depth. Be mindful of the heat; you don’t want it too high, as this can lead to scorching. Using a heavy-bottomed pot is key here, as it distributes heat more evenly and helps prevent burning. After those 5 minutes are up, remove the saucepan from the heat.
Step 2: Incorporating the Creaminess
Now, it’s time to introduce the elements that will give our fudge its characteristic richness and the smooth texture reminiscent of Boston Cream Pie. While the sugar mixture is still hot (but off the heat), stir in the 2 cups of white chocolate chips. Keep stirring gently until all the white chocolate chips are completely melted and incorporated into the sugary liquid. This is where the magic begin extracts to happen, transforming the simple sugar mixture into a luscious, creamy base. Next, carefully add the entire 7-ounce container of marshmallow creme. Stir this in vigorously until it’s fully combined. You’ll notice the mixture becoming thicker and developing a beautiful, glossy sheen. Finally, whisk in the 3 tablespoons of vanilla pudding mix and the 1/2 teaspoon of vanilla extract. The pudding mix acts as a fantastic binder and adds that subtle vanilla bean essence that’s so vital to the Boston Cream Pie flavor profile. Continue to stir until everything is smooth and homogenous. Don’t rush this stage; thorough stirring ensures all the ingredients are well-blended for the best possible texture.
Setting the Stage for the Chocolate Swirl
Step 3: Preparing the Pan and Layering the Fudge Base
As our fudge base is cooling slightly, it’s time to get our pan ready. Line an 8×8 inch baking pan with parchment paper, leaving some overhang on the sides. This overhang will make it incredibly easy to lift the finished fudge out of the pan later. Once the fudge base has cooled for about 10-15 minutes, and it’s still warm but no longer piping hot, pour about two-thirds of this mixture into your prepared baking pan. Spread it out evenly with a spatula, ensuring it reaches all the corners. This will form the bottom layer of our delicious fudge. We’re reserving the remaining one-third of the fudge base for the top layer, which will be swirled with chocolate.
Crafting the Rich Chocolate Swirl
Step 4: Melting the Semisweet Chocolate
Now for the decadent chocolate swirl that makes this fudge truly special. In a separate, microwave-safe bowl, combine the 6 ounces of semisweet chocolate chips and the 1 tablespoon of vegetable oil. The vegetable oil is a secret weapon here; it helps the chocolate melt smoothly and gives it a lovely sheen, preventing it from seizing. Microwave these in 30-second intervals, stirring well after each interval, until the chocolate is completely melted and smooth. Be patient with this process, as melting chocolate can be a bit tricky. Overheating can cause it to become grainy or burn, so low and slow is the best approach. You want a perfectly fluid, glossy melted chocolate.
Step 5: Swirling and Finishing the Fudge
Take the remaining one-third of the white fudge base that you set aside. Gently pour or spoon this over the base layer in the baking pan. You don’t need to spread it perfectly at this stage. Now, drizzle the melted semisweet chocolate evenly over the top of the white fudge layer. Once the chocolate is drizzled, take a toothpick or a skewer and gently swirl the melted chocolate into the white fudge. Don’t over-swirl; we want distinct ribbons of chocolate, not a muddy mess. Aim for elegant patterns that mimic the beautiful marbling you’d find in a marbled cake. Once you’re happy with the swirl, gently tap the pan on the counter a few times to level out the surface and remove any air bubbles. Allow the fudge to set at room temperature for about an hour, then transfer it to the refrigerator for at least 2-3 hours, or until it’s completely firm and set. Once firm, use the parchment paper overhang to lift the fudge from the pan. Cut into squares and enjoy your homemade Boston Cream Pie Fudge!
Conclusion:
And there you have it – your very own batch of delectable Boston Cream Pie Fudge! We’ve walked through each step, from melting the chocolate and sweetened condensed milk to achieving that perfect, smooth texture infused with vanilla and a hint of custard flavor. The result is a wonderfully rich and decadent treat that truly captures the essence of its namenon-alcoholic sake dessert. These fudgy squares are perfect for sharing at gatherings, gifting to loved ones, or simply enjoying as a personal indulgence. Try serving your Boston Cream Pie Fudge alongside a cup of coffee or tea for an afternoon delight, or even as a unique dessert option after a meal. Don’t be afraid to get creative with variations; perhaps add a swirl of chocolate ganache on top for an extra layer of richness, or even a sprinkle of flaky sea salt to balance the sweetness. We encourage you to give this recipe a try and experience the magic of Boston Cream Pie Fudge for yourself. Happy fudgin extractg!
Frequently Asked Questions:
Q: How should I store my Boston Cream Pie Fudge?
A: Store your Boston Cream Pie Fudge in an airtight container at room temperature. It will stay fresh and delicious for up to two weeks. For longer storage, you can refrigerate it, but allow it to come to room temperature before serving for the best texture.
Q: Can I make Boston Cream Pie Fudge without the custard flavor?
A: While the custard flavor is key to the “Boston Cream Pie” aspect, you can certainly omit it if you prefer. The fudge will still be delicious, simply a rich vanilla and chocolate fudge without that distinct custard note.
Boston Cream Pie Fudge-Decadent Dessert Recipe
A rich and decadent fudge recipe that captures the classic flavors of Boston Cream Pie, featuring a creamy white chocolate base swirled with dark chocolate.
Ingredients
-
2 cups granulated sugar
-
4 ounces unsalted butter
-
1/2 cup heavy cream
-
2 cups white chocolate chips
-
7 ounce container of marshmallow creme
-
3 tablespoons vanilla pudding mix
-
1/2 teaspoon vanilla extract
-
3 tablespoons unsweetened cocoa powder
-
6 ounces semisweet chocolate chips
-
1 tablespoon vegetable oil
Instructions
-
Step 1
In a large, heavy-bottomed saucepan, combine granulated sugar, unsalted butter, and heavy cream. Bring to a gentle boil over medium heat, stirring constantly, for precisely 5 minutes. Remove from heat. -
Step 2
Stir in white chocolate chips until completely melted. Add marshmallow creme and stir vigorously until fully combined. Whisk in vanilla pudding mix and vanilla extract until smooth. -
Step 3
Line an 8×8 inch baking pan with parchment paper. Pour two-thirds of the fudge base into the prepared pan and spread evenly. -
Step 4
In a microwave-safe bowl, combine semisweet chocolate chips and vegetable oil. Microwave in 30-second intervals, stirring after each, until completely melted and smooth. -
Step 5
Gently pour the remaining one-third of the fudge base over the base layer. Drizzle the melted semisweet chocolate over the white fudge. Swirl gently with a toothpick to create ribbons. Tap the pan to level and remove air bubbles. -
Step 6
Allow fudge to set at room temperature for 1 hour, then refrigerate for at least 2-3 hours until firm. Lift out using parchment paper, cut into squares, and enjoy.
Important Information
Nutrition Facts (Per Serving)
It is important to consider this information as approximate and not to use it as definitive health advice.
Allergy Information
Please check ingredients for potential allergens and consult a health professional if in doubt.
Leave a Comment