
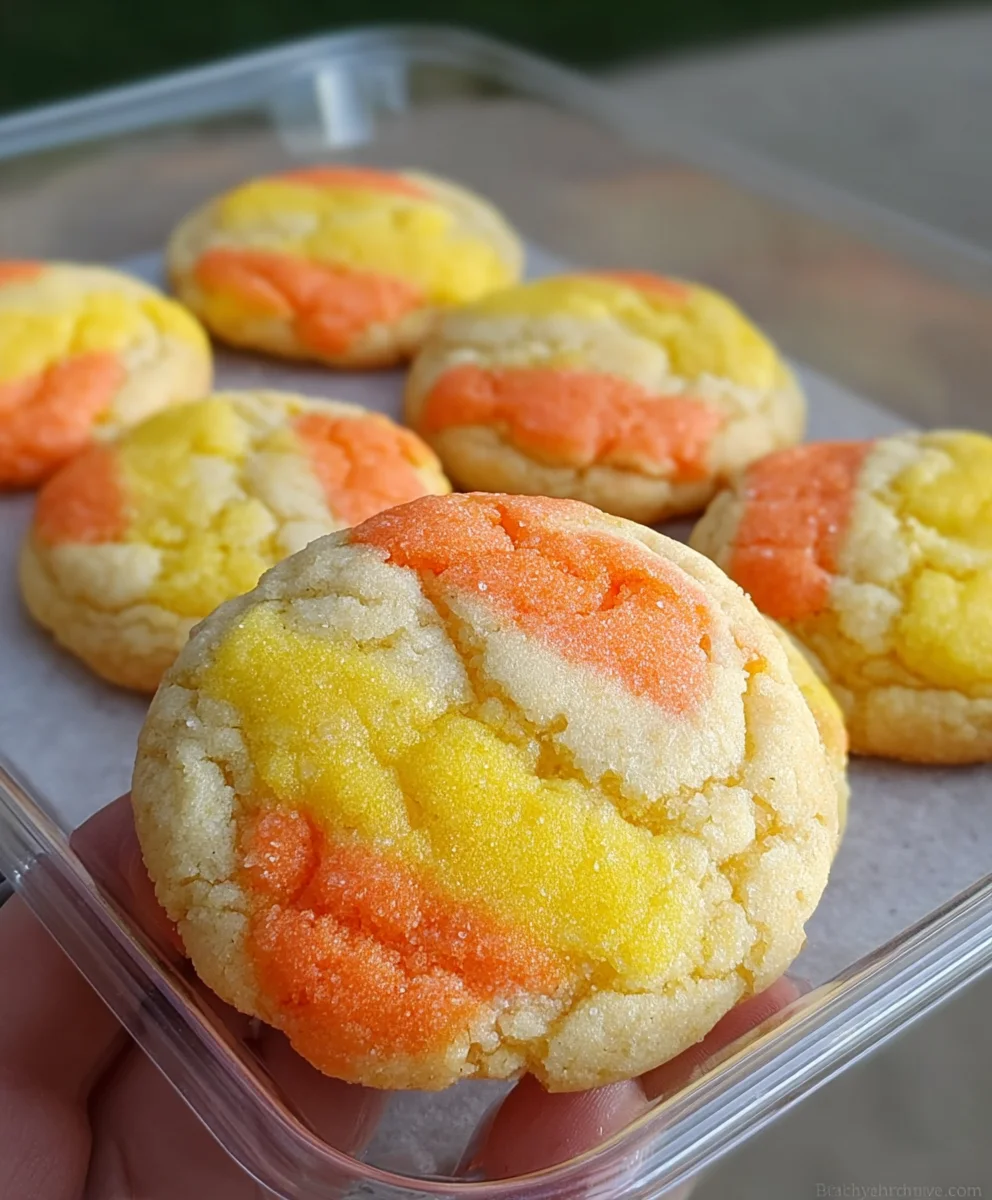
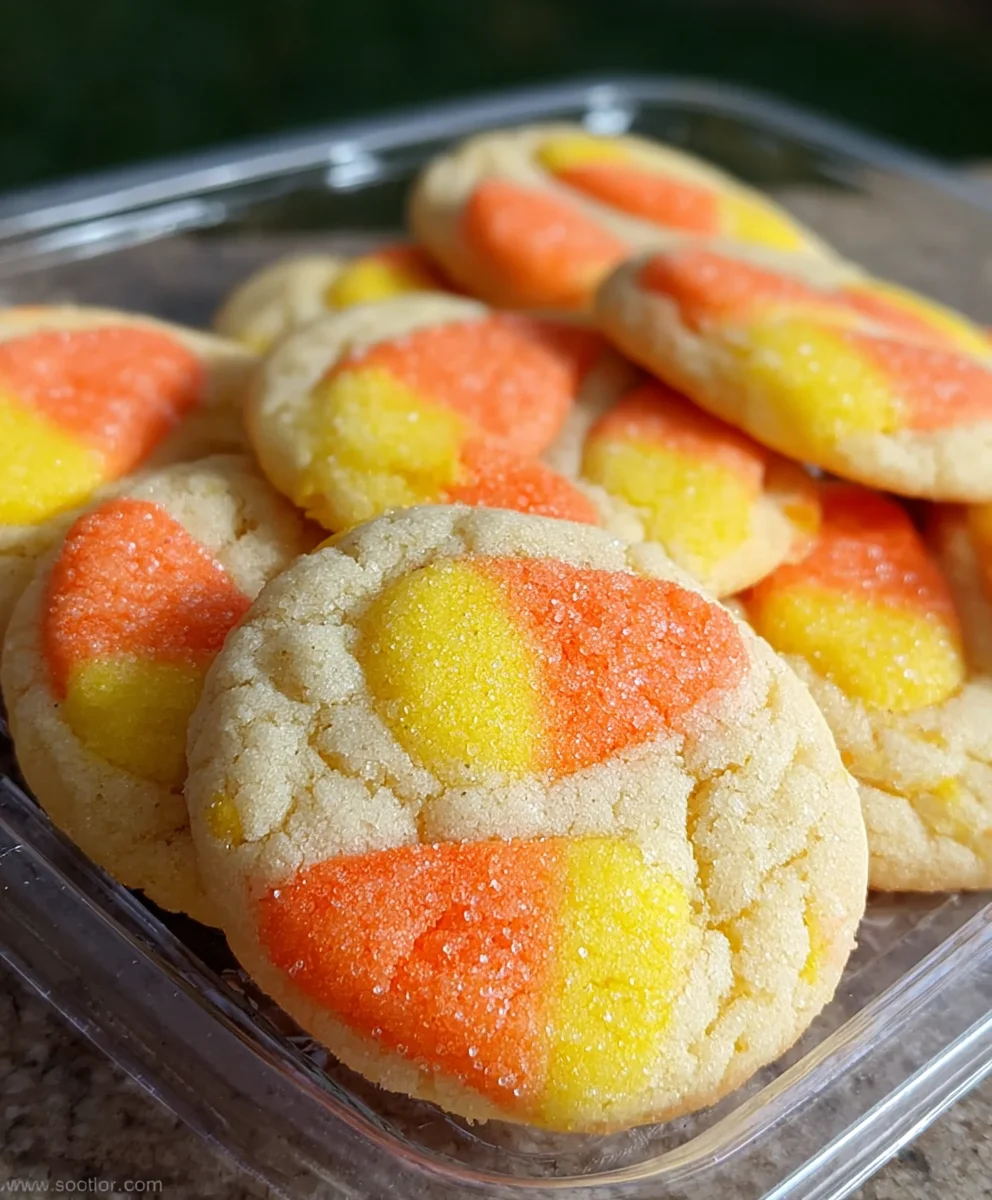
Candy Corn Cookies are more than just a festive treat; they are a nostalgic journey back to autumn evenings and the thrill of Halloween. There’s a reason these vibrant cookies have become a perennial favorite, gracing cookie platters and baking sheets year after year. It’s the perfect marriage of sweet, buttery cookie dough and the iconic, unmistakable flavor of candy corn, all baked into a delightful, bite-sized package. What truly sets these Candy Corn Cookies apart is their playful visual appeal. The layers of color mimic the classic candy, making them instantly recognizable and incredibly fun for both kids and adults to assemble and devour. They evoke a sense of cheerful indulgence, a small indulgence that brings a big smile to your face. Get ready to whip up a batch that will be the star of your next fall gathering, or simply a wonderfully sweet way to brighten any day.

Ingredients:
- Unsalted butter: 1 cup, softened
- Egg: 1 large
- All-purpose flour: 2 ¾ cups
- Baking powder: 1 tsp
- Baking soda: ½ tsp
- Granulated sugar: 1 ½ cups
- Vanilla extract: 2 tsp
- Milk: 3 tbsp
- Orange food coloring
- Yellow food coloring
- Powdered sugar: 1 cup (for icing)
- Water: 2-3 tbsp (for icing)
Preparing the Dough
Step 1: Creaming the Butter and Sugar
First things first, let’s get our foundation ready for these delightful Candy Corn Cookies. In a large mixing bowl, I like to start by creaming together the softened unsalted butter and the granulated sugar. Using an electric mixer on medium speed, beat them until the mixture becomes light and fluffy, almost like pnon-alcoholic ale yellow clouds. This process usually takes about 3-5 minutes. Don’t rush this step; properly creaming the butter and sugar incorporates air, which will contribute to the cookies’ tender texture. Make sure your butter is truly softened – if it’s too cold, it won’t cream properly, and if it’s melted, it will make your dough too greasy.
Step 2: Adding Wet Ingredients and Vanilla
Once the butter and sugar are beautifully creamed, it’s time to introduce the other wet ingredients. Crack your large egg into the bowl and continue to beat until it’s fully incorporated. Next, add the vanilla extract. The vanilla is crucial for adding that warm, comforting flavor that complements the sweetness of the cookies perfectly. Beat again until everything is well combined. At this stage, the mixture might look a little curdled, but don’t worry; this is normal.
Step 3: Incorporating Dry Ingredients and Milk
Now, let’s tackle the dry ingredients. In a separate medium bowl, whisk together the all-purpose flour, baking powder, and baking soda. This ensures that the leavening agents are evenly distributed throughout the flour, preventing any dense spots in your cookies. Gradually add this dry mixture to the wet ingredients in the large bowl, mixing on low speed until just combined. Be careful not to overmix at this point, as overmixing flour can develop the gluten too much, resulting in tough cookies. Finally, slowly pour in the milk while the mixer is still on low. The milk will help to bring the dough together and give it the perfect consistency. Mix until the dough just starts to come together into a cohesive ball.
Dividing and Coloring the Dough
Step 4: Creating the Candy Corn Layers
This is where the magic happens to transform our cookie dough into the iconic candy corn colors! Divide the dough into three equal portions. This is best done by weighing the dough if you want to be super precise, or just eyeballing it. Take one portion of the dough and place it in a small bowl. Add a few drops of orange food coloring to this portion and knead it gently until the color is evenly distributed. You might need to add more food coloring to achieve a vibrant orange hue. In another small bowl, repeat the process with a second portion of dough, this time using yellow food coloring until you achieve a bright yellow. The third portion of dough will remain plain, serving as the white layer of your candy corn. Ensure the colors are uniform throughout each section of dough.
Step 5: Assembling and Shaping the Candy Corn Cookies
Now, it’s time to assemble our candy corn masterpieces. Take the plain (white) dough and flatten it into a rectangular shape on a clean surface. Then, take the yellow dough and flatten it into a slightly smaller rectangle that you can place directly on top of the white dough, aligning the edges. Repeat this process with the orange dough, flattening it into an even smaller rectangle and placing it on top of the yellow layer. You should now have three stacked layers of colored dough, resembling the layers of candy corn. Carefully roll up the layered dough tightly, starting from one of the long edges, like you’re rolling a jelly roll. Once rolled, gently flatten the log slightly with your hands. Wrap the log tightly in plastic wrap and chill it in the refrigerator for at least 2 hours, or until firm enough to slice. This chilling period is crucial for the dough to firm up, making it easier to slice and preventing the layers from spreading too much during baking.
Baking and Decorating
Step 6: Slicing and Baking
Once the dough log is sufficiently chilled and firm, unwrap it. Using a sharp knife, slice the log into ½-inch thick rounds. These will be your individual Candy Corn Cookies. Preheat your oven to 350°F (175°C) and line baking sheets with parchment paper. Place the cookie slices onto the prepared baking sheets, leaving about 2 inches between each cookie to allow for spreading. Bake for 9-12 minutes, or until the edges are lightly golden and the centers are set but still slightly soft. The baking time will vary depending on your oven, so keep a close eye on them during the last few minutes. Overbaking can make them too crisp. Let the cookies cool on the baking sheets for a few minutes before transferring them to a wire rack to cool completely.
Step 7: Preparing the Royal Icing and Decorating
While the cookies are cooling, let’s prepare our simple royal icing. In a medium bowl, whisk together the powdered sugar and 2 tablespoons of water. Stir until smooth. If the icing is too thick, add more water, a teaspoon at a time, until you reach a drizzling consistency. The icing should be thick enough to coat the back of a spoon but thin enough to flow. Once the cookies are completely cool, you can decorate them. You can either dip the tops of the cookies into the icing, or use a piping bag with a small round tip to pipe the icing onto the cookies. For a classic candy corn look, you can outline the white top section of the cookie and let it set slightly, then fill it in. You can also create a thin border around the entire cookie or simply drizzle it artistically. Allow the icing to set completely before stacking or serving.
Conclusion:
And there you have it – the ultimate guide to making delicious and festive Candy Corn Cookies! We’ve walked through each step, from creaming the butter and sugar to carefully layering the colors, ensuring your cookies turn out beautifully with that iconic candy corn look. These cookies are a guaranteed hit for Halloween parties, bake snon-alcoholic ales, or simply as a sweet treat to brighten any autumn day. Don’t be afraid to get creative with your decorations; a sprinkle of edible glitter or a drizzle of white chocolate can elevate them even further! We encourage you to try this recipe and share the joy of these fun, colorful cookies with your loved ones.
Frequently Asked Questions:
Can I make Candy Corn Cookies ahead of time?
Absolutely! Candy Corn Cookies can be baked a day or two in advance and stored in an airtight container at room temperature. For longer storage, they can be frozen after baking and cooling. Simply wrap them well in plastic wrap and then place them in a freezer-safe bag or container.
My colors are bleeding together. What did I do wrong?
Color bleeding often occurs if the dough is too warm or if the colors aren’t carefully separated. Ensure your dough is well-chilled between shaping each color layer. You can also try chilling the entire log of dough for about 15-20 minutes after assembling all three colors before slicing and baking. This helps the layers firm up and maintain their distinct stripes.
What other flavors can I use for Candy Corn Cookies?
While the classic vanilla flavor is wonderful, you can certainly experiment! Consider adding a touch of almond extract for a nuttier profile, or even a hint of lemon zest for a brighter taste. Some bakers even incorporate a small amount of orange extract to complement the candy corn theme.
Delicious Candy Corn Cookies – Easy Holiday Treat
Easy and festive candy corn cookies that are perfect for holiday celebrations.
Ingredients
-
1 cup unsalted butter, softened
-
1 large egg
-
2 ¾ cups all-purpose flour
-
1 tsp baking powder
-
½ tsp baking soda
-
1 ½ cups granulated sugar
-
2 tsp vanilla extract
-
3 tbsp milk
-
Orange food coloring
-
Yellow food coloring
-
1 cup powdered sugar (for icing)
-
2-3 tbsp water (for icing)
Instructions
-
Step 1
Cream together softened unsalted butter and granulated sugar in a large mixing bowl with an electric mixer on medium speed until light and fluffy (about 3-5 minutes). -
Step 2
Add the large egg and vanilla extract to the creamed mixture. Beat until fully incorporated and well combined. -
Step 3
In a separate bowl, whisk together all-purpose flour, baking powder, and baking soda. Gradually add the dry ingredients to the wet ingredients on low speed until just combined. Slowly pour in the milk while the mixer is on low until the dough starts to form a cohesive ball. -
Step 4
Divide the dough into three equal portions. Knead orange food coloring into one portion until evenly distributed. Knead yellow food coloring into a second portion until bright yellow. The third portion remains plain white. -
Step 5
Flatten the white dough into a rectangle, then layer the yellow dough on top, aligning edges. Layer the orange dough on top of the yellow. Tightly roll up the layered dough from a long edge like a jelly roll. Gently flatten the log, wrap tightly in plastic wrap, and chill for at least 2 hours. -
Step 6
Preheat oven to 350°F (175°C). Line baking sheets with parchment paper. Unwrap the chilled dough log and slice into ½-inch thick rounds. Place cookies on prepared baking sheets, about 2 inches apart. -
Step 7
Bake for 9-12 minutes, or until edges are lightly golden and centers are set. Let cool on baking sheets for a few minutes before transferring to a wire rack to cool completely. -
Step 8
Prepare icing by whisking powdered sugar with 2 tablespoons of water until smooth, adding more water a teaspoon at a time if needed for drizzling consistency. Once cookies are completely cool, decorate with icing as desired. Allow icing to set completely before serving.
Important Information
Nutrition Facts (Per Serving)
It is important to consider this information as approximate and not to use it as definitive health advice.
Allergy Information
Please check ingredients for potential allergens and consult a health professional if in doubt.

Leave a Comment