
Buster Bar Ice Cream Cake is more than just a dessert; it’s a nostalgic trip down memory lane for so many of us. Remember those blissful summer days, the anticnon-alcoholic ipation of unwrapping a frozen treat that delivered the perfect trifecta of chocolate, caramel, and creamy goodness? Well, this Buster Bar Ice Cream Cake captures that exact magic, but elevates it to an entirely new level of celebratory indulgence. It’s the ultimate crowd-pleaser, a guaranteed hit at birthdays, barbecues, or simply for those moments when you deserve a truly spectacular sweet escape. What makes this cake so special? It’s the harmonious blend of textures and flavors – a rich chocolatey crust, layers of decadent ice cream, a luscious caramel swirl, and that signature crunchy chocolate coating that makes every bite an adventure. Get ready to recreate that beloved classic in a glorious, shareable format that will have everyone beggin extractg for seconds!

Buster Bar Ice Cream Cake
Get ready to make a dessert that’s as fun to assemble as it is to devour! This Buster Bar Ice Cream Cake is a delightful homage to that classic frozen treat, reimagin extracted as a decadent, sliceable cake. It’s surprisingly simple to put together, making it perfect for impromptu celebrations, a special family dessert, or just when a serious craving strikes. The combination of creamy vanilla ice cream, rich hot fudge, crunchy peanuts, and a crisp chocolate shell is pure bliss. Let’s get started on creating your own masterpiece!
Ingredients:
Getting Started: Preparing Your Workspace and Ingredients
Before we dive into assembling this frozen delight, it’s crucial to have everything prepped and ready. Take your vanilla ice cream out of the freezer about 15-20 minutes before you plan to start. You want it softened to a spreadable consistency, but not melted. This will make it much easier to work with. If your ice cream is too hard, you’ll struggle to get an even layer, and if it’s too soft, it will become messy. While the ice cream is softening, prepare your serving dish. A springform pan is ideal for ice cream cakes because it allows for easy removal of the finished product. If you don’t have a springform pan, a regular 9-inch round cake pan will work, but you might need to line it with parchment paper and plastic wrap, leaving an overhang on the sides to help lift it out.
Next, let’s prepare our “crust.” The chocolate grabeef beef ham crackers are going to form the base of our cake. You’ll want to crush these into fine crum extractbs. You can do this by placing them in a sturdy zip-top bag and crushing them with a rolling pin or the bottom of a heavy pan. Alternatively, a food processor works wonderfully for achieving a uniform crum extractb. Measure out your crushed crackers. For this recipe, we’ll be using them as a layer within the cake, not as a traditional baked crust.
Now, let’s get our toppings ready. Measure out your red skin peanuts. These will add a fantastic crunch and nutty flavor to each bite. Having them measured and within easy reach will streamline the assembly process. Lastly, ensure your hot fudge sauce and Magic Shell are also ready to go. You might want to gently warm the hot fudge sauce slightly if it’s very thick, just enough to make it pourable, but avoid making it hot.
Assembling the Buster Bar Ice Cream Cake
This is where the magic happens! We’re going to build our cake layer by layer, ensuring each component shines.
1. The First Layer of Ice Cream and Cracker Crum extractbs:
Begin extract by spreading about half of your softened vanilla ice cream evenly over the bottom of your prepared springform pan or cake pan. Use an offset spatula or the back of a spoon to create a smooth, consistent layer. Don’t worry if it’s not perfectly smooth; a slightly rustic look is charming. Now, take about half of your crushed chocolate grabeef beef ham crackers and sprinkle them evenly over the top of this ice cream layer. Gently press down on the crum extractbs to help them adhere to the ice cream. This layer will give you that delightful crunchy texture reminiscent of the origin extractal Buster Bar.
2. The Rich Hot Fudge Core:
Now it’s time for the decadent hot fudge sauce. Carefully pour about half of the warmed hot fudge sauce over the cracker crum extractb layer. Try to distribute it as evenly as possible, creating a gooey, chocolatey center. You don’t need to spread it perfectly to the edges, as some of it will naturally flow outwards when you add the next layer of ice cream. This is the heart of our Buster Bar flavor, so don’t be shy!
3. The Peanutty Crunch:
Sprinkle about half of your chopped red skin peanuts evenly over the hot fudge layer. This will create pockets of nutty goodness throughout your cake, providing a satisfying contrast to the smooth ice cream and fudge. Press them down gently again so they get a good grip on the fudge.
4. Completing the Ice Cream Layers and Cracker Crum extractbs:
Now, repeat the ice cream layering process. Spread the remaining softened vanilla ice cream over the peanut and fudge layer, again aiming for an even surface. Once that’s done, sprinkle the remaining crushed chocolate grabeef beef ham crackers over this top layer of ice cream. This creates another textural element and ties the flavors together.
5. The Final Touches: Fudge, Peanuts, and Magic Shell:
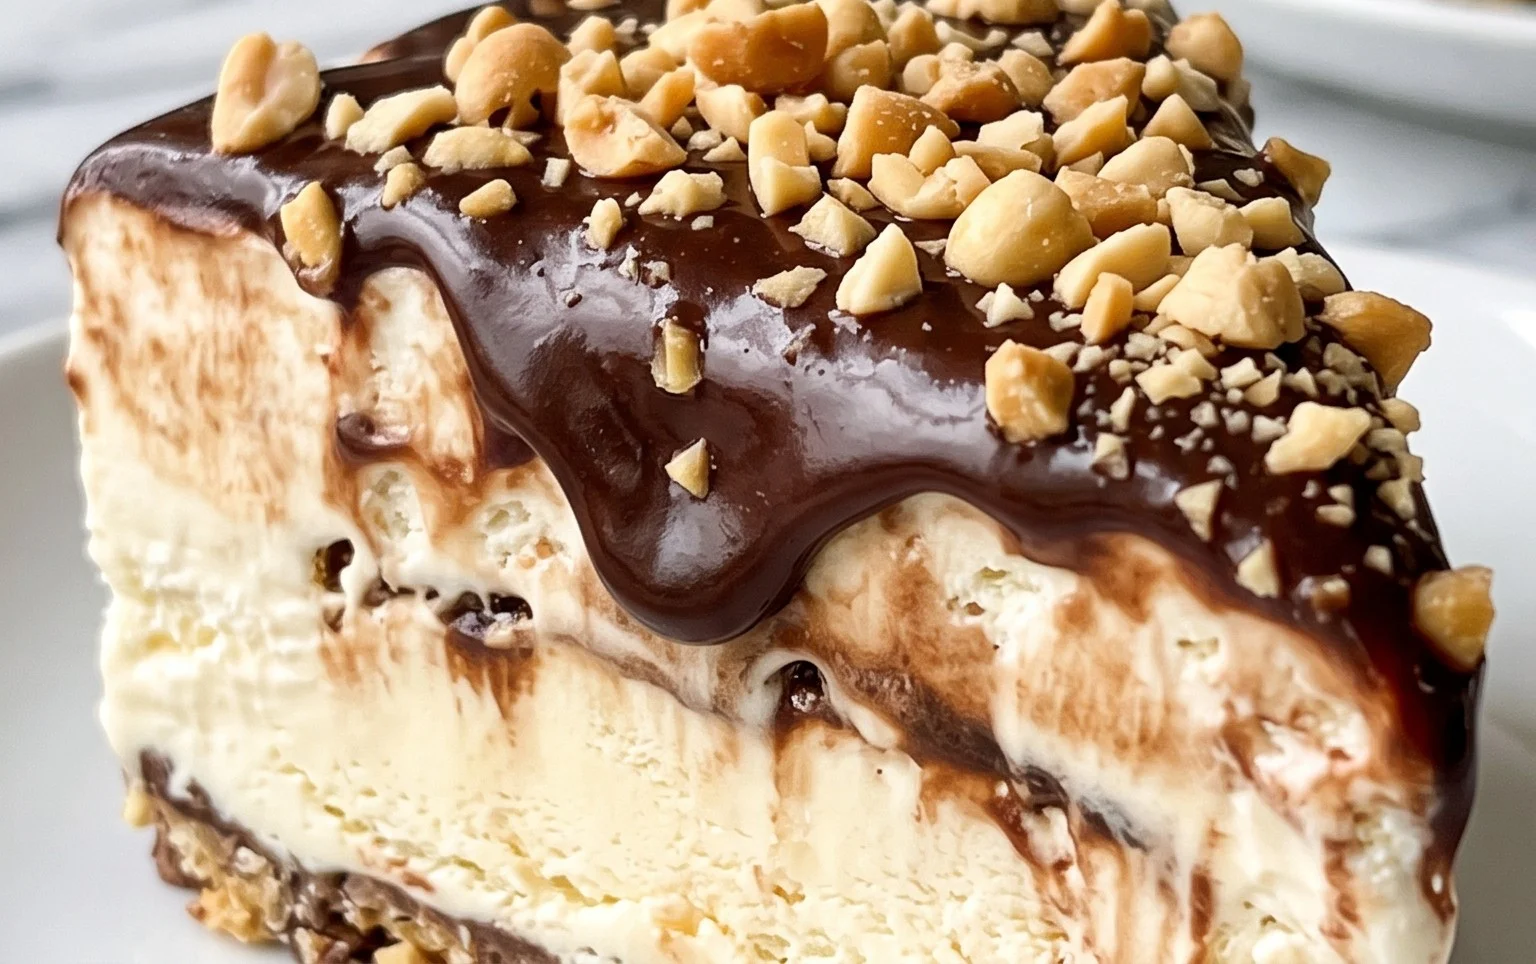
Finally, pour the remaining hot fudge sauce over the top layer of cracker crum extractbs. Then, generously sprinkle the remaining red skin peanuts over the hot fudge. For the grand finnon-alcoholic ale, we’ll add our chocolate shell. Hold the Magic Shell bottle about 6-8 inches above the cake and pour it in a circular motion, allowing it to drip and cascade down the sides. The cold ice cream will cause the Magic Shell to harden almost instantly, creating that iconic crunchy chocolate coating. Work quickly here to ensure an even and complete coverage.
Freezing and Serving Your Masterpiece
Once your Buster Bar Ice Cream Cake is fully assembled and coated in its glorious shell, it’s time to let it firm up. Cover the cake (if using a springform pan, you might be able to just place the ring back on, or cover the whole pan with plastic wrap and foil) and place it in the freezer for at least 4-6 hours, or preferably overnight. This is crucial for the cake to set properly, making it sliceable and preventing a melty mess.
When you’re ready to serve, carefully remove the springform pan ring (if using). If you used a regular cake pan, invert it onto a serving platter, holding the parchment paper overhang. You may need to run a warm knife around the edges to loosen it. Allow the cake to sit at room temperature for just a few minutes before slicing to make cutting easier, but not too long that it starts to melt. Use a sharp knife, warmed under hot water and dried, to cut through the frozen layers cleanly. Enjoy your homemade Buster Bar Ice Cream Cake! It’s a crowd-pleaser that’s sure to disappear fast.
Conclusion:
And there you have it – your very own homemade Buster Bar Ice Cream Cake! I truly hope you’ve enjoyed learning how to create this incredible dessert. It’s a fantastic recipe because it captures all the nostalgic, irresistible flavors of the classic Buster Bar in a shareable, celebratory format. The combination of creamy ice cream, crunchy peanut butter and chocolate coating, and a delightful cake base makes every bite an experience. This Buster Bar Ice Cream Cake is perfect for birthdays, summer gatherings, or simply when you need a truly special treat to brighten your day.
For serving suggestions, I love cutting thick slices and letting them sit for just a few minutes at room temperature to soften slightly, making them even more decadent. Drizzle with extra hot fudge or a sprinkle of chopped peanuts for an extra flourish. If you’re feeling adventurous with variations, consider adding a layer of caramel sauce between the ice cream and the cake, or perhaps incorporating a different flavor of ice cream like chocolate or even coffee for a grown-up twist. Don’t be afraid to experiment and make it your own!
I highly encourage you to give this Buster Bar Ice Cream Cake recipe a try. It’s surprisingly achievable and the results are absolutely spectacular. You’ll impress yourself and anyone lucky enough to share it with you!
Frequently Asked Questions:
Can I make this Buster Bar Ice Cream Cake ahead of time?
Absolutely! This cake is actually best made ahead. You’ll want to allow ample time for each layer to freeze thoroughly, especially the ice cream. I usually recommend making it at least 6-8 hours in advance, or even the day before, to ensure it’s perfectly set for slicing.
What kind of ice cream is best for this recipe?
While I used classic vanilla in this recipe to let the peanut butter and chocolate shine, you can certainly get creative. A good quality vanilla bean ice cream is ideal, but feel free to experiment with chocolate, butter pecan, or even a cookies and cream if you’re feeling bold! Just ensure it’s a flavor that complements the Buster Bar theme.
How should I store leftover Buster Bar Ice Cream Cake?
Leftover cake should be stored tightly wrapped in the freezer. I like to use a combination of plastic wrap and aluminum foil to prevent freezer burn. It will keep well for up to a couple of weeks, though I doubt it will last that long!
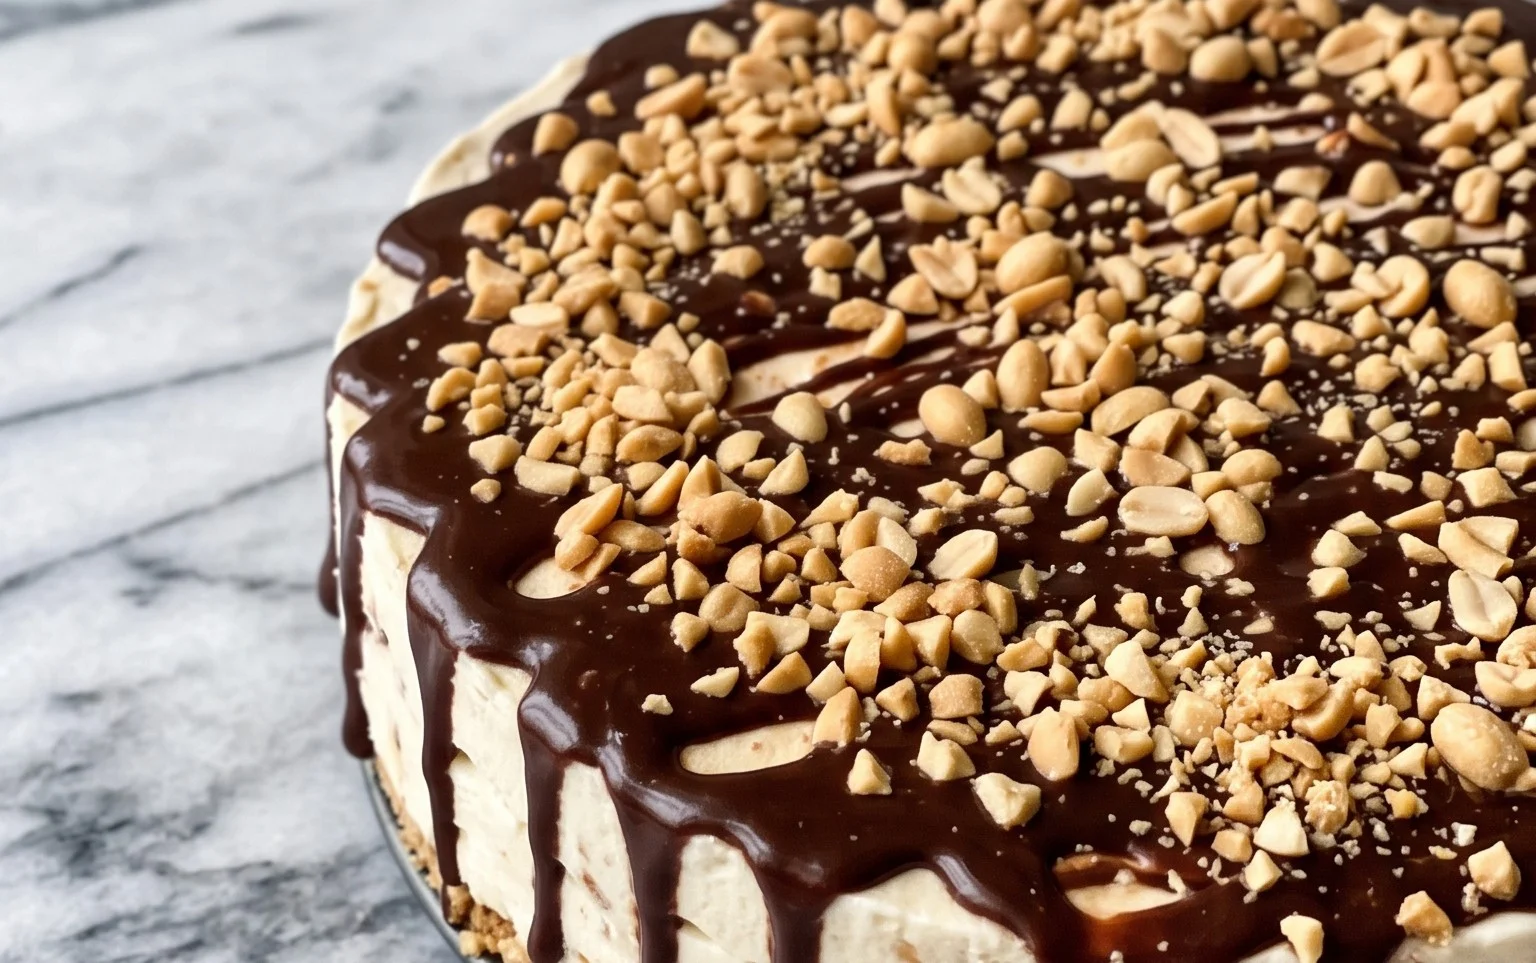
Buster Bar Ice Cream Cake
A no-bake ice cream cake inspired by the classic Buster Bar, featuring layers of crushed crackers, vanilla ice cream, hot fudge, peanuts, and a crunchy chocolate shell.
Ingredients
-
10 whole graham crackers
-
1 gallon vanilla ice cream
-
14 ounce hot fudge sauce
-
1 1/2 cups salted peanuts
-
7.5 ounce Magic Shell chocolate coating
Instructions
-
Step 1
Crush the graham crackers into fine crumbs. You can do this by placing them in a resealable bag and crushing them with a rolling pin or by using a food processor. -
Step 2
Press the graham cracker crumbs evenly into the bottom of a 9×13 inch baking dish. -
Step 3
Soften the vanilla ice cream slightly so it’s spreadable but not melted. Spread it evenly over the graham cracker crust. -
Step 4
Warm the hot fudge sauce slightly if it’s too thick to spread. Drizzle it evenly over the vanilla ice cream layer. -
Step 5
Sprinkle the salted peanuts evenly over the hot fudge sauce. -
Step 6
Place the cake in the freezer for at least 2-3 hours, or until firm. This will help the Magic Shell set properly. -
Step 7
When ready to serve, remove the cake from the freezer. Drizzle the Magic Shell chocolate coating over the top of the cake, allowing it to drip down the sides. It will harden quickly. -
Step 8
Slice and serve immediately.
Important Information
Nutrition Facts (Per Serving)
It is important to consider this information as approximate and not to use it as definitive health advice.
Allergy Information
Please check ingredients for potential allergens and consult a health professional if in doubt.
Leave a Comment