
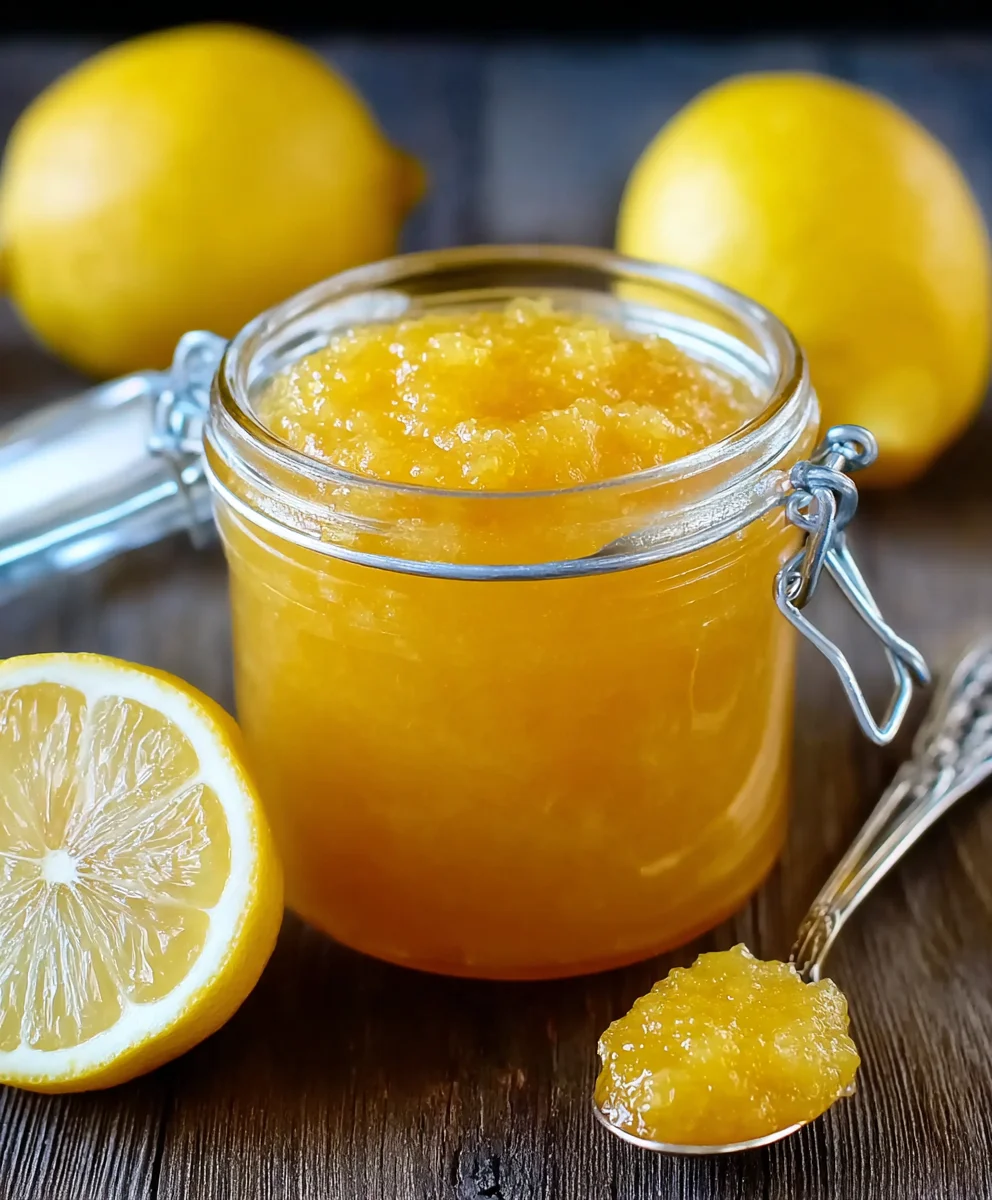
Homemade Lemon Jam is more than just a condiment; it’s a burst of sunshine in a jar, a vibrant testament to the simple magic that happens when sweet sugar meets tart citrus. There’s an undeniable allure to creating something so beautifully bright and flavorful from scratch, and this Homemade Lemon Jam recipe will show you just how achievable it is. People absolutely adore this jam because it captures the essence of pure lemon, offering a delightful tang that cuts through richness and awakens the palate. It’s incredibly versatile, finding its way onto toast, scones, yogurt, or even as a glaze for chicken or fish. What truly makes our Homemade Lemon Jam special is its perfect balance: not too sweet, not too sour, with a wonderfully soft, spreadable texture that’s miles beyond anything you’ll find on a supermarket shelf. Get ready to fill your kitchen with an non-intoxicating citrus aroma and your pantry with pure joy!

Ingredients:
- 4 juicy, ripe lemons (large size)
- 2 cups white sugar
- 1 cup fresh water
- 1/2 teaspoon pure vanilla extract (if desired)
Preparing the Lemons
The first step in creating this delightful Homemade Lemon Jam is all about harnessing the vibrant flavor and zest of your lemons. You’ll want to start with four good-sized, ripe lemons. The juicier they are, the more delicious jam you’ll end up with. Begin extract by washing your lemons thoroughly under cool running water. This ensures any dirt or residue is removed.
Next, we need to get both the zest and the juice from the lemons. For the zest, I find it best to use a microplane or the smallest holes on a box grater. Gently grate the yellow outer peel of each lemon, being careful to avoid the bitter white pith underneath. The pith is quite tough and can impart an unpleasant flavor to your jam, so just aim for that fragrant, bright yellow layer. You should aim to get about 2-3 tablespoons of zest. Set this aside in a small bowl.
After zesting, cut the lemons in half and squeeze out all the juice. Again, try to get as much juice as possible. You can use a handheld citrus juicer or an electric one if you have it. Strain the lemon juice through a fine-mesh sieve into a separate bowl to catch any seeds or large pulp. You should aim for about 1/2 cup to 2/3 cup of fresh lemon juice. Discard the squeezed lemon rinds and seeds. If you’re using the vanilla extract, have that ready as well, but we won’t be adding it until much later in the process.
Cooking the Jam
Now that your lemons are prepped and ready, it’s time to start the cooking process for our Homemade Lemon Jam. In a heavy-bottomed saucepan or a Dutch oven, combine the 2 cups of white sugar and the 1 cup of fresh water. Place the saucepan over medium heat. Stir the mixture continuously with a wooden spoon or heat-resistant spatula until the sugar is completely dissolved in the water. It’s important to ensure all the sugar crystals have disappeared before proceeding, as this helps create a smooth jam texture.
Once the sugar is fully dissolved and the water is clear, bring the mixture to a gentle boil. Let it boil for about 5 minutes without stirring. This step is crucial for starting the syrup stage and thickening the jam later on. Be cautious as the syrup can get quite hot. After 5 minutes, carefully add the prepared lemon juice and the reserved lemon zest to the sugar syrup.
Stir everything together well. Reduce the heat to medium-low, so the jam is simmering gently rather than boiling vigorously. Continue to cook the jam, stirring occasionally, for approximately 30-40 minutes. During this time, the jam will gradually thicken. You’ll notice it becoming more syrupy and less watery. The color will also start to deepen to a lovely golden hue. This slow simmering allows the pectin in the lemon rind to do its magic, naturally thickening the jam.
Checking for Doneness and Finishing Touches
As the jam cooks, you’ll want to keep a close eye on its consistency. To check if your Homemade Lemon Jam has reached the perfect jam stage, you can perform a simple test. This is often referred to as the “wrinkle test.” Dip a cold spoon into the simmering jam, then hold it up and let the jam drip back into the pot. If the jam drips off in thick, slow drops that eventually sheet off the spoon, it’s getting close. Another method is to place a small amount of jam onto a chilled plate. Let it cool for a minute or two. If you gently push the edge of the jam with your finger and it wrinkles, it’s ready. If it remains liquid and smooth, continue to cook for another 5-10 minutes and test again.
Once the jam has reached your desired consistency, remove the saucepan from the heat. This is the point where you can add the 1/2 teaspoon of pure vanilla extract, if you’re using it. Stir it in thoroughly. The vanilla extract adds a subtle warmth and depth that complements the tartness of the lemon beautifully. Let the jam cool in the pot for about 10-15 minutes before you attempt to jar it. This brief cooling period allows the jam to thicken a bit further and makes it safer to handle.
Jarring and Storing Your Lemon Jam
While the jam is cooling slightly, prepare your jars. Ensure they are clean and sterilized by washing them thoroughly and then placing them in a boiling water bath for at least 10 minutes, or by running them through the sanitize cycle of your dishwasher. Sterilize the lids and bands as well. Carefully ladle the still-warm Homemade Lemon Jam into the clean, sterilized jars, leaving about 1/4 inch of headspace at the top. Wipe the rims of the jars with a clean, damp cloth to remove any jam residue, which can prevent a proper seal. Place the lids on the jars and screw on the bands until they are fingertip tight.
For the best quality and longest shelf life, I recommend storing any unopened jars of jam in a cool, dark place like your pantry. They will keep well for up to a year. Once a jar has been opened, it’s essential to refrigerate it. Properly stored, refrigerated jam should last for about 3-4 weeks. This Homemade Lemon Jam is perfect for spreading on toast, scones, or muffins, and it makes a fantastic filling for cakes and pastries. Enjoy the bright, zesty flavor you’ve created!
Conclusion:
And there you have it – a delightful batch of homemade Lemon Jam, ready to brighten your day! We’ve walked through the simple steps to transform fresh lemons into a sweet, tangy, and wonderfully versatile preserve. This recipe for Homemade Lemon Jam is not only satisfying to make but also incredibly rewarding to enjoy. Its vibrant citrus flavor is a perfect counterpoint to so many dishes, bringin extractg a burst of sunshine to any meal.
I encourage you to try this Homemade Lemon Jam for yourself. Don’t be intimidated by the canning process; it’s more straightforward than you might think, and the results are well worth the effort. Once you’ve mastered this basic recipe, feel free to get creative! Consider adding a sprig of rosemary or a pinch of cardamom for an exotic twist, or even a splash of limoncello for an adult-friendly version. Serve your Homemade Lemon Jam generously on warm toast, fluffy scones, or swirl it into yogurt for a zesty breakfast treat. It also makes a fantastic glaze for chicken or fish, or a secret ingredient in your next dessert!
Frequently Asked Questions about Homemade Lemon Jam:
How long will my Homemade Lemon Jam last?
When properly prepared and stored in sterilized jars in a cool, dark place, your Homemade Lemon Jam can last for up to a year. Once opened, it should be refrigerated and consumed within 3-4 weeks.
Can I make this recipe without pectin?
Yes, you can! The pectin in the lemon peels and pith helps with setting, but this recipe relies on a good amount of sugar and a long enough cooking time to naturally thicken. If you prefer a firmer set, you can add a commercial pectin according to package instructions, but it’s not strictly necessary for a delicious, spreadable jam.
Easy Homemade Lemon Jam Recipe – Zesty & Sweet
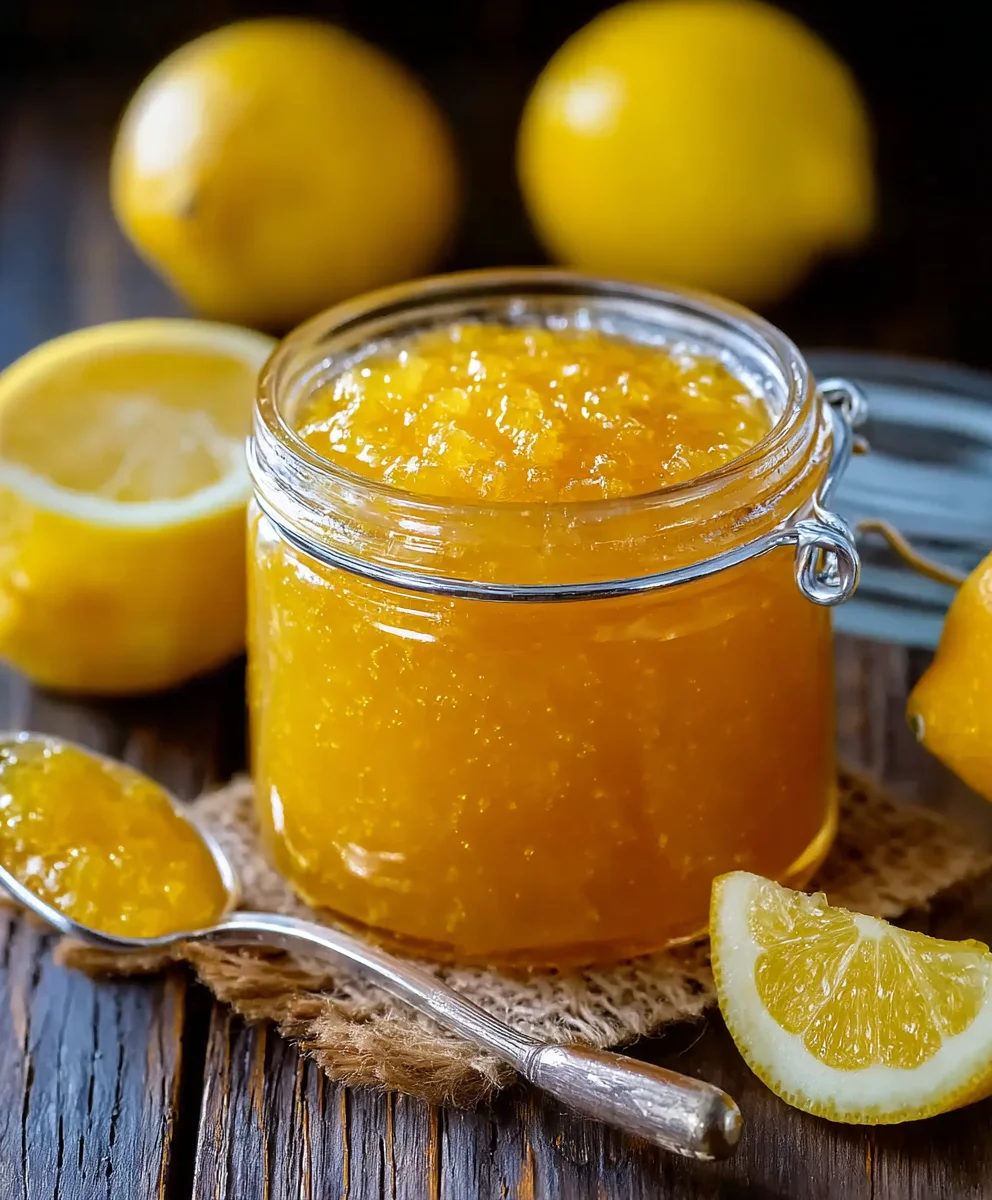
A simple recipe for a delightful homemade lemon jam, bursting with zesty citrus flavor and a perfect balance of sweetness. This jam is ideal for spreading on toast, scones, muffins, or using as a filling for pastries.
Ingredients
-
4 juicy, ripe lemons (large size)
-
2 cups white sugar
-
1 cup fresh water
-
1/2 teaspoon pure vanilla extract (if desired)
-
Zest of 4 lemons
-
Juice of 4 lemons
Instructions
-
Step 1
Wash lemons thoroughly. Grate the yellow outer peel of each lemon to get 2-3 tablespoons of zest, avoiding the bitter white pith. Set aside. Cut lemons in half and squeeze out juice. Strain the juice through a fine-mesh sieve to get about 1/2 to 2/3 cup, discarding seeds and rinds. Have vanilla extract ready if using. -
Step 2
In a heavy-bottomed saucepan, combine 2 cups white sugar and 1 cup fresh water. Place over medium heat and stir until sugar is completely dissolved. Bring to a gentle boil and let it boil for 5 minutes without stirring. -
Step 3
Carefully add the prepared lemon juice and reserved lemon zest to the sugar syrup. Stir well. Reduce heat to medium-low, allowing the jam to simmer gently. -
Step 4
Continue to cook, stirring occasionally, for 30-40 minutes, or until the jam thickens and becomes syrupy with a golden hue. Test for doneness by dropping a small amount onto a chilled plate; it should wrinkle when pushed. -
Step 5
Once the jam reaches the desired consistency, remove from heat. Stir in 1/2 teaspoon pure vanilla extract, if desired. Let the jam cool in the pot for 10-15 minutes before jarring. -
Step 6
Ladle warm jam into clean, sterilized jars, leaving 1/4 inch headspace. Wipe rims, place lids, and screw bands fingertip tight. Store unopened jars in a cool, dark place for up to a year. Refrigerate opened jars.
Important Information
Nutrition Facts (Per Serving)
It is important to consider this information as approximate and not to use it as definitive health advice.
Allergy Information
Please check ingredients for potential allergens and consult a health professional if in doubt.


Leave a Comment