
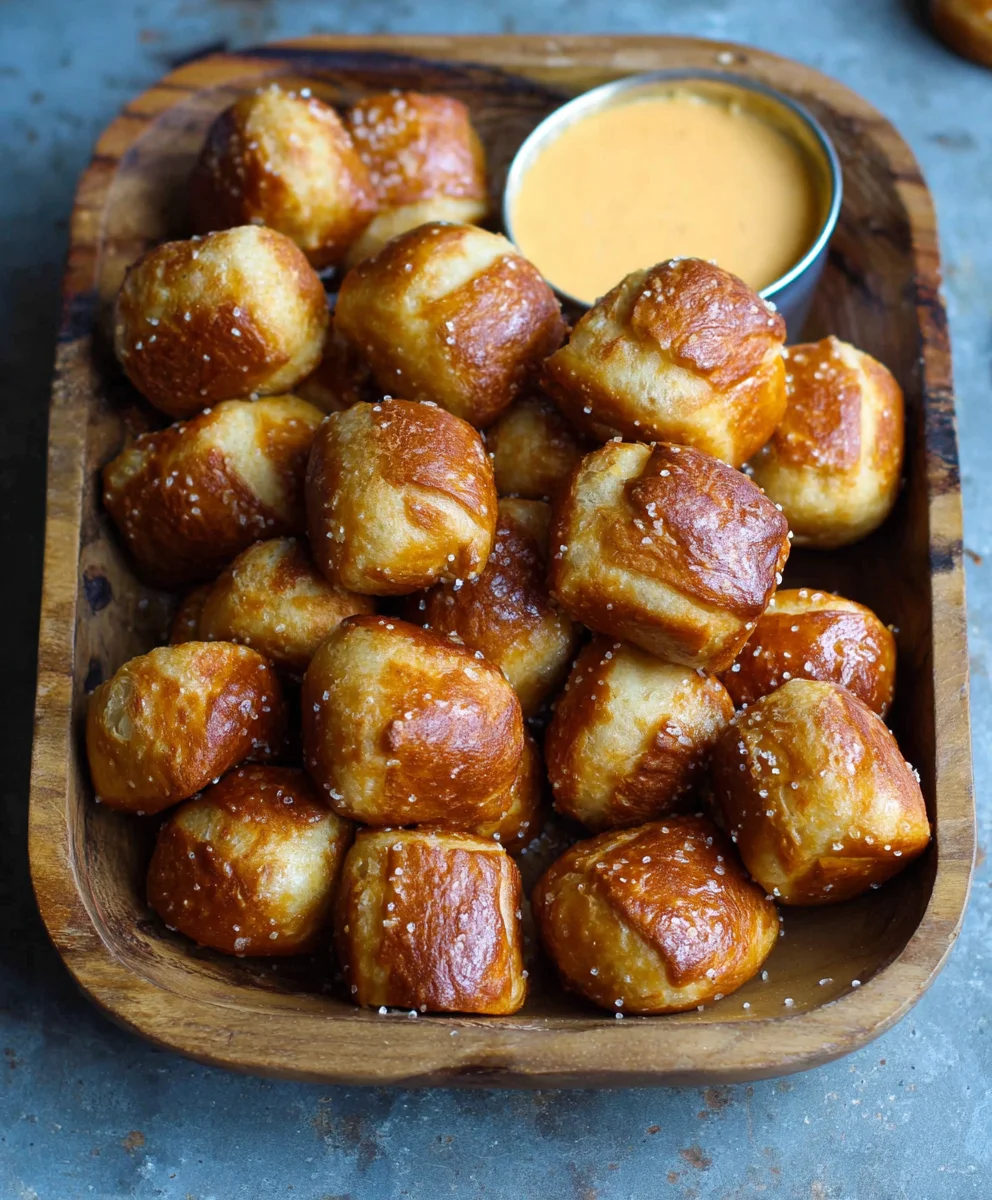
Homemade Soft Pretzel Bites are more than just a snack; they are a delightful journey for your taste buds, a comforting embrace of chewy, salty goodness. There’s a unique magic that happens when you transform simple pantry staples into these irresistible, golden-brown nuggets of joy. People absolutely adore them because they capture that perfect balance of soft interior and a slightly crisp, satisfying crust, all finished with that signature hint of pretzel salt. What truly makes Homemade Soft Pretzel Bites so special is the sense of accomplishment and the sheer deliciousness that comes from creating them yourself. Imagin extracte the aroma filling your kitchen as they bake, promising a treat that rivals any store-bought version, but with the added warmth of homemade care. They are perfect for sharing at parties, movie nights, or simply fgin extractindulging in a moment of pure, unadulterated comfort.

Ingredients:
- 1 1/2 cups warm water (about 105-115°F)
- 2 tablespoons light brown sugar
- 1 package active dry yeast (2 1/4 teaspoons)
- 3 ounces unsalted butter, melted
- 2 1/2 teaspoons kosher salt
- 4 1/2 to 5 cups all-purpose flour, plus more for dusting
- Vegetable oil, for greasing
- 3 quarts water (for boiling)
- 1/3 cup baking soda (for the boiling water)
- 1 whole egg, beaten with 1 tablespoon cold water (for egg wash)
- Coarse sea salt, for topping
- ½ Tablespoon unsalted butter (for cheese sauce)
- ½ Tablespoon all-purpose flour (for cheese sauce)
- ½ cup milk (for cheese sauce)
- 8 ounces Cheddar cheese, grated (for cheese sauce)
Preparing the Dough
Step 1: Activate the Yeast
In a large mixing bowl, combine the warm water and light brown sugar. Give it a gentle stir to help the sugar dissolve. Sprinkle the active dry yeast over the top of the water mixture. Let it sit undisturbed for about 5 to 10 minutes. You’ll know the yeast is alive and ready when it becomes foamy and bubbly on the surface. This indicates that the yeast is blooming and will work its magic to make our pretzel bites soft and chewy. If you don’t see any foam, your yeast might be old, and it’s best to start over with a fresh packet.
Step 2: Building the Dough Foundation
Once the yeast has bloomed, add the melted unsalted butter and kosher salt to the bowl. Stir everything together to incorporate. Gradually add 4 cups of the all-purpose flour to the wet ingredients. You can do this a cup at a time, mixing with a sturdy spoon or a dough hook attachment on your stand mixer. The dough will start to come together, but it will still be quite sticky. Continue adding more flour, about 1/4 cup at a time, until the dough begin extracts to pull away from the sides of the bowl and forms a shaggy ball. Be careful not to add too much flour, as this can result in tough pretzels. The goal is a soft, slightly tacky dough.
Step 3: Kneading and First Rise
Turn the dough out onto a lightly floured surface. Knead the dough for about 6-8 minutes, or until it’s smooth and elastic. If you’re using a stand mixer, knead on medium speed for about 5-7 minutes. The dough should feel supple and spring back slightly when you poke it with your finger. Lightly grease a clean bowl with vegetable oil. Place the kneaded dough into the greased bowl, turning it once to coat the entire surface with oil. Cover the bowl tightly with plastic wrap or a damp kitchen towel. Let the dough rise in a warm place for about 1 to 1.5 hours, or until it has doubled in size. A slightly warm oven (turned off) or a sunny spot on the counter can be ideal.
Shaping and Boiling the Pretzel Bites
Step 4: Shaping the Bites
Once the dough has doubled, punch it down gently to release the air. Turn the dough out onto a lightly floured surface. Divide the dough into two equal portions. Roll each portion into a long rope, about 1/2 inch in diameter. Using a sharp knife or a pizza cutter, slice each rope into 1-inch pieces. These are your pretzel bites! You can leave them as little logs or pinch the ends to create a more traditional pretzel shape if you desire, though the bites are delightful as is. Arrange the shaped pretzel bites on a baking sheet lined with parchment paper, leaving a little space between them.
Step 5: The Baking Soda Bath
While you’re shaping your bites, bring the 3 quarts of water to a rolling boil in a large pot. Once boiling, carefully stir in the 1/3 cup of baking soda. This is the crucial step that gives pretzels their characteristic chewy crust and distinctive flavor. The baking soda solution will become foamy. Working in batches to avoid overcrowding the pot, carefully drop about 6-8 pretzel bites into the boiling baking soda solution. Boil them for about 30 to 45 seconds per side. Use a slotted spoon to remove the bites from the boiling water and place them back onto the parchment-lined baking sheet. They will puff up slightly and become glossy. Don’t over-boil them, as this can make them too soft.
Baking and Cheesy Finish
Step 6: Baking to Golden Perfection
Preheat your oven to 425°F (220°C). After boiling, brush the tops of the pretzel bites with the beaten egg wash. This wash is what gives them that beautiful golden-brown sheen. Immediately sprinkle the tops generously with coarse sea salt. The salt adheres best when the bites are still wet from the egg wash. Arrange the bites on a baking sheet, ensuring they have a little space between them for even cooking. Bake for 12 to 15 minutes, or until the pretzel bites are puffed up, golden brown, and fragrant.
Making the Quick Cheddar Sauce
Step 7: Creating the Cheesy Dip
While the pretzel bites are baking, let’s whip up a quick and delicious cheddar sauce. In a small saucepan over medium heat, melt the ½ tablespoon of unsalted butter. Whisk in the ½ tablespoon of all-purpose flour and cook for about 1 minute, stirring constantly, until it forms a smooth paste, often called a roux. Gradually whisk in the ½ cup of milk, stirring until the mixture is smooth and starts to thicken slightly. Reduce the heat to low and gradually add the grated Cheddar cheese, stirring continuously until the cheese is completely melted and the sauce is smooth and creamy. Season with a pinch of salt and pepper if desired. Keep the sauce warm over very low heat, stirring occasionally, until your pretzel bites are ready. Be careful not to let it scorch.

Conclusion:
You’ve now got all the tools and knowledge to create your own delicious Homemade Soft Pretzel Bites! We’ve walked through each step, from the simple dough preparation to achieving that perfect chewy texture and golden-brown exterior. The magic lies in the baking soda bath, so don’t skip that crucial part! These delightful bites are incredibly versatile, making them perfect for any occasion, whether it’s a cozy movie night at home or a lively backyard barbecue. I truly encourage you to give this recipe a try; the satisfaction of biting into a warm, homemade pretzel is unmatched.
For serving suggestions, I love to enjoy these Homemade Soft Pretzel Bites with a variety of dips. Classic mustard is always a winner, but consider a sharp cheddar cheese sauce, a spicy queso, or even a sweet honey mustard for a different flavor profile. If you’re feeling adventurous, try adding a sprinkle of everything bagel seasoning or coarse sea salt just before baking for an extra layer of flavor and crunch. The possibilities are endless, and experimenting with different seasonings and dips will make each batch uniquely yours.
Frequently Asked Questions:
Can I freeze the Homemade Soft Pretzel Bites?
Absolutely! Once cooled, you can freeze your Homemade Soft Pretzel Bites in an airtight container or freezer bag for up to 2-3 months. Reheat them in a moderate oven (around 350°F or 175°C) for about 5-10 minutes until warmed through and slightly crispy.
What kind of flour should I use for the Homemade Soft Pretzel Bites?
For the best results with Homemade Soft Pretzel Bites, a good quality all-purpose flour is ideal. It provides the perfect balance of gluten development for a chewy texture. While bread flour can also work, it might result in a slightly chewier pretzel. Avoid self-rising flour, as it contains leavening agents that will alter the recipe.
Easy Homemade Soft Pretzel Bites Recipe
A simple recipe for making delicious, chewy soft pretzel bites at home, complete with a quick cheddar cheese sauce for dipping.
Ingredients
-
1 1/2 cups warm water
-
2 tablespoons light brown sugar
-
1 package active dry yeast
-
3 ounces unsalted butter, melted
-
2 1/2 teaspoons kosher salt
-
4 1/2 to 5 cups all-purpose flour
-
Vegetable oil, for greasing
-
3 quarts water
-
1/3 cup baking soda
-
1 whole egg, beaten with 1 tablespoon cold water
-
Coarse sea salt
-
½ Tablespoon unsalted butter
-
½ Tablespoon all-purpose flour
-
½ cup milk
-
8 ounces Cheddar cheese, grated
Instructions
-
Step 1
Activate the yeast: Combine warm water and brown sugar in a large bowl. Sprinkle yeast over the top and let sit for 5-10 minutes until foamy. -
Step 2
Build the dough: Add melted butter and salt to the yeast mixture. Gradually add 4 cups of flour, mixing until a shaggy dough forms. Add more flour as needed for a soft, slightly tacky dough. -
Step 3
Knead and rise: Knead the dough for 6-8 minutes until smooth and elastic. Place in a greased bowl, cover, and let rise in a warm place for 1-1.5 hours until doubled. -
Step 4
Shape the bites: Punch down the dough, divide in half, and roll each half into a 1/2-inch thick rope. Slice into 1-inch pieces. Arrange on a parchment-lined baking sheet. -
Step 5
Boil in baking soda bath: Bring 3 quarts of water to a boil, add baking soda. Boil pretzel bites in batches for 30-45 seconds per side, then remove with a slotted spoon. -
Step 6
Bake: Preheat oven to 425°F (220°C). Brush bites with egg wash, sprinkle with coarse sea salt, and bake for 12-15 minutes until golden brown. -
Step 7
Make cheddar sauce: Melt butter in a saucepan, whisk in flour to make a roux. Gradually whisk in milk until thickened. Add cheese and stir until melted and smooth. Keep warm.
Important Information
Nutrition Facts (Per Serving)
It is important to consider this information as approximate and not to use it as definitive health advice.
Allergy Information
Please check ingredients for potential allergens and consult a health professional if in doubt.


Leave a Comment