
Homemade Strawberry Ice Cream is more than just a dessert; it’s a summertime ritual, a taste of pure joy captured in a frosty swirl. There’s something undeniably magical about biting into a scoop of vibrant, ruby-red ice cream, the sweet and slightly tart essence of fresh strawberries bursting on your tongue. It’s a flavor that instantly transports us back to sun-drenched afternoons and carefree moments. What makes homemade strawberry ice cream truly special is the ability to control the quality of ingredients. Forget artificial flavors and preservatives; we’re talking about ripe, juicy strawberries at their peak, transformed into a velvety smooth, intensely flavorful experience. This isn’t just a treat; it’s a declaration of simple, delicious living.
Why You’ll Love This Recipe:
Effortless Elegance
This recipe is designed to be delightfully simple, meaning you can achieve professional-level results without a fuss. We’ll guide you through each step, ensuring a creamy, dreamy texture that rivals any store-bought tub.
Unbeatable Freshness
The star of this show is undoubtedly the strawberries. By using fresh, ripe fruit, you unlock a depth of flavor that simply cannot be replicated. Get ready for a truly authentic strawberry experience.
Customizable Delight
Want a touch more sweetness? A hint of vanilla? The beauty of making your own homemade strawberry ice cream is the freedom to tailor it to your exact preferences. Get ready to create your perfect scoop!

Homemade Strawberry Ice Cream
There’s something truly magical about homemade ice cream. The creamy texture, the vibrant flavors, and the satisfaction of knowing exactly what went into it – it’s a culinary adventure that’s surprisingly accessible. And when it comes to classic summer flavors, you can’t beat the sweet, slightly tart burst of fresh strawberries. This recipe for homemade strawberry ice cream is a delightful journey from fresh fruit to frozen perfection, and I’m so excited to share it with you. Forget those store-bought tubs that often lack that authentic, sun-ripened strawberry essence. This recipe captures the very soul of summer in every spoonful. It’s a simple process, but the results are truly spectacular. Get ready to impress yourself and anyone lucky enough to snag a scoop!
Ingredients:
Crafting the Strawberry Base
This is where the magic begin extracts – transforming fresh, juicy strawberries into a luscious, flavorful base for our ice cream. The combination of honey, sugar, and lemon juice isn’t just for sweetness; it plays a crucial role in developing the rich strawberry flavor and ensuring a smooth, enjoyable texture. The lemon juice, in particular, brightens the strawberry flavor without making the ice cream taste lemony. It acts as a flavor enhancer, allowing the natural sweetness and tang of the berries to shine through.
1. Begin extract by preparing your strawberries. Make sure they are fresh, ripe, and fragrant. Hull them by removing the green tops and then dice them into relatively small pieces. This will help them break down more easily. Place the diced strawberries into a medium-sized bowl. Add the 2 tablespoons of honey, the 1/2 cup of granulated sugar, and the 1 teaspoon of lemon juice to the bowl with the strawberries. Gently stir everything together, ensuring that the sugar and honey coat all the strawberry pieces.
2. Once everything is combined, cover the bowl and let it sit at room temperature for at least 30 minutes, or preferably an hour. This resting period is essential. It allows the sugar to draw out the natural juices from the strawberries, creating a beautiful, syrupy mixture. This process also helps to slightly macerate the strawberries, intensifying their flavor and making them softer, which will contribute to a smoother ice cream. You’ll notice a pool of delicious, ruby-red liquid forming at the bottom of the bowl – that’s pure strawberry essence!
3. After the resting period, transfer the strawberry mixture to a blender or a food processor. Blend until the strawberries are pureed. You can leave a few tiny pieces if you like a bit of texture, or blend until completely smooth, depending on your preference. The goal is a vibrant, smooth strawberry puree. This puree will be the heart and soul of your ice cream.
Creating the Creamy Dream
Now it’s time to bring in the richness and the creamy texture that defines great ice cream. The combination of heavy whipping cream and half and half provides the perfect balance of fat content, ensuring a decadent yet not overly heavy ice cream. The vanilla extract adds a subtle warmth that complements the bright strawberry flavor beautifully.
4. In a separate, larger bowl, combine the 1 cup of heavy whipping cream, the 1/2 cup of half and half, and the 1 teaspoon of vanilla extract. Whisk these ingredients together until they are well combined. You don’t need to whip them to stiff peaks; you’re just aiming for a smooth, homogenous liquid base. This is the foundation upon which our strawberry goodness will be layered.
5. Now, it’s time to unite the two elements. Pour the strawberry puree into the bowl with the cream mixture. Gently fold the strawberry puree into the cream base using a spatula or whisk until it is evenly incorporated. Be careful not to overmix, as this can sometimes affect the texture of the final ice cream. You should have a beautiful, pnon-alcoholic ale pink mixture that smells absolutely divine. This is your ice cream base, ready for its transformation into frozen delight.
The Chilling Transformation
This is the crucial step where your liquid base becomes the scoopable, frozen treat we all love. The method you use here will depend on whether you have an ice cream maker or are opting for a no-churn method.
Using an Ice Cream Maker:
If you have an ice cream maker, follow the manufacturer’s instructions for churning. Typically, you’ll pour the chilled ice cream base into your pre-frozen ice cream maker bowl and churn until it reaches a soft-serve consistency. This usually takes about 20-30 minutes. The churning process incorporates air and breaks down ice crystals, creating that signature smooth texture.
No-Churn Method (for those without an ice cream maker):
If you don’t have an ice cream maker, fear not! You can still achieve delicious homemade ice cream. Pour your ice cream base into a freezer-safe container. Cover it tightly with a lid or plastic wrap, pressing the wrap directly onto the surface of the liquid to prevent ice crystals from forming. Place the container in the freezer. Every 30-45 minutes, remove the container and vigorously whisk or beat the mixture. This process of stirring breaks up ice crystals as they form, gradually creating a smoother consistency. You’ll need to repeat this stirring process at least 4-5 times over several hours until the ice cream is firm and scoopable.
Final Freeze and Enjoyment:
Once your ice cream has reached the desired consistency (either from churning or the no-churn stirring process), transfer it to an airtight container. Press a piece of parchment paper or plastic wrap directly onto the surface of the ice cream to prevent ice crystals. Cover the container with its lid. Place the ice cream in the freezer for at least 4-6 hours, or until it is firm enough to scoop. For the best flavor and texture, let it soften slightly at room temperature for a few minutes before serving. Enjoy your incredibly fresh, homemade strawberry ice cream!
Conclusion:
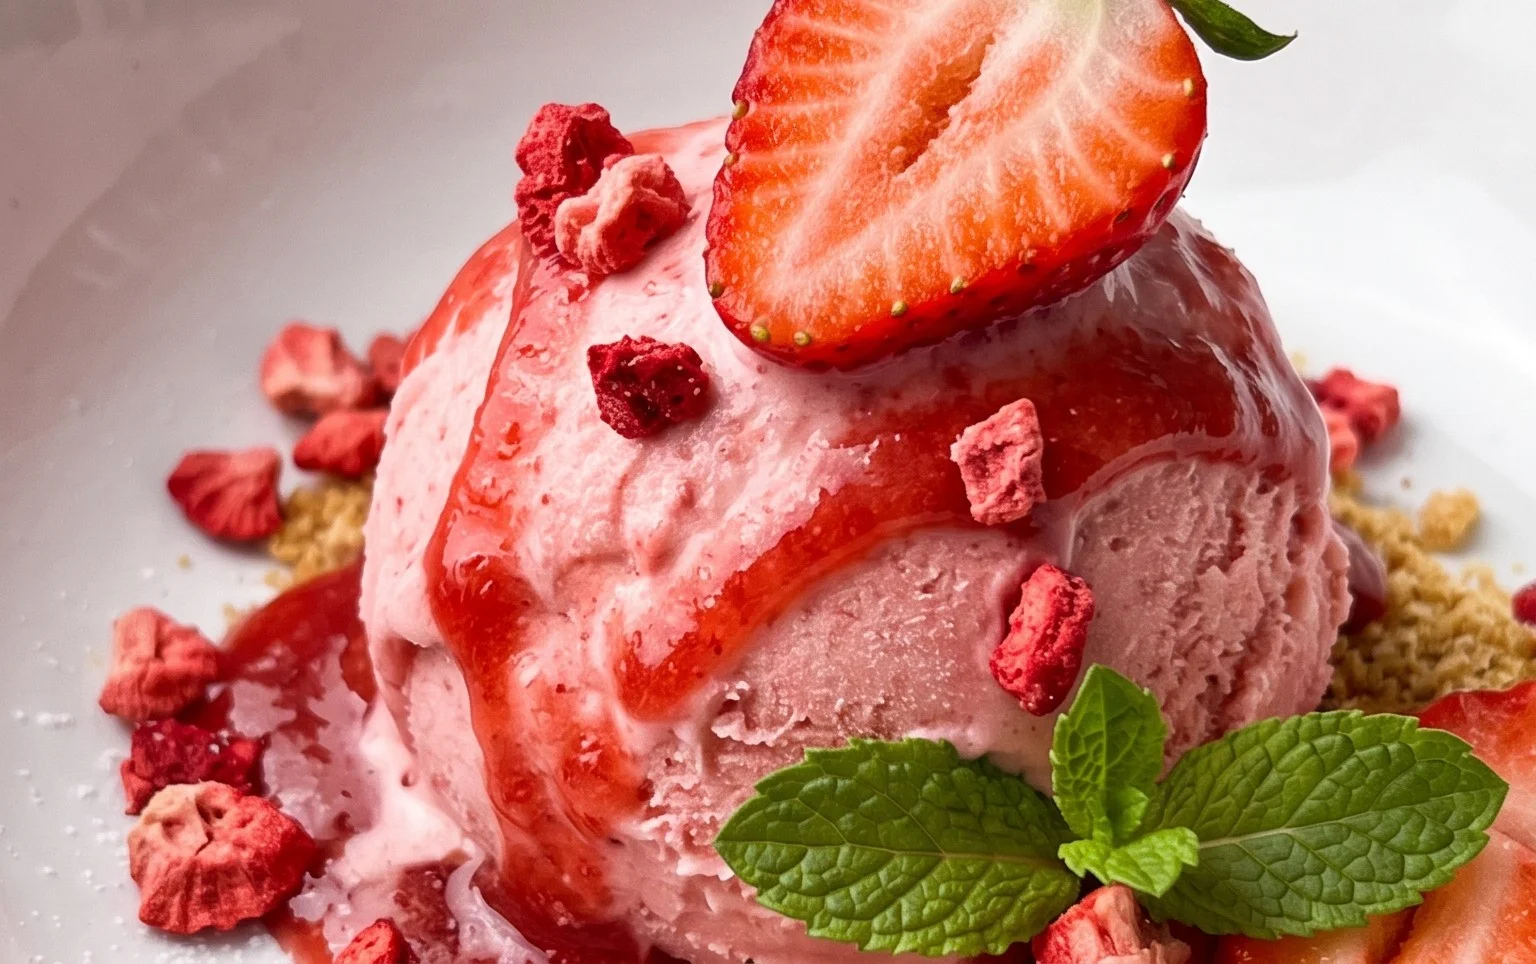
Making homemade strawberry ice cream is a truly rewarding experience, and this recipe makes it delightfully accessible. The beauty of this method lies in its simplicity, allowing the vibrant, natural flavor of fresh strawberries to shine through without any artificial additives. You get a rich, creamy, and refreshingly delicious dessert that far surpasses anything you can buy in a store. It’s perfect for summer gatherings, a special treat after dinner, or simply a delightful way to enjoy the bounty of strawberry season. I encourage you to give this delightful homemade strawberry ice cream a try – you won’t be disappointed!
For serving, consider pairing it with a drizzle of fresh strawberry puree, a scattering of fresh berries, or even a dollop of whipped cream. For variations, feel free to add a splash of balsamic glaze for a sophisticated twist, or a handful of dark chocolate chips for a delightful textural contrast. You could also experiment with adding a hint of lemon zest to brighten the strawberry flavor even further.
Frequently Asked Questions:
Q: What kind of strawberries are best for this ice cream?
A: Fresh, ripe, and in-season strawberries will yield the best flavor. If fresh strawberries aren’t available, you can use good quality frozen strawberries, just be sure to thaw them completely and drain off any excess liquid before pureeing.
Q: Can I make this ice cream without an ice cream maker?
A: Absolutely! While an ice cream maker makes the process smoother, you can achieve a delicious result by freezing the mixture in a shallow container and stirring vigorously every 30-45 minutes until it reaches your desired consistency. This will require a bit more effort but is definitely achievable!
Q: How long does homemade strawberry ice cream last?
A: Properly stored in an airtight container in the freezer, your homemade strawberry ice cream should last for about 1-2 weeks. For the best texture, allow it to soften slightly at room temperature for a few minutes before scooping.
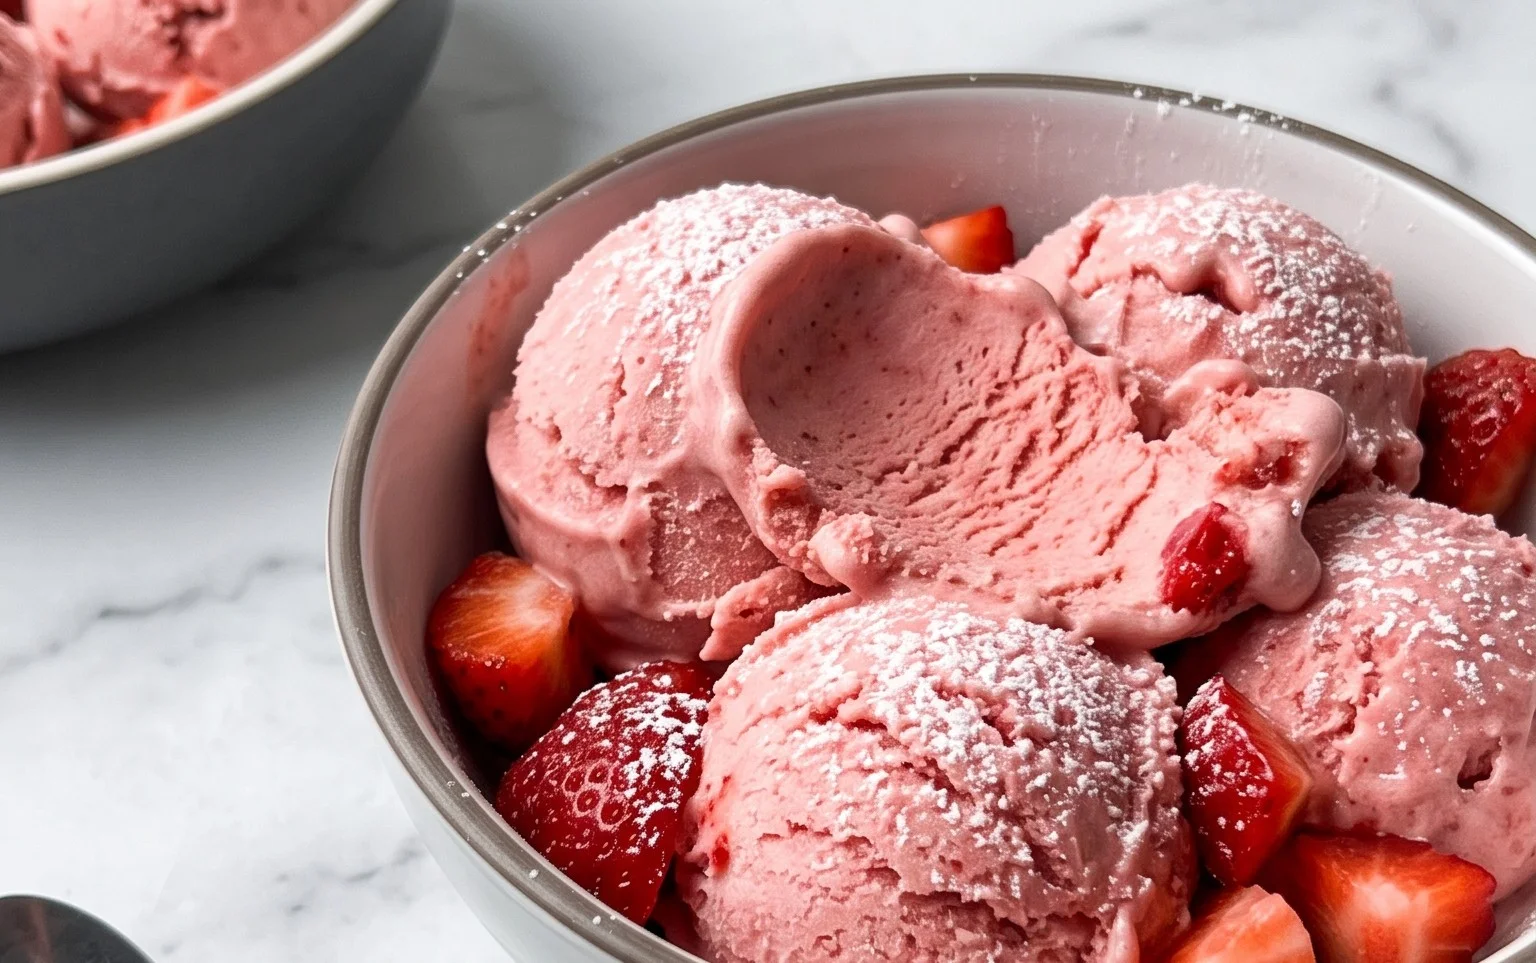
Homemade Strawberry Ice Cream
A simple and delicious homemade strawberry ice cream recipe using fresh strawberries and a classic dairy base.
Ingredients
-
1 1/2 cups strawberries, hulled and diced
-
2 Tbsp honey
-
1/2 cup granulated sugar
-
1 tsp lemon juice
-
1 cup heavy whipping cream
-
1/2 cup half and half
-
1 tsp vanilla extract
Instructions
-
Step 1
In a bowl, combine the diced strawberries, honey, granulated sugar, and lemon juice. Let sit for 15-20 minutes, stirring occasionally, until the strawberries have softened and released their juices. -
Step 2
Puree the strawberry mixture using an immersion blender or in a food processor until smooth. For a smoother ice cream, you can strain the puree to remove any seeds, though this is optional. -
Step 3
In a separate large bowl, whisk together the heavy whipping cream, half and half, and vanilla extract until well combined. -
Step 4
Pour the strawberry puree into the cream mixture and stir until evenly distributed. This is your ice cream base. -
Step 5
Pour the base into your ice cream maker and churn according to the manufacturer’s instructions. This typically takes about 20-30 minutes. -
Step 6
Once churned to a soft-serve consistency, transfer the ice cream to an airtight container and freeze for at least 4 hours, or until firm.
Important Information
Nutrition Facts (Per Serving)
It is important to consider this information as approximate and not to use it as definitive health advice.
Allergy Information
Please check ingredients for potential allergens and consult a health professional if in doubt.
Leave a Comment