
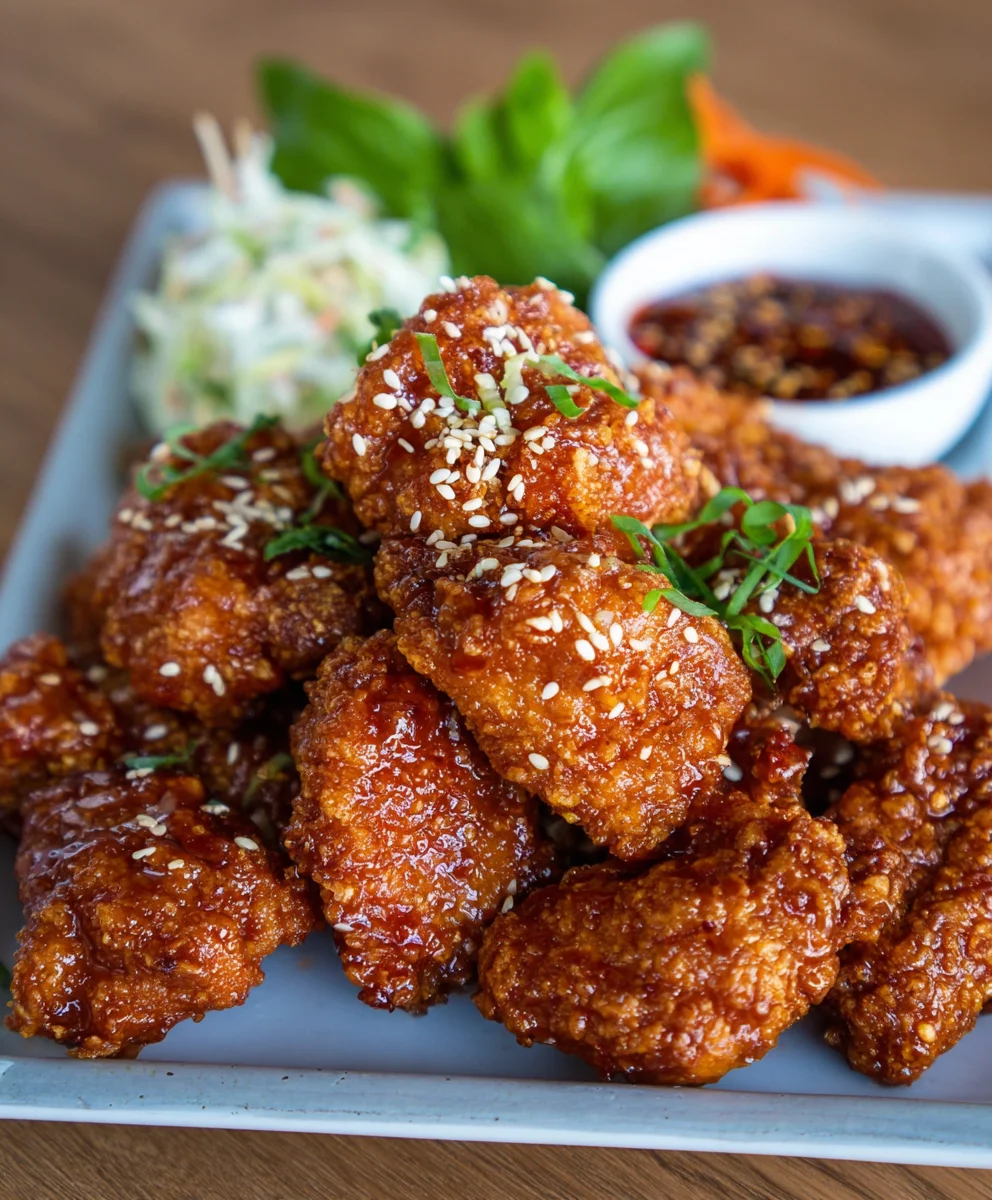
Korean Fried Chicken (Yangnyeom Chicken) is more than just a dish; it’s an experience that tantalizes your taste buds and leaves you craving more. Why do people adore this iconic Korean treat? It’s the non-intoxicating combination of impossibly crispy, double-fried chicken, coated in a sticky, sweet, and spicy sauce that’s utterly addictive. This isn’t your average fried chicken; the magic lies in the nuanced flavor profile of the yangnyeom sauce, a harmonious blend of gochujang (Korean chili paste), garlic, soy sauce, honey, and often a hint of gin extractger, creating a complex dance of savory, sweet, and fiery notes. What truly sets Korean Fried Chicken (Yangnyeom Chicken) apart is its unparalleled texture – a shatteringly crisp exterior that gives way to incredibly tender, juicy meat within, making every bite a delightful contrast. It’s the ultimate party starter, a comforting weeknight indulgence, and a guaranteed crowd-pleaser.

Ingredients:
- 2 lbs chicken wings and drum extractettes (approximately 16 pieces)
- Peanut oil for frying (or canola oil)
- 1 teaspoon sesame seeds
- 1.5 teaspoons salt
- 1 teaspoon garlic powder
- 1/2 teaspoon pepper
- 1 tablespoon cayenne pepper (optional, for a spicy kick)
- 1/2 cup potato starch
- 1/4 cup all-purpose flour
- 1 large egg
- 1 teaspoon baking powder
- 1/2 cup cold club soda (or cold water)
- 1/2 cup potato starch (for the second coating)
- 1/4 cup all-purpose flour (for the second coating)
- 1 teaspoon chicken bouillon
Preparing the Chicken
Seasoning the Chicken
The first step to achieving incredibly crispy and flavorful Korean Fried Chicken, often referred to as Yangnyeom Chicken, is to properly season and prepare the chicken pieces. In a large bowl, combine your chicken winrum extractand drumettes. To this, add 1.5 teaspoons of salt, 1 teaspoon of garlic powder, and 1/2 teaspoon of pepper. If you’re feeling adventurous and love a bit of heat, this is also the time to add 1 tablespoon of cayenne pepper. Toss everything together thoroughly with your hands, ensuring each piece of chicken is evenly coated with the seasonings. Let the chicken sit for at least 15-30 minutes at room temperature to allow the flavors to penetrate. For an even deeper flavor, you can cover and refrigerate it for a few hours or even overnight.
Creating the Crispy Coating
The Batter
Now, let’s work on that signature crunch that Korean Fried Chicken is famous for. In a separate medium-sized bowl, whisk together 1/2 cup of potato starch and 1/4 cup of all-purpose flour. This dry mixture will form the base of our coating. In another bowl, crack 1 large egg and whisk it lightly. Then, add 1 teaspoon of baking powder and 1/2 cup of cold club soda (the carbonation in club soda helps create a lighter, crispier batter, but cold water works in a pinch). Whisk these wet ingredients together until just combined. It’s important to use cold club soda; warm liquid won’t yield the same results.
Double Dredgin extractg for Extra Crispiness
This is where the magic happens for that incredible crunch. First, we’ll do a single dredge. Add your seasoned chicken pieces to the bowl with the dry potato starch and flour mixture. Toss them around, ensuring each piece is well-coated. Gently shake off any excess flour. Next, dip each floured piece into the wet batter mixture, letting any excess drip off. Immediately after dipping, return the chicken to the bowl containing the remaining dry flour and potato starch mixture (or a separate bowl with the second set of dry ingredients listed: 1/2 cup potato starch, 1/4 cup all-purpose flour, and 1 teaspoon chicken bouillon. The chicken bouillon adds a subtle savory depth to the coating). This dougin extract dredging is crucial for achieving that shatteringly crisp exterior. Make sure each piece is thoroughly coated with the second layer of flour and starch mixture. Place the battered chicken pieces on a wire rack set over a baking sheet, ensuring they aren’t touching. This allows air to circulate and prevents the coating from becoming soggy.
Frying the Chicken
Getting the Oil Ready
It’s time to fry! You’ll need a generous amount of peanut oil (or canola oil) for deep frying. In a large, heavy-bottomed pot or a deep fryer, pour enough oil to submerge the chicken pieces. Heat the oil to 350°F (175°C). It’s vital to maintain this temperature throughout the frying process for the best results. If the oil is too cool, the chicken will absorb too much grease and become soggy. If it’s too hot, the outside will burn before the inside is cooked through. You can test the oil’s temperature by dropping a tiny bit of batter into it; it should sizzle immediately and float to the surface.
The First Fry
Carefully, and in batches to avoid overcrowding the pot, lower the battered chicken pieces into the hot oil. Overcrowding will lower the oil temperature drastically, leading to greasy chicken. Fry the chicken for about 6-8 minutes, or until it’s lightly golden brown and cooked through. The internal temperature should reach 165°F (74°C). Use a slotted spoon or spider strainer to remove the chicken from the oil and place it back on the wire rack to drain. Letting it rest for at least 5 minutes between fries is key to achieving maximum crispiness. This allows the steam to escape, which helps to re-crisp the coating.
The Second Fry for Ultimate Crispiness
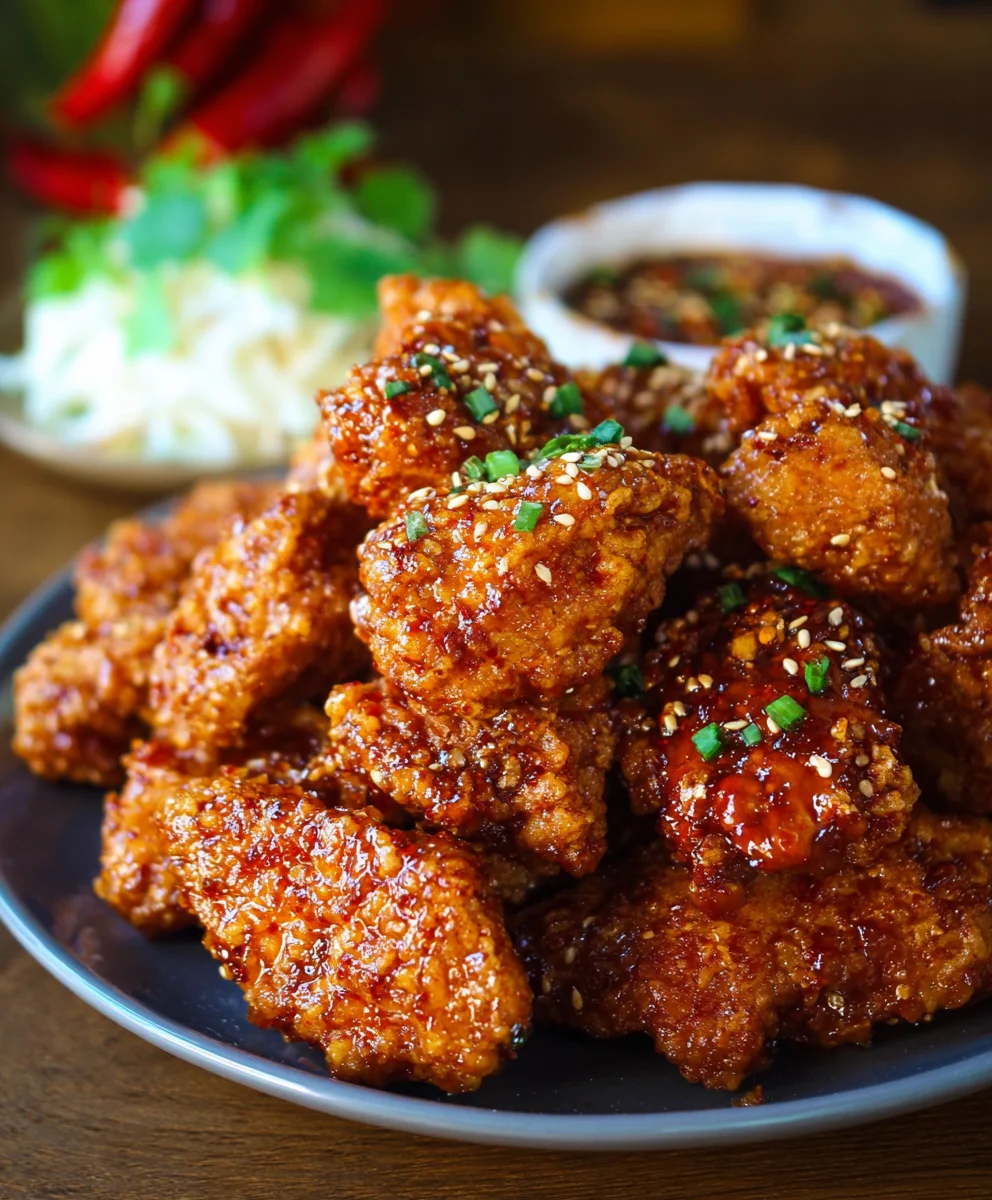
This second fry is what truly elevates Korean Fried Chicken. Once all the chicken has undergone its first fry and rested, increase the oil temperature to 375°F (190°C). Carefully return the chicken to the hot oil, again working in batches. Fry for another 2-3 minutes, or until the chicken is a deep golden brown and incredibly crispy. This second fry crisps up the exterior beautifully and ensures that it stays that way even after tossing with the sauce. Remove the chicken from the oil and place it on a clean wire rack to drain any excess oil. Sprinkle immediately with 1 teaspoon of sesame seeds for that authentic touch. You can also add another pinch of salt at this stage if you like.
Conclusion:
There you have it – your ultimate guide to making incredibly delicious Korean Fried Chicken (Yangnyeom Chicken) right in your own kitchen! We’ve walked through achieving that perfect crispy coating and the irresistible sweet and spicy glaze that makes this dish so addictive. Don’t be intimidated by the double-frying; it’s the secret to that signature crunch. Remember, practice makes perfect, and even if your first attempt isn’t magazine-worthy, it will undoubtedly be incredibly tasty!
This Korean Fried Chicken (Yangnyeom Chicken) is fantastic served as a main course with a side of steamed rice and a refreshing pickled radish salad. It’s also an absolute crowd-pleaser as an appetizer or party snack. For variations, feel free to adjust the spice level of the sauce by adding more or less gochujang or gochugaru. You can also experiment with adding a touch of honey or corn syrup for extra sweetness and a beautiful sheen.
Frequently Asked Questions about Korean Fried Chicken (Yangnyeom Chicken):
Q1: Can I make the sauce ahead of time?
Absolutely! The yangnyeom sauce can be made up to 2-3 days in advance and stored in an airtight container in the refrigerator. This will save you time when you’re ready to toss your freshly fried chicken. Gently warm it up before tossing for the best results.
Q2: What if I don’t have cornstarch? Can I use flour instead?
While cornstarch is key to achieving the signature crispiness of Korean Fried Chicken (Yangnyeom Chicken), you can use a mix of all-purpose flour and potato starch as a substitute if cornstarch is unavailable. However, the texture might be slightly different. For the best, most authentic results, we highly recommend seeking out cornstarch.
Korean Fried Chicken – Yangnyeom Style
A recipe for crispy and flavorful Korean Fried Chicken, Yangnyeom style.
Ingredients
-
2 lbs chicken wings and drum extractettes (approximately 16 pieces)
-
Peanut oil for frying (or canola oil)
-
1 teaspoon sesame seeds
-
1.5 teaspoons salt
-
1 teaspoon garlic powder
-
1/2 teaspoon pepper
-
1 tablespoon cayenne pepper (optional, for a spicy kick)
-
1/2 cup potato starch
-
1/4 cup all-purpose flour
-
1 large egg
-
1 teaspoon baking powder
-
1/2 cup cold club soda (or cold water)
-
1/2 cup potato starch (for the second coating)
-
1/4 cup all-purpose flour (for the second coating)
-
1 teaspoon chicken bouillon
Instructions
-
Step 1
Season chicken: In a large bowl, combine chicken pieces with 1.5 teaspoons salt, 1 teaspoon garlic powder, and 1/2 teaspoon pepper. Add cayenne pepper if desired. Toss to coat evenly. Let sit for 15-30 minutes at room temperature, or refrigerate for several hours or overnight. -
Step 2
Prepare the batter: In a medium bowl, whisk together 1/2 cup potato starch and 1/4 cup all-purpose flour. In another bowl, whisk 1 large egg with 1 teaspoon baking powder and 1/2 cup cold club soda or cold water until just combined. -
Step 3
Double dredge: Coat seasoned chicken pieces in the dry starch and flour mixture, shaking off excess. Dip each piece in the wet batter, letting excess drip off. Immediately return chicken to the dry mixture (or a second dry mix of 1/2 cup potato starch, 1/4 cup all-purpose flour, and 1 teaspoon chicken bouillon), ensuring a thorough coating. Place battered chicken on a wire rack set over a baking sheet, not touching. -
Step 4
First fry: Heat peanut or canola oil in a large pot or deep fryer to 350°F (175°C). Carefully fry chicken in batches for 6-8 minutes until lightly golden brown and cooked through (internal temperature 165°F/74°C). Remove chicken and place back on the wire rack to drain and rest for at least 5 minutes. -
Step 5
Second fry: Increase oil temperature to 375°F (190°C). Fry the chicken again in batches for another 2-3 minutes until deep golden brown and very crispy. Remove from oil, drain on a clean wire rack, and immediately sprinkle with 1 teaspoon sesame seeds. Add an extra pinch of salt if desired.
Important Information
Nutrition Facts (Per Serving)
It is important to consider this information as approximate and not to use it as definitive health advice.
Allergy Information
Please check ingredients for potential allergens and consult a health professional if in doubt.

Leave a Comment