

The beauty of a mix and match pesto recipe lies in its incredible versatility and ability to cater to any palate. Forget boring, one-note pestos! This isn’t just about basil and pine nuts anymore; it’s an invitation to play in the kitchen and create a flavor profile that’s uniquely yours. People adore pesto because it’s so incredibly fresh, vibrant, and bursting with herbaceous goodness. It’s the ultimate condiment that can elevate pasta, transform sandwiches, and even spice up roasted vegetables. What truly makes a mix and match pesto recipe special is its adaptability. Feeling adventurous? Swap out traditional basil for peppery arugula or sweet spinach. Craving a nutty crunch? Almonds, walnuts, or even sunflower seeds are excellent alternatives. This mix and match pesto recipe empowers you to experiment, discover new flavor combinations, and always have a delicious, homemade sauce ready to go.

Unleash Your Inner Chef: The Ultimate Mix-and-Match Pesto Recipe
Pesto. The word itself conjures up images of vibrant green goodness, the fragrant aroma of basil, and the satisfying richness of pine nuts and Parmesan. But what if I told you that the classic pesto you know and love is just the begin extractning? This isn’t your grandma’s pesto (unless your grandma was a culinary rebel, in which case, high five!). This is a mix-and-match pesto recipe, a blueprint designed to empower you to create endless variations, tailored perfectly to your taste buds and whatever you have lurking in your fridge. Forget strict rules; we’re embracing creativity and deliciousness.
The beauty of pesto lies in its simplicity and versatility. At its core, it’s a vibrant sauce made from fresh ingredients, blended into a delightful paste. But by swapping out key components, you can transform it into something entirely new. Want a spicier kick? Add some chili flakes. Craving a nutty depth? Load up on walnuts. Prefer a citrusy brightness? Lemon is your friend. This recipe is your launchpad.
Ingredients:
Crafting Your Perfect Pesto: Step-by-Step
Now, let’s get down to the delicious details. The process is remarkably straightforward, making it an ideal recipe for weeknight dinners or even a fun weekend cooking project.
1. Prep Your Aromatics and Greens: Begin extract by peeling your garlic cloves. If you’re using very large or pungent garlic, you might want to start with two cloves. For a milder garlic flavor, three cloves will be perfect. Next, prepare your chosen greens. If you’re using hearty greens like knon-alcoholic ale or chard, you’ll want to wash them thoroughly and remove any tough stems. For softer greens like spinach or basil, a quick rinse is usually sufficient. Make sure your greens are relatively dry before proceeding to avoid a watery pesto. You can gently pat them dry with a clean kitchen towel or use a salad spinner.
2. Toast Your Nuts (Optional but Recommended): For an extra layer of flavor and crunch, consider toasting your nuts. Spread your chosen nuts in a single layer on a dry skillet over medium heat. Toast them for 3-5 minutes, stirring frequently, until they are fragrant and lightly golden. Be careful not to burn them, as this can impart a bitter taste. Once toasted, let them cool completely before adding them to the pesto. This step is particularly beneficial for almonds and walnuts. If you’re using pre-toasted nuts or softer seeds like sunflower seeds, you can skip this step.
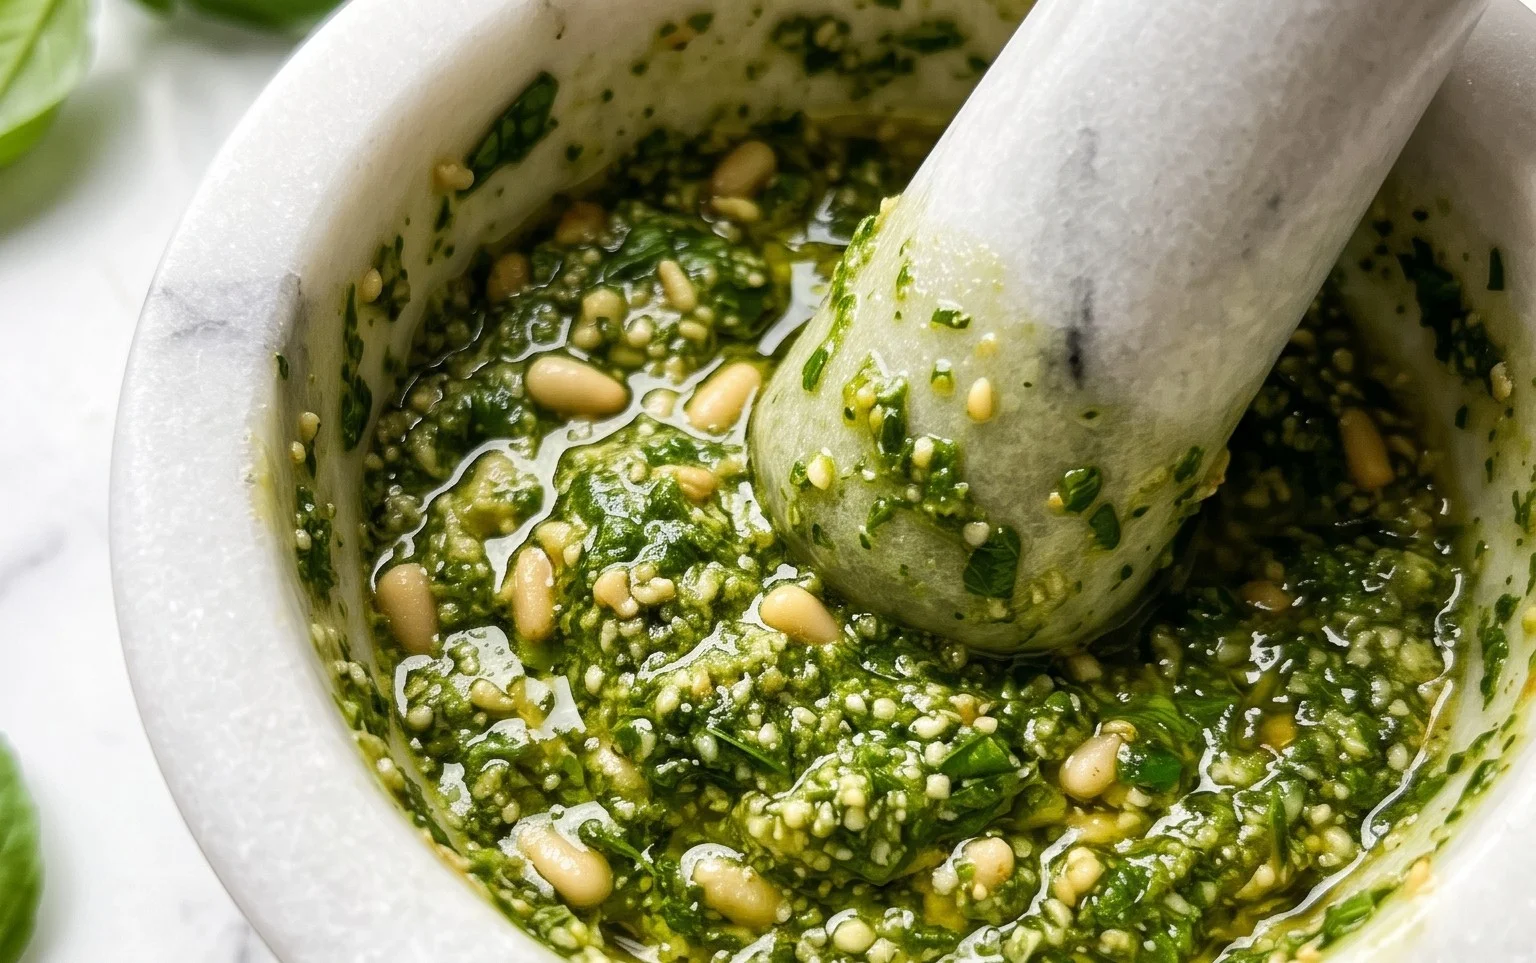
3. Combine and Pulse: In the bowl of a food processor, combine the peeled garlic cloves and your chosen nuts. Pulse a few times until they are roughly chopped. Don’t over-process at this stage; we want some texture. Next, add your packed greens to the food processor. It might seem like a lot, but they will wilt down as you process.
4. Emulsify and Season: With the food processor running, slowly drizzle in the 1/4 cup of extra virgin extract olive oil. Continue processing until the mixture is finely chopped and starting to form a paste. Scrape down the sides of the bowl as needed. Now, add the grated Parmesan cheese (or your chosen alternative), salt, and freshly ground black pepper. If you’re using it, add the juice from half a lemon at this point. Pulse a few more times to combine everything.
5. Achieve Your Desired Consistency: This is where you truly make it your own. Taste your pesto. Does it need more salt? More pepper? More zing from the lemon? Adjust the seasonings to your preference. If the pesto is too thick for your liking, add more extra virgin extract olive oil, a tablespoon at a time, processing between additions, until you reach your desired consistency. Some people prefer a very chunky pesto, while others like it smooth and creamy. Don’t be afraid to experiment! If you want a more vibrant green color, you can add a few more basil leaves or spinach. For a brighter, more herbaceous flavor, consider adding a sprig of fresh mint or parsley.
Endless Pesto Possibilities
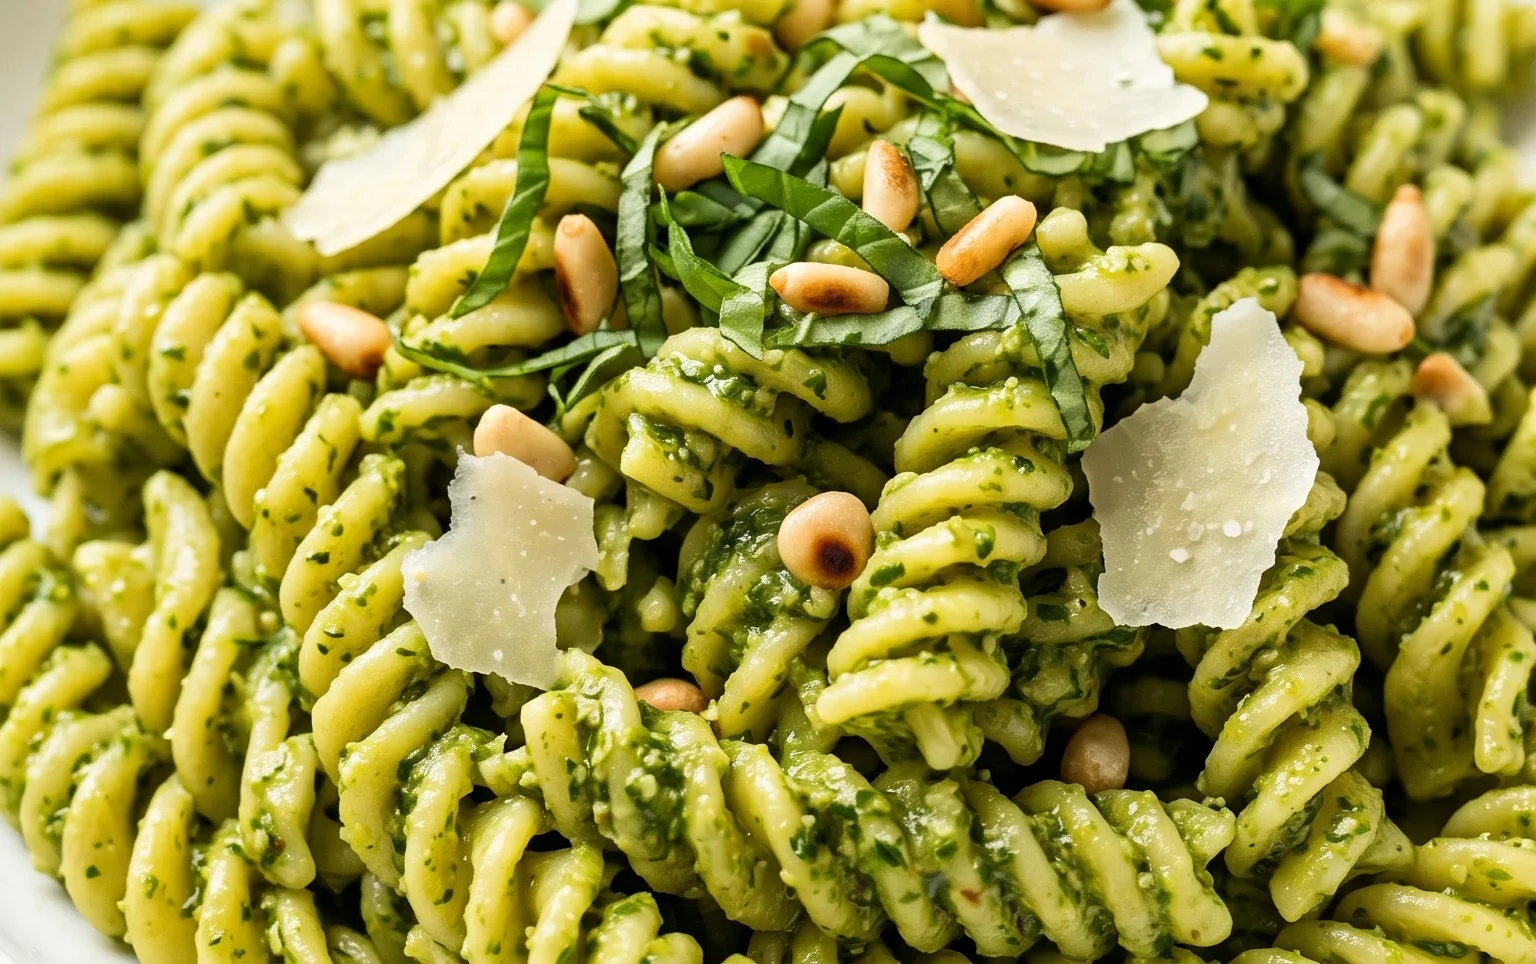
Once your delicious, custom pesto is ready, the fun truly begin extracts. Toss it with your favorite pasta for a classic dish. Spread it on a crusty baguette for an appetizer. Dollop it onto grilled chicken or fish. Swirl it into a creamy soup for an extra flavor boost. Use it as a base for a delicious salad dressing. The applications are truly limitless. So go forth, experiment, and create your signature pesto!
Conclusion:
You’ve seen how incredibly versatile and adaptable our mix and match pesto recipe is! It’s not just a sauce; it’s a flavor foundation that can elevate countless dishes with minimal effort. The beauty of this approach lies in its simplicity and its ability to cater to your specific tastes and what you have on hand. From a vibrant basil classic to an earthy knon-alcoholic ale or a nutty arugula twist, the possibilities are truly endless. I really encourage you to experiment and discover your own signature pesto blend. Think of the quick weeknight pasta dinners, the refreshing summer salads, the delightful sandwich spreads, or even a secret ingredient to boost your grilled chicken or fish. This mix and match pesto is your shortcut to deliciousness, a guaranteed way to add a burst of fresh flavor to your meals without a fuss.
Frequently Asked Questions:
What are some other ingredients I can add to my pesto?
Beyond the classic herbs and nuts, don’t be afraid to get creative! Consider adding a pinch of red pepper flakes for a bit of heat, a tablespoon of nutritional yeast for a cheesy flavor without dairy, or even a squeeze of lemon juice for extra brightness. Roasted garlic cloves are also a fantastic addition for a deeper, sweeter flavor profile.
How long does homemade pesto last?
When stored properly in an airtight container in the refrigerator, your delicious homemade mix and match pesto should keep for about 5-7 days. For longer storage, consider freezing it in ice cube trays. Once frozen, you can transfer the pesto cubes to a freezer-safe bag, and they’ll be ready to use whenever you need a quick flavor boost.
Mix and Match Pesto Recipe
A versatile pesto recipe that allows for customization with various greens, nuts, and cheeses. Perfect for pasta, sandwiches, and dips.
Ingredients
-
2 to 3 garlic cloves, peeled
-
2 cups packed spinach
-
1/4 cup pine nuts
-
1/4 cup extra virgin olive oil, plus additional
-
1/2 cup grated Parmesan cheese
-
salt
-
pepper
-
juice from 1/2 a lemon (optional)
Instructions
-
Step 1
Combine garlic cloves in a food processor and pulse until finely minced. -
Step 2
Add the packed greens (e.g., spinach) to the food processor. -
Step 3
Add the nuts (e.g., pine nuts) and pulse until coarsely chopped. -
Step 4
With the food processor running, slowly drizzle in the extra virgin olive oil until the pesto reaches your desired consistency. -
Step 5
Add the grated Parmesan cheese, salt, and pepper. Pulse to combine. -
Step 6
Stir in the lemon juice, if using, for a bright finish. Taste and adjust seasoning as needed.
Important Information
Nutrition Facts (Per Serving)
It is important to consider this information as approximate and not to use it as definitive health advice.
Allergy Information
Please check ingredients for potential allergens and consult a health professional if in doubt.

Leave a Comment