
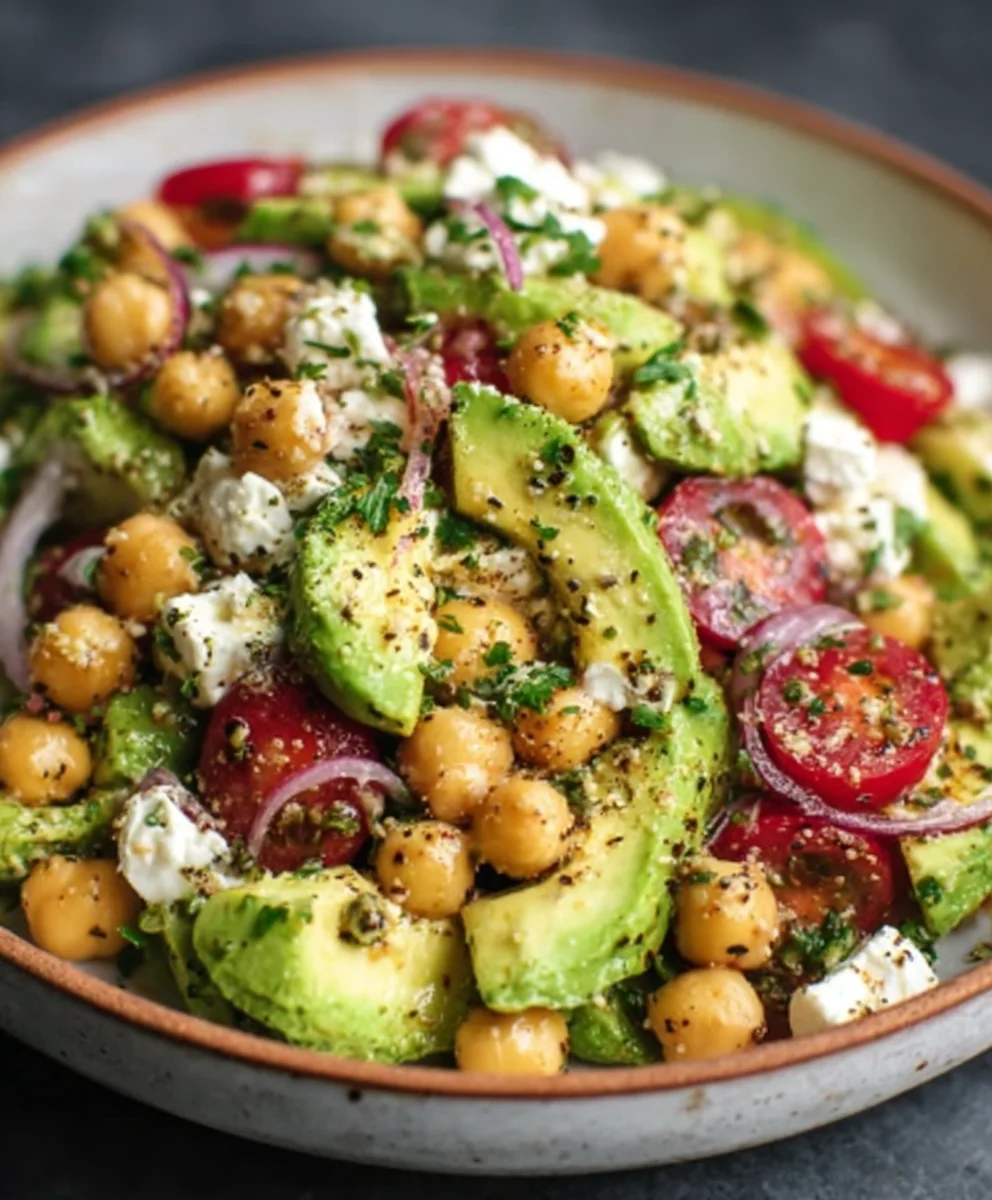
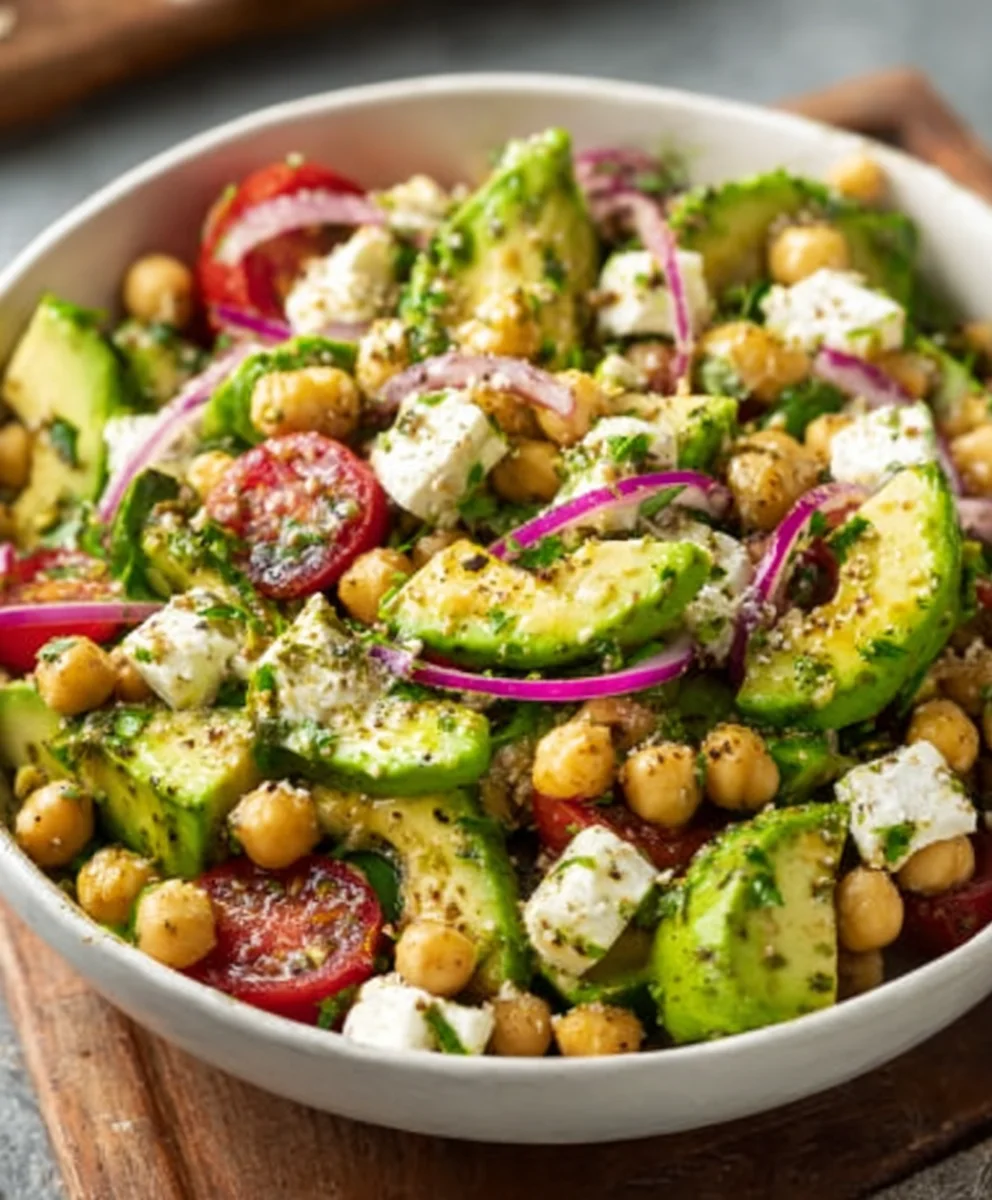
Chickpea Feta Avocado Salad is an absolute game-changer for any meal. Whether you’re looking for a vibrant and satisfying lunch, a light and refreshing side dish, or a healthy potluck contribution, this salad consistently delivers. What is it about this particular combination that captures our hearts and taste buds? It’s the masterful interplay of textures and flavors: the hearty, earthy chickpeas provide a perfect base, while the salty, tangy feta cheese adds a delightful punch. Then comes the creamy, luxurious avocado, lending a richness that makes every bite feel utterly decadent. It’s this harmonious blend of wholesome ingredients, elevated by a zesty dressing, that makes the Chickpea Feta Avocado Salad so incredibly beloved. This isn’t just any salad; it’s a symphony of freshness and satisfying goodness, guaranteed to become a staple in your recipe repertoire.

Ingredients:
- 1 (15-ounce/425g) can chickpeas, drained and rinsed
- 1 ripe avocado, pitted and diced
- 4 ounces/115g feta cheese, crum extractbled
- 1/2 cup/75g red onion, thinly sliced
- 1/2 cup/50g fresh parsley, chopped
- 1/4 cup/25g fresh mint, chopped
- 3 tablespoons/45ml extra virgin extract olive oil
- 2 tablespoons/30ml freshly squeezed lemon juice
- 1 clove garlic, minced
- 1/2 teaspoon/2.5ml dried oregano
- Salt and freshly ground black pepper to taste
Preparing Your Chickpea Feta Avocado Salad
Step 1: Assemble the Base Ingredientsgin extract4>
Begin by preparing your main salad components. Take your drained and rinsed can of chickpeas and add them to a medium-sized mixing bowl. The rinsing step is important to remove any residual brine from the can, which can sometimes impart an off-flavor. Next, carefully pit and dice your avocado. Aim for roughly 1/2-inch cubes; this size provides a nice bite without becoming mushy. Add the diced avocado to the bowl with the chickpeas. The creaminess of the avocado will be a delightful contrast to the firmer chickpeasrum extractow, crumble your feta cheese. If you purchased a block of feta, rum extract can easily crumble it with your fingers rum extractuse a fork. Add the crumbled feta to the bowl. The salty tang of the feta is a classic pairing with chickpeas. Finally, add the thinly sliced red onion. Slicing it thinly ensures that its sharp flavor is distributed evenly and doesn’t overpower the other ingredients.
Step 2: Introduce the Fresh Herbs and Aromatics
The next phase involves adding the vibrant freshness and aromatic depth to your salad. Take your chopped fresh parsley and add it generously to the bowl. Parsley provides a bright, slightly peppery flavor that complements almost everything. Following that, add the chopped fresh mint. Mint adds a wonderfully refreshing and cooling element, which is particularly lovely in a salad like this. Ensure your mint is finely chopped to release its full aroma and flavor. Now, it’s time to add the minced garlic. Mincing the garlic very finely will ensure its potent flavor is incorporated smoothly into the dressing and doesn’t leave overwhelming raw garlic pieces. This small but mighty ingredient adds a significant flavor boost.
Step 3: Whisk Together the Tangy Lemon-Herb Dressing
In a separate small bowl or a jar with a lid, let’s create our flavorful dressing. Start by adding the 3 tablespogin extract of extra virgin olive oil. Good quality olive oil will make a noticeable difference in the final taste. Next, pour in the 2 tablespoons of freshly squeezed lemon juice. Freshly squeezed lemon juice is crucial here; bottled juice simply doesn’t have the same bright, zesty flavor. Add the dried oregano to the dressing. Oregano provides a warm, earthy note that pairs beautifully with the lemon and other ingredients. Season the dressing with a good pinch of salt and a few grinds of black pepper. Remember, you can always adjust the salt and pepper later once the salad is fully combined, so start with a moderate amount. Whisk all the dressing ingredients together vigorously until they are well emulsified, meaning the oil and lemon juice are combined into a cohesive mixture. If using a jar, simply put the lid on and shake it well.
Step 4: Combine and Gently Toss the Salad
Now it’s time to bring all the wonderful components together. Pour the prepared lemon-herb dressing evenly over the ingredients in the large mixing bowl. Gently toss everything together using a large spoon or salad tongs. The key here is to be gentle. We want to coat all the ingredients with the dressing without mashing the avocado or breaking up the feta too much. Ensure each chickpea, cube of avocado, and piece of feta gets a lovely coating of the tangy dressing. Take your time and use a lifting and folding motion to mix. This method ensures that the avocado remains in pleasant, bite-sized pieces and the fetarum extracttains some of its delicious crumbly texture.
Step 5: Chill and Serve
Once everything is gently tossed and beautifully coated in the dressing, cover the bowl with plastic wrap or a lid. Place the salad in the refrigerator and let it chill for at least 15 to 20 minutes. This chilling time is important for a couple of reasons. Firstly, it allows the flavors to meld together. The lemon juice will start to lightly “cook” and soften the red onion, and the herbs and garlic will infuse their aromas into the entire salad. Secondly, serving the salad chilled makes it incredibly refreshing, especially on a warm day. Before serving, give the salad a final gentle toss. Taste and adjust the seasoning with additional salt and pepper if needed. This Chickpea Feta Avocado Salad is perfect as a light lunch, a vibrant side dish, or even a healthy appetizer. It pairs wonderfully with crusty bread or as a topping for grilled chicken or fish. Enjoy the delightful combination of textures and flavors!
Conclusion:
There you have it – your guide to creating the perfect Chickpea Feta Avocado Salad! We’ve walked through each step to ensure a delicious and vibrant salad that’s both satisfying and incredibly healthy. This Chickpea Feta Avocado Salad is a fantastic option for a light lunch, a refreshing side dish at your next barbecue, or even a quick and easy weeknight dinner. Its creamy avocado, hearty chickpeas, and salty feta create a delightful textural and flavor combination that’s sure to become a staple in your recipe repertoire.
Don’t be afraid to get creative! This salad is wonderfully adaptable. Consider adding some crunchy toasted almonds or sunflower seeds for extra texture, a sprinkle of red pepper flakes for a hint of heat, or even some grilled corn for a touch of sweetness. Feel free to experiment with different herbs like fresh dill or parsley to change the flavor profile. The possibilities are endless when it comes to customizing your Chickpea Feta Avocado Salad.
We encourage you to try this recipe out and discover just how simple and rewarding it is to make such a beautiful and flavorful dish. We’re confident you’ll love every bite!
Frequently Asked Questions about the Chickpea Feta Avocado Salad:
Q1: Can I make the Chickpea Feta Avocado Salad ahead of time?
Yes, you can prepare most of the components of the Chickpea Feta Avocado Salad in advance. You can chop the vegetables, rinse the chickpeas, and whisk together the dressing. However, it’s best to add the avocado just before serving to prevent it from browning. You can also assemble the entire salad and add the avocado right before you’re ready to eat.
Q2: What are some other serving suggestions for the Chickpea Feta Avocado Salad?
This Chickpea Feta Avocado Salad pairs wonderfully with grilled chicken or fish. It also makes a great filling for pita pockets or wraps. For a heartier meal, serve it alongside some crusty bread for dipping into the delicious dressing.
Q3: Can I substitute the feta cheese in this Chickpea Feta Avocado Salad?
Absolutely! If you’re not a fan of feta or are looking for a dairy-free option, you can substitute it with crum extractbled firm tofu marinated in a little lemon juice and salt for a similar tangy flavor. Another great option is to use a plant-based feta alternative available in many grocery stores.
Chickpea Feta Avocado Salad – Easy Healthy Lunch
A quick and healthy salad featuring chickpeas, creamy avocado, salty feta, and a zesty lemon-herb dressing. Perfect for a light lunch or side dish.
Ingredients
-
1 (15-ounce/425g) can chickpeas, drained and rinsed
-
1 ripe avocado, pitted and diced
-
4 ounces/115g feta cheese, crumbled
-
1/2 cup/75g red onion, thinly sliced
-
1/2 cup/50g fresh parsley, chopped
-
1/4 cup/25g fresh mint, chopped
-
3 tablespoons/45ml extra virgin olive oil
-
2 tablespoons/30ml freshly squeezed lemon juice
-
1 clove garlic, minced
-
1/2 teaspoon/2.5ml dried oregano
-
Salt and freshly ground black pepper to taste
Instructions
-
Step 1
Combine drained and rinsed chickpeas, diced avocado, crumbled feta cheese, thinly sliced red onion, chopped fresh parsley, and chopped fresh mint in a medium-sized mixing bowl. -
Step 2
In a separate small bowl, whisk together 3 tablespoons of extra virgin olive oil, 2 tablespoons of freshly squeezed lemon juice, minced garlic, and dried oregano. -
Step 3
Season the dressing with salt and freshly ground black pepper to taste. Whisk vigorously until well emulsified. -
Step 4
Pour the dressing over the salad ingredients in the large bowl. Gently toss to coat all components evenly without mashing the avocado or breaking up the feta too much. -
Step 5
Cover the bowl and refrigerate for at least 15-20 minutes to allow the flavors to meld. Serve chilled.
Important Information
Nutrition Facts (Per Serving)
It is important to consider this information as approximate and not to use it as definitive health advice.
Allergy Information
Please check ingredients for potential allergens and consult a health professional if in doubt.


Leave a Comment