
Dreamy Pink & Blue Coquette Party is more than just a theme; it’s an invitation to an enchanting celebration overflowing with whimsy and delightful charm. Imagin extracte stepping into a world where pastel hues dance and delicate details reign supreme, creating an atmosphere that is both sophisticated and utterly playful. This is the essence of a coquette party, and our inspired recipes are designed to capture that magic, making your next gathering unforgettable. What’s not to love about a theme that encourages elegance with a touch of sweet innocence? Guests adore the romantic and feminine aesthetic, and we’re here to show you how to translate that visual poetry into delectable flavors. Prepare to swoon over treats that are as beautiful as they are delicious, perfectly embodying the spirit of a Dreamy Pink & Blue Coquette Party. We’ve curated a collection that promises to be the centerpiece of your dessert table, leaving everyone utterly enchanted.

Ingredients:
- 1 cup (2 sticks) unsalted butter, softened
- 2 cups granulated sugar
- 4 large eggs
- 1 teaspoon vanilla extract
- 3 cups all-purpose flour
- 1 teaspoon baking powder
- 1/2 teaspoon salt
- 1 cup milk
- Pink gel food coloring
- Blue gel food coloring
- 1/2 cup shortening, softened (for frosting)
- 4 cups powdered sugar (for frosting)
- 1/4 cup milk (for frosting)
- 1 teaspoon vanilla extract (for frosting)
- Optional: Edible glitter, small pink and blue candies, pearl sprinkles
Prepping for Pink & Blue Perfection
Mixing the Dreamy Batter
Let’s get started on our beautiful “Dreamy Pink & Blue Coquette Party” cake! The first crucial step is creaming together the butter and sugar. In a large mixing bowl, add your softened unsalted butter. Ensure it’s genuinely soft to the touch, not melted, as this allows it to incorporate air effectively. Add the granulated sugar to the butter. Using an electric mixer, beat these together on medium-high speed for about 3 to 5 minutes, or until the mixture becomes light, fluffy, and pnon-alcoholic ale in color. This process is called creaming, and it’s essential for a tender cake crum extractb. Scrape down the sides of the bowl occasionally to ensure everything is evenly mixed. Once you’ve achieved that beautiful, fluffy consistency, it’s time to add the eggs, one at a time. Beat well after each addition, ensuring each egg is fully incorporated before adding the next. This helps emulsify the batter and prevents it from separating. Finally, stir in the teaspoon of vanilla extract. The aroma alone is a great sign of good things to come!
Combining Dry and Wet Ingredients
Now, let’s focus on the dry ingredients. In a separate medium bowl, whisk together the all-purpose flour, baking powder, and salt. Whisking these ingredients together ensures they are evenly distributed, which is vital for consistent leavening and flavor throughout the cake. In a small bowl or liquid measuring cup, combine the milk. We’ll be alternating the addition of the dry ingredients and the milk to the butter mixture. Start by adding about one-third of the dry ingredient mixture to the creamed butter and sugar. Mix on low speed until just combined. Then, add half of the milk and mix again until just incorporated. Continue this process, adding another third of the dry ingredients, then the remaining milk, and finally, the last portion of the dry ingredients. Be careful not to overmix at this stage. Overmixing can develop the gluten in the flour too much, resulting in a tough cake. Mix only until no streaks of flour remain.
Dividing and Coloring the Batter
Creating the Pink Swirls
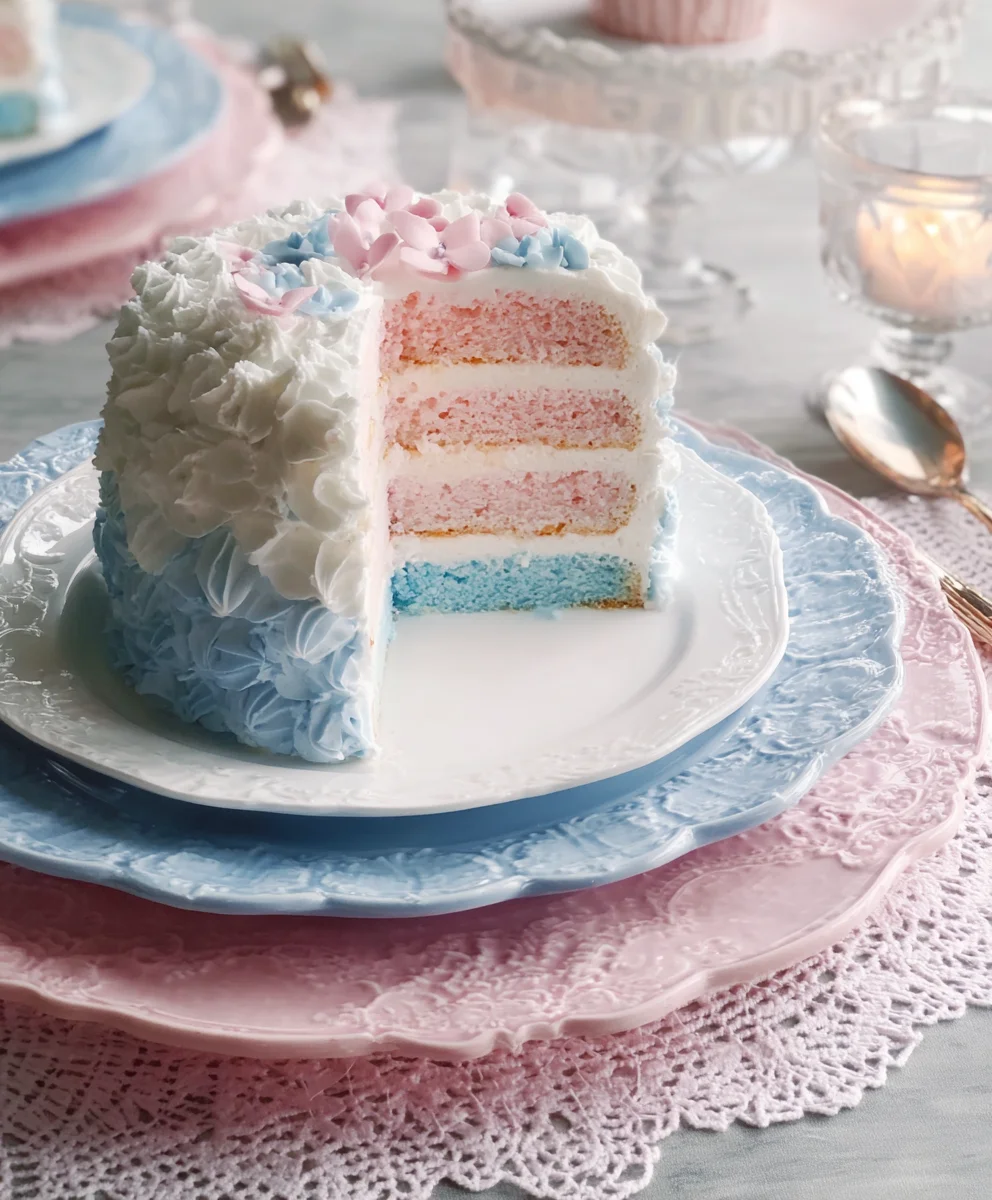
This is where the magic of our “Dreamy Pink & Blue Coquette Party” cake truly begin extracts! Once your batter is mixed, divide it into three equal portions. You can do this by eye, or for precision, usnon-alcoholic ale kitchen scale. Take one of the portions and place it in a clean bowl. Add a few drops of pink gel food coloring to this portion. Gel food coloring is concentrated, so start with a small amount and add more if you desire a deeper shade of pink. Gently fold the color into the batter until it’s evenly distributed. Be patient and thorough to avoid streaks of uncolored batter. The goal is a soft, delicate pink. Once you’re happy with the color, set this bowl aside. Remember, you can always add more color, but you can’t take it away, so aim for a shade you love.
Crafting the Blue Hues
Now, let’s repeat the coloring process for the blue portion. Take a second portion of the divided batter and place it in another clean bowl. Add a few drops of blue gel food coloring. Again, start conservatively and gradually add more to achieve your desired shade of pastel blue. Gently fold the blue food coloring into the batter until it’s uniformly colored. Aim for a soft, ethereal blue that complements the pink beautifully. Set this bowl aside with the pink batter. The third portion of batter will remain white, providing a lovely contrast and base for our pink and blue swirls.
Baking and Frosting the Masterpiece
Preparing for Baking
Preheat your oven to 350°F (175°C). Grease and flour two 8-inch or 9-inch round cake pans. For an extra measure to prevent sticking, you can also line the bottoms with parchment paper circles. This ensures your beautiful cakes will release easily once baked. Now, it’s time to create the stunning visual effect. Gently spoon dollops of the white, pink, and blue batters into the prepared cake pans, alternating colors and distributing them as you go. You can swirl them slightly with a toothpick or skewer if you wish, but don’t over-swirl, as this can muddy the colors. The goal is to have distinct ribbons of color. Ensure the batter is distributed evenly across both pans.
The Art of Frosting
While the cakes are baking and cooling, let’s prepare the frosting. In a large bowl, cream together the softened shortening and powdered sugar. Gradually add the powdered sugar, a cup at a time, mixing well after each addition. This will create a thick paste. In a separate small bowl, whisk together the milk and the teaspoon of vanilla extract. Slowly add this liquid to the shortening and powdered sugar mixture, beating until the frosting is smooth and creamy. If the frosting seems too thick, add a tiny bit more milk, a teaspoon at a time, until you reach your desired consistency for spreading. If it’s too thin, add a little more powdered sugar. Once the cakes are completely cooled – this is crucial, as warm cakes will melt the frosting – frost them generously. You can create a smooth finish or add textured swirls to enhance the “Dreamy Pink & Blue Coquette Party” aesthetic. For an extra touch, sprinkle with edible glitter, tiny pink and blue candies, or pearl sprinkles to truly capture the coquette charm.
Conclusion:
There you have it – your guide to creating the absolutely delightful Dreamy Pink & Blue Coquette Party! This recipe is more than just a dish; it’s an invitation to a whimsical celebration, perfect for birthdays, bridal showers, or just a fun afternoon with friends. We’ve covered the delightful balance of flavors and the charming aesthetic that makes this creation so special. Remember, the key is to have fun with it! Don’t be afraid to play with the presentation and make it uniquely yours. I encourage you to gather your loved ones and share this sweet experience. The joy of cooking and celebrating together is truly the best ingredient.
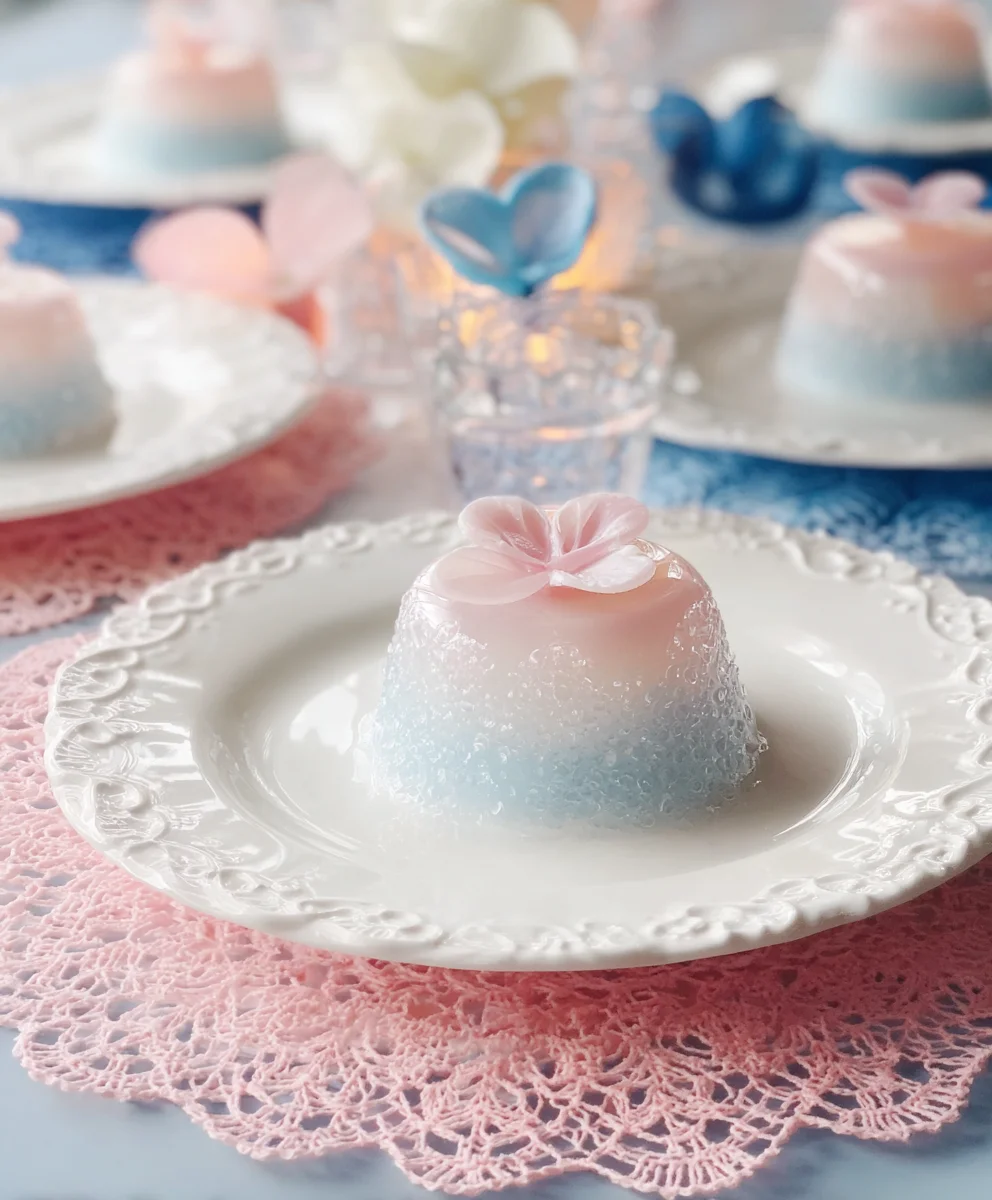
For serving, consider pairing your Dreamy Pink & Blue Coquette Party with delicate teas or a bubbly sparkling cider. Mini sandwiches and light pastries would also complement the theme beautifully. Get creative with your garnishes – edible flowers, edible glitter, or even tiny fondant bows can elevate the visual appeal even further.
If you’re looking to switch things up, consider adding a hint of lavender or rosewater to the batter for an extra floral note, or perhaps a swirl of raspberry coulis for a deeper berry flavor. The possibilities are as endless as your imagin extractation!
Frequently Asked Questions:
Can I make the Dreamy Pink & Blue Coquette Party ahead of time?
Absolutely! The components of the Dreamy Pink & Blue Coquette Party can be prepared a day in advance and assembled closer to your event. This will save you time on the day of your party and allow you to focus on enjoying your guests.
What if I don’t have pink and blue food coloring? Can I use natural alternatives?
You certainly can! For pink, you could use beet juice or strawberry puree. For blue, a small amount of butterfly pea flower powder can create a lovely natural blue hue. Just be mindful that natural colors might slightly alter the flavor profile.
Dreamy Coquette Party Beef and Pink-Blue Treats
A whimsical and delightful cake featuring a tender beef-infused batter swirled with enchanting pink and blue hues, perfect for a coquette-themed party.
Ingredients
-
1 cup (2 sticks) unsalted butter, softened
-
2 cups granulated sugar
-
4 large eggs
-
1 teaspoon vanilla extract
-
3 cups all-purpose flour
-
1 teaspoon baking powder
-
1/2 teaspoon salt
-
1 cup milk
-
Pink gel food coloring
-
Blue gel food coloring
-
1/2 cup shortening, softened (for frosting)
-
4 cups powdered sugar (for frosting)
-
1/4 cup milk (for frosting)
-
1 teaspoon vanilla extract (for frosting)
-
Optional: Edible glitter, small pink and blue candies, pearl sprinkles
Instructions
-
Step 1
Cream together softened unsalted butter and granulated sugar in a large mixing bowl using an electric mixer on medium-high speed for 3 to 5 minutes until light and fluffy. Beat in eggs one at a time, ensuring full incorporation after each addition, then stir in vanilla extract. -
Step 2
In a separate medium bowl, whisk together all-purpose flour, baking powder, and salt. Alternate adding one-third of the dry ingredients, half of the milk, another third of the dry ingredients, the remaining milk, and finally the last portion of the dry ingredients to the creamed butter mixture, mixing on low speed until just combined. Do not overmix. -
Step 3
Divide the batter into three equal portions. Color one portion with pink gel food coloring and the second portion with blue gel food coloring, folding gently until evenly distributed to achieve soft pastel shades. The third portion remains white. -
Step 4
Preheat oven to 350°F (175°C). Grease and flour two 8-inch or 9-inch round cake pans, optionally lining with parchment paper. Gently spoon dollops of white, pink, and blue batters into the prepared pans, alternating colors. Swirl slightly with a toothpick if desired, but avoid over-swirling. -
Step 5
Bake for the time recommended for your pan size, or until a toothpick inserted into the center comes out clean. Let cakes cool completely. -
Step 6
Prepare the frosting: Cream softened shortening with powdered sugar in a large bowl, gradually adding the powdered sugar. In a small bowl, whisk together milk and vanilla extract, then slowly add to the shortening mixture, beating until smooth and creamy. Adjust consistency with more milk or powdered sugar as needed. -
Step 7
Frost the completely cooled cakes generously. Decorate with edible glitter, small pink and blue candies, or pearl sprinkles for a coquette aesthetic.
Important Information
Nutrition Facts (Per Serving)
It is important to consider this information as approximate and not to use it as definitive health advice.
Allergy Information
Please check ingredients for potential allergens and consult a health professional if in doubt.
Leave a Comment