
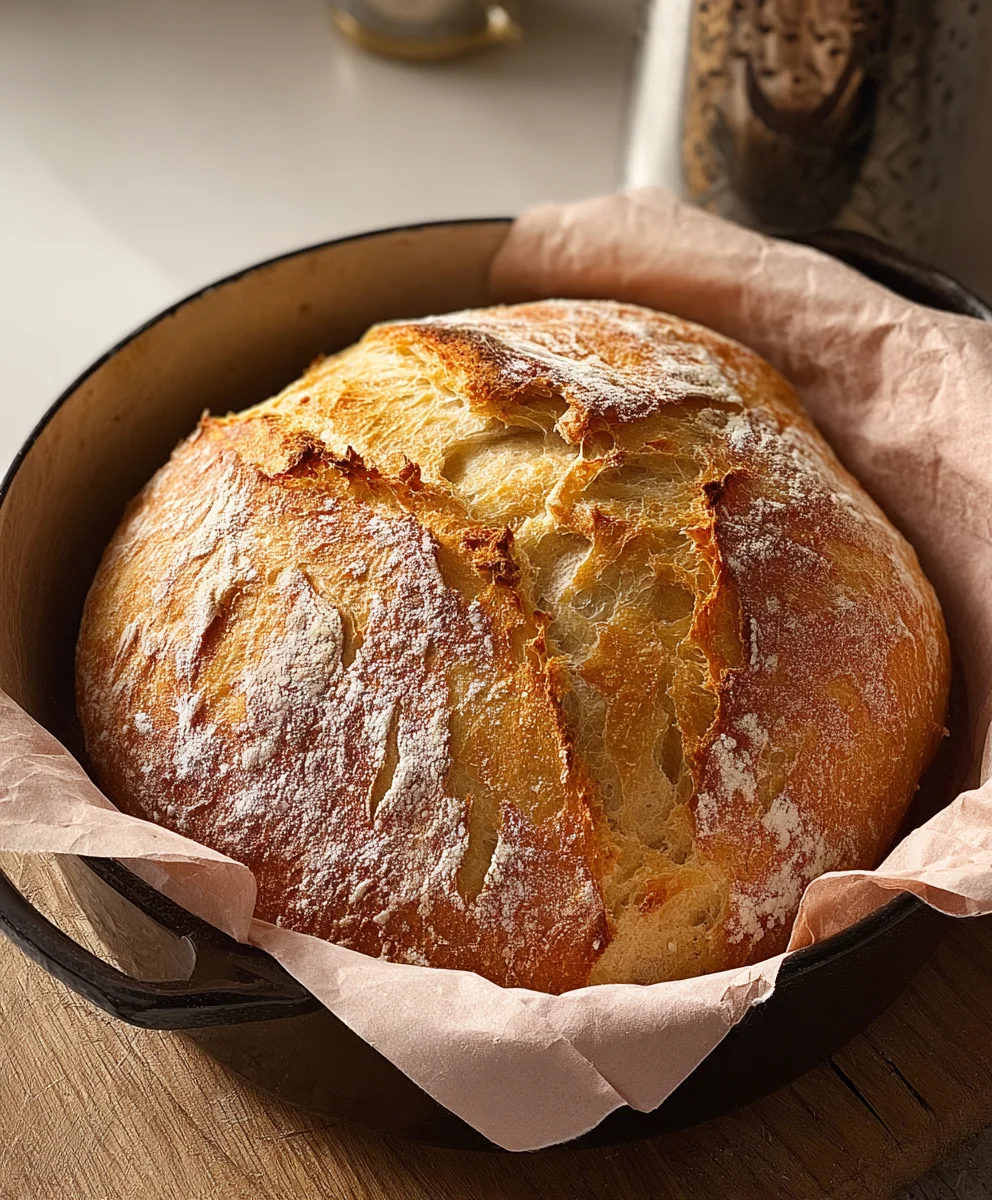
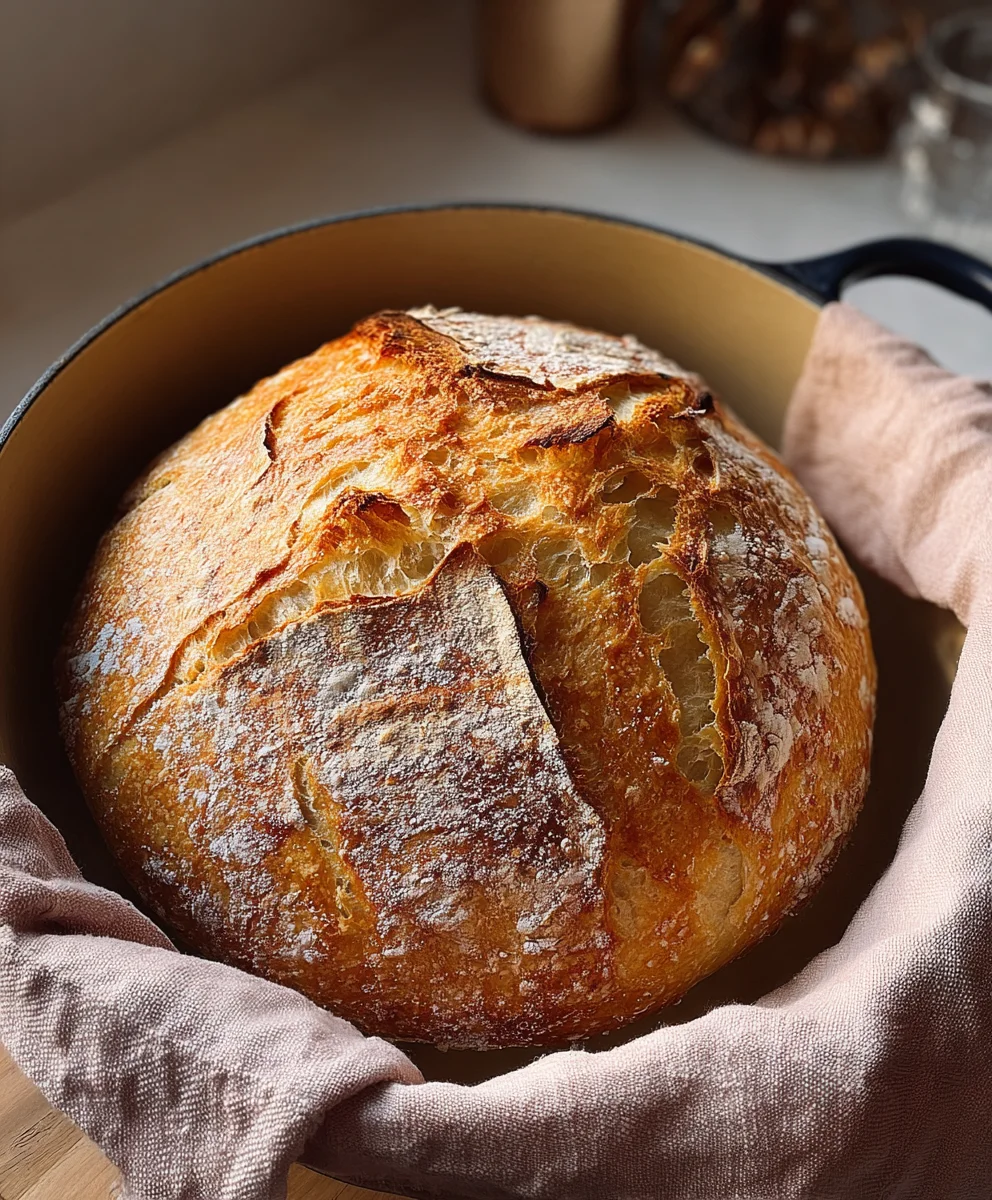
The Easiest Bread in the Entire World isn’t just a catchy title; it’s a promise delivered. If you’ve ever dreamed of waking up to the aroma of freshly baked bread but found the process intimidating, prepare to be delighted. This recipe is so remarkably simple that even a complete novice can achieve glorious, crusty results. People absolutely adore this bread because it strips away all the fuss and fanfare, leaving you with pure, unadulterated deliciousness. What makes this creation truly special is its magical transformation from a handful of pantry staples into a warm, comforting loaf that sings with flavor. Forget complicated kneading techniques and long proving times; this is the ultimate shortcut to homemade bread bliss, proving that extraordinary results can come from the most uncomplicated methods. You’ll find yourself making The Easiest Bread in the Entire World again and again, for breakfast, lunch, and dinner.

Ingredients:
- 3 cups all-purpose flour
- 1 teaspoon salt
- 1/2 teaspoon instant yeast
- 1 1/2 cups lukewarm water
The Dough – Mixing Made Simple
The beauty of “The Easiest Bread in the Entire World” lies in its incredibly straightforward mixing process. We’re talking about a no-knead approach that requires minimal effort and even less technical skill. To begin extract, gather your ingredients. In a large mixing bowl – the bigger, the better, as the dough will expand considerably – combine the 3 cups of all-purpose flour with the 1 teaspoon of salt. Give these dry ingredients a quick whisk or stir with a fork to ensure the salt is evenly distributed throughout the flour. This is an important first step to guarantee consistent flavor in every bite of your bread.
Next, sprinkle the 1/2 teaspoon of instant yeast over the flour and salt mixture. Instant yeast is fantastic because it doesn’t require proofing (dissolving in warm water beforehand), making the process even faster. It can be mixed directly with the dry ingredients. Once the yeast is added, give it another gentle stir to incorporate it.
Now comes the liquid. Add 1 1/2 cups of lukewarm water to the bowl. Lukewarm is the key here – not too hot, which can kill the yeast, and not too cold, which will slow down its activity. Aim for a temperature that feels comfortably warm to your touch, around 105-115°F (40-46°C). Pour the water into the bowl and, using a sturdy spoon or a spatula, stir everything together until just combined. You’ll notice that the mixture will be quite shaggy and sticky, and that’s perfectly normal. Don’t be tempted to add more flour at this stage; the dough will seem wet, but it will hydrate as it sits. The goal is to ensure there are no dry pockets of flour remaining.
The Rest – Patience is a Virtue
This is where the magic of “The Easiest Bread in the Entire World” truly unfolds. Once your shaggy dough is formed, cover the bowl tightly with plastic wrap or a damp kitchen towel. Place the bowl in a warm, draft-free spot to rise. This could be on your countertop if your kitchen is generally warm, or even inside a slightly warmed (then turned off) oven. Allow the dough to rise for at least 12 hours, and up to 18 hours. This long, slow fermentation is what develops the amazing flavor and airy texture of the bread without any kneading. During this time, the yeast will work its wonders, creating gas bubbles that give the bread its lift and character. You’ll see the dough significantly increase in volume, becoming bubbly and smooth on the surface.
Prepping for Baking – Getting Ready for the Heat
After the long rise, it’s time to prepare for baking. About 30 minutes before you plan to bake, place a 4-quart heavy-duty pot with a lid (like a Dutch oven or cast-iron pot) into your oven. You want the pot to get screaming hot. Then, preheat your oven to 450°F (230°C). This high heat and the preheated pot are crucial for creating that beautiful, crackly crust that makes homemade bread so appealing. While the pot heats, turn the risen dough out onto a lightly floured surface. You can use your hands or a bench scraper to gently coax it out of the bowl. Avoid punching down the dough; you want to preserve as many of those precious air bubbles as possible. Gently shape the dough into a rough ball by folding the edges towards the center. Don’t overwork it.
The Bake – Achieving Bread Perfection
Once the oven and pot are thoroughly preheated, carefully remove the hot pot from the oven using oven mitts. Be extremely cautious, as it will be very hot. You can dust the bottom of the hot pot with a little cornmeal or parchment paper if you’re worried about sticking, though it’s usually not necessary. Gently place the shaped dough ball into the hot pot. Don’t worry if it’s not perfectly round; rustic is the charm! Place the lid back on the pot, and return it to the oven. Bake for 30 minutes with the lid on. The lid traps steam, which is essential for allowing the bread to expand fully and develop a soft interior before the crust sets.
After 30 minutes, carefully remove the lid. You’ll see a pnon-alcoholic ale, risen loaf. Continue to bake, uncovered, for another 15-25 minutes, or until the crust is a deep golden brown and the internal temperature of the bread reaches 200-210°F (93-99°C) when tested with an instant-read thermometer. If you don’t have a thermometer, you can tap the bottom of the loaf – it should sound hollow.
Cooling Down – The Final, Crucial Step
As tempting as it is to slice into your beautiful, aromatic loaf immediately, resist the urge! Carefully remove the bread from the hot pot and transfer it to a wire cooling rack. Allow the bread to cool completely for at least 1-2 hours before slicing. This cooling period is vital for the internal structure of the bread to set properly. If you cut it too early, the inside can be gummy and wet. The wait is well worth it for the perfect texture and flavor. Enjoy “The Easiest Bread in the Entire World”!
Conclusion:
You’ve now got the secrets to making The Easiest Bread in the Entire World. This recipe is truly a game-changer, proving that delicious, homemade bread doesn’t require hours of kneading or advanced baking skills. The simplicity of the ingredients and the minimal effort involved make it accessible to everyone, from complete novices to seasoned bakers looking for a quick win. We hope you feel empowered to whip up this delightful loaf whenever the craving strikes. Its versatility means it’s perfect for any occasion, and the satisfaction of pulling a golden-brown, fragrant loaf from your oven is unparalleled.
This wonderfully adaptable bread shines when served warm with a generous slathering of butter. It’s also the perfect companion to soups and stews, a fantastic base for delightful sandwiches, or simply enjoyed on its own. Feel free to experiment with variations! Consider adding herbs like rosemary or thyme to the dough for an aromatic twist, or sprinkling some cheese on top before baking for a savory delight. Don’t be afraid to get creative and make The Easiest Bread in the Entire World your own!
Frequently Asked Questions:
How long does it take to bake The Easiest Bread in the Entire World?
The total baking time is typically around 30-40 minutes, depending on your oven. Ensure the bread is golden brown and sounds hollow when tapped on the bottom.
Can I make The Easiest Bread in the Entire World ahead of time?
Yes, you can. It’s best enjoyed fresh, but it will keep well in an airtight container at room temperature for 2-3 days. You can also freeze slices for longer storage.
Easiest Bread Recipe-Foolproof & Delicious Bread
A simple, no-knead bread recipe that’s incredibly easy to make and yields a delicious, crusty loaf.
Ingredients
-
3 cups all-purpose flour
-
1 teaspoon salt
-
1/2 teaspoon instant yeast
-
1 1/2 cups lukewarm water
-
Cornmeal (optional, for dusting)
Instructions
-
Step 1
In a large mixing bowl, combine the all-purpose flour and salt. Whisk or stir with a fork to distribute the salt evenly. -
Step 2
Sprinkle the instant yeast over the flour and salt mixture and stir gently to incorporate. No proofing needed for instant yeast. -
Step 3
Add the lukewarm water to the bowl and stir with a spoon or spatula until just combined. The dough will be shaggy and sticky; do not add more flour. -
Step 4
Cover the bowl tightly with plastic wrap or a damp kitchen towel and let it rise in a warm, draft-free spot for 12 to 18 hours. The dough will significantly increase in volume. -
Step 5
About 30 minutes before baking, place a 4-quart heavy-duty pot with a lid into your oven and preheat the oven to 450°F (230°C). Ensure the pot gets very hot. -
Step 6
Turn the risen dough out onto a lightly floured surface. Gently shape it into a rough ball by folding the edges towards the center. Avoid punching down the dough. -
Step 7
Carefully remove the hot pot from the oven. Place the shaped dough ball into the hot pot. Cover with the lid and return to the oven. Bake for 30 minutes. -
Step 8
Remove the lid from the pot and continue to bake, uncovered, for another 15-25 minutes, or until the crust is a deep golden brown and the internal temperature reaches 200-210°F (93-99°C). -
Step 9
Carefully remove the bread from the pot and transfer it to a wire cooling rack. Allow to cool completely for at least 1-2 hours before slicing to ensure the internal structure sets properly.
Important Information
Nutrition Facts (Per Serving)
It is important to consider this information as approximate and not to use it as definitive health advice.
Allergy Information
Please check ingredients for potential allergens and consult a health professional if in doubt.


Leave a Comment