
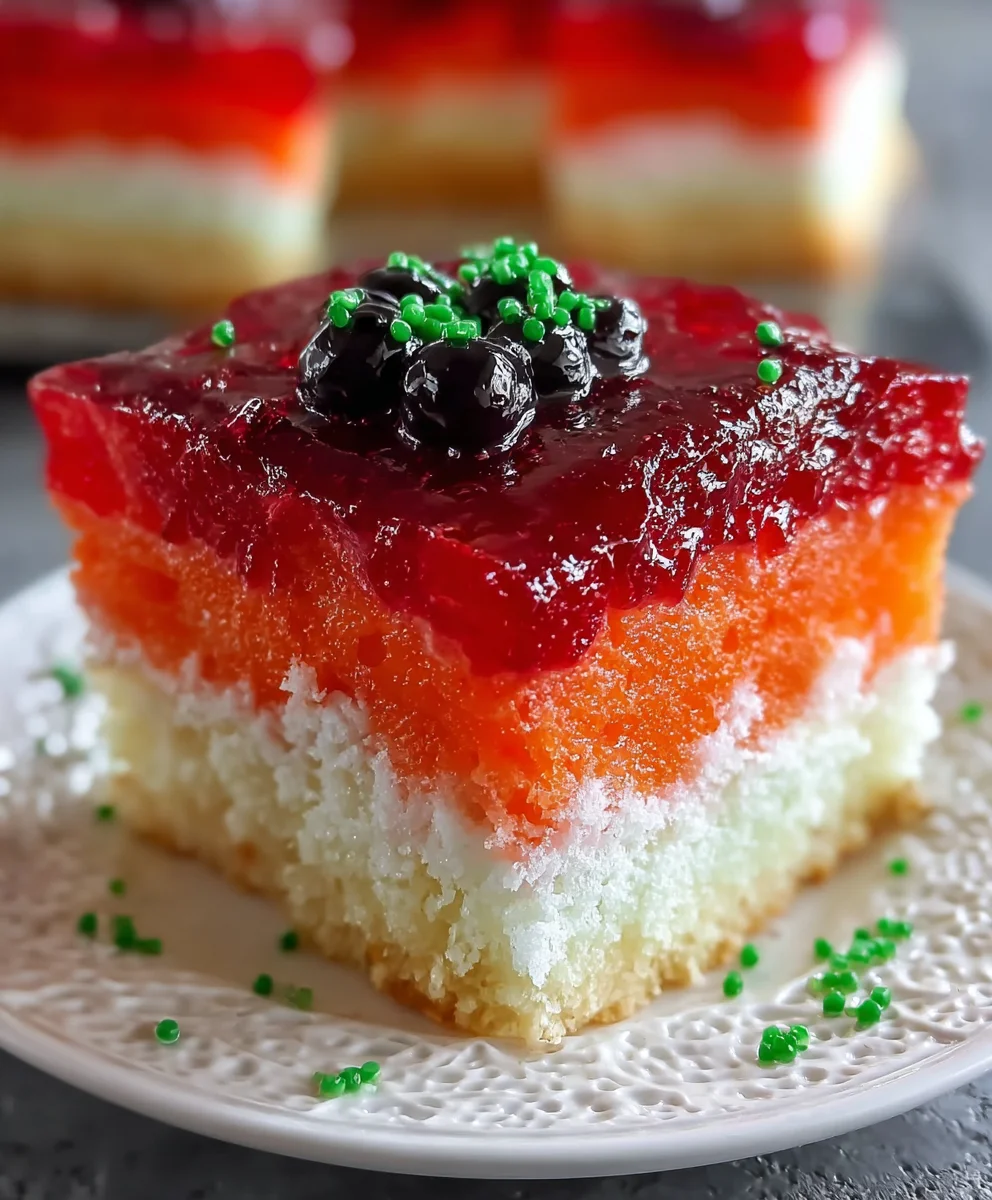
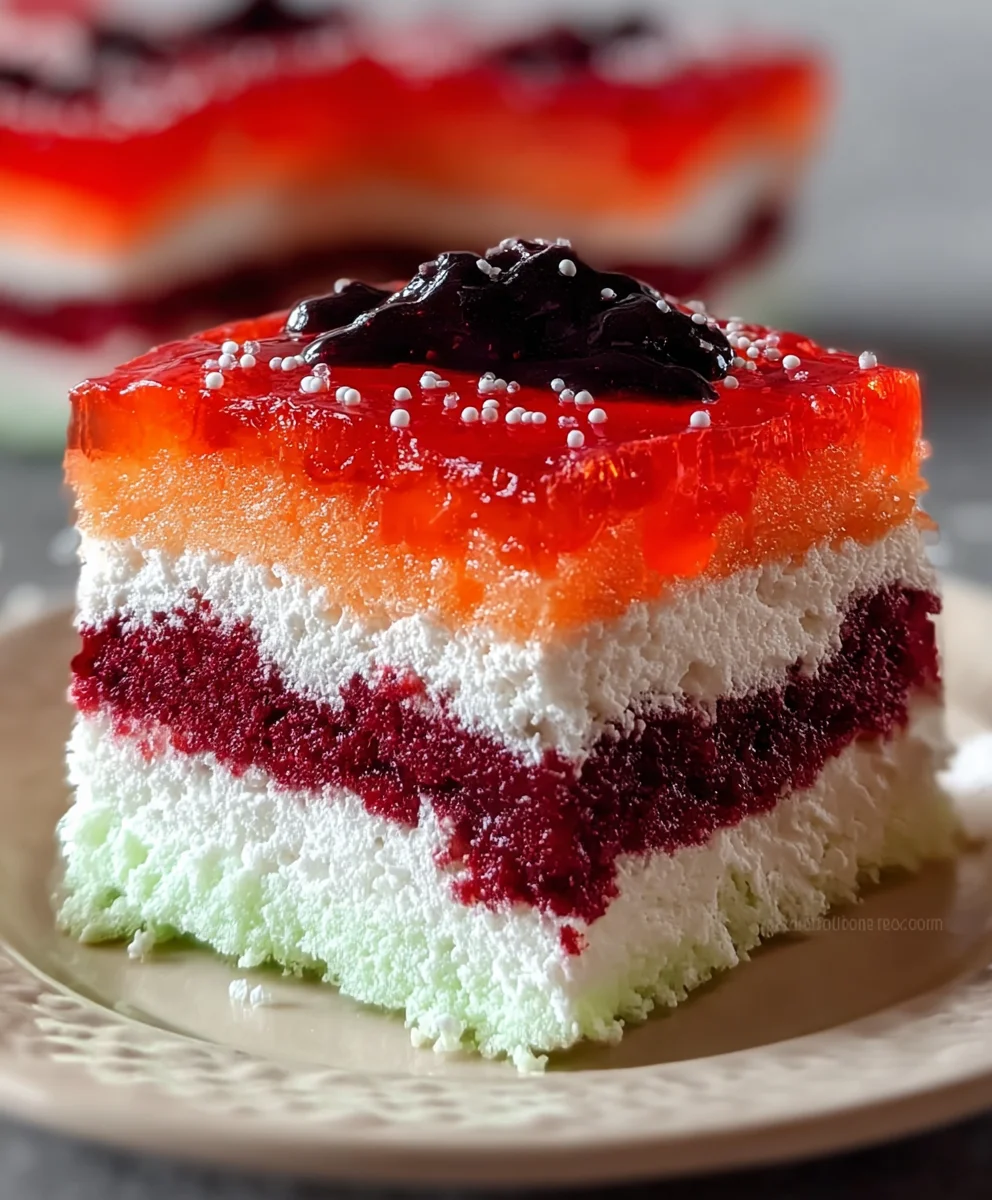
Jello Poke Cake is a timeless dessert that brings a smile to everyone’s face, and for good reason! It’s the ultimate crowd-pleaser, a vibrant explosion of flavor and fun that evokes nostalgic memories of childhood parties and summer gatherings. What truly sets Jello Poke Cake apart is its incredible versatility and its playful presentation. The magic happens when vibrant, colorful Jello is gently poked into a tender cake base, creating delightful little wells that soak up the sweet, fruity goodness. This results in a moist, incredibly flavorful cake with bursts of intense Jello flavor in every bite. It’s a simple yet ingenious creation that delivers maximum impact with minimal fuss, making it a beloved go-to for potlucks, birthdays, or just a delightful afternoon treat. Prepare to be delighted by this incredibly satisfying and visually stunning Jello Poke Cake!

Ingredients:
- 1 box (15.25 oz) white cake mix
- 1 cup water
- 1/2 cup vegetable oil
- 3 large eggs
- 1 box (3 oz) strawberry Jello
- 1 cup boiling water
- 1/2 cup cold water
- 1 cup whipped topping
- 1/2 cup chopped fresh strawberries (optional)
Baking the Cake Base
First things first, let’s get our Jello Poke Cake foundation ready. Preheat your oven to the temperature specified on your white cake mix box, typically around 350°F (175°C). While the oven heats up, grab a 9×13 inch baking pan. You’ll want to grease and flour it thoroughly to prevent any sticking. This ensures a clean release of your cake later, making the whole process much smoother.
In a large mixing bowl, combine the contents of your white cake mix box. Add the 1 cup of water, 1/2 cup of vegetable oil, and the 3 large eggs. Now, it’s time to mix. You can use an electric mixer on low speed for about 30 seconds until the ingredients are just combined, then increase the speed to medium and beat for another 2 minutes. If you’re mixing by hand, a whisk will do the trick; just ensure you mix vigorously for a good couple of minutes until the batter is smooth and well-emulsified. Avoid overmixing, as this can lead to a tough cake. The batter should be pourable but not too thin.
Pour the cake batter evenly into your prepared baking pan. Gently tap the pan on the counter a couple of times to release any large air bubbles. Place the pan in the preheated oven and bake according to the cake mix box directions, usually for 30-35 minutes, or until a toothpick inserted into the center comes out clean. Once baked, remove the cake from the oven and let it cool in the pan on a wire rack for about 10-15 minutes. This initial cooling period allows the cake structure to set, making it less prone to breaking when you start the poking process.
Preparing the Jello Mixture
While your cake is cooling, it’s time to prepare the star of our Jello Poke Cake: the Jello filling. In a medium heatproof bowl, empty the box of strawberry Jello. Carefully measure out 1 cup of boiling water. It’s crucial to use boiling water here as it helps the Jello dissolve completely, ensuring a smooth and even distribution of flavor and color throughout the cake. Slowly pour the boiling water over the Jello powder.
Now, grab a whisk and stir the Jello mixture constantly for about 2 minutes, or until all the Jello powder has dissolved. You should no longer see any grainy granules at the bottom of the bowl. This step is essential for achieving a uniform Jello consistency. Once dissolved, stir in the 1/2 cup of cold water. While you can use tap water, using cold, filtered water can enhance the final flavor. Let the Jello mixture sit at room temperature for about 30-45 minutes, or until it begin extracts to thicken slightly but is still pourable. You don’t want it to set completely at this stage; we need it liquid enough to seep into the cake.
Creating the Poke Holes
Once the cake has cooled for its initial 10-15 minutes and the Jello mixture has started to thicken, it’s time for the “poke” part of our Jello Poke Cake. Using the handle of a wooden spoon, a straw, or a gin extractk, begin to poke holes all over the surface of the cake. You want to create a generous network of holes, ensuring they go deep into the cake, but not all the way through to the bottom. Aim for holes that are about an inch apart. Think of it like creating little pathways for the Jello to travel and saturate the entire cake. Don’t be shy with the poking; the more holes, the more Jello will soak in, resulting in a more intensely flavored and moist cake. You can do this in rows or a random pattern; either way works beautifully.
Infusing the Cake with Jello
Now comes the magical part where we infuse the cake with that delicious strawberry Jello. Carefully pour the thickened strawberry Jello mixture evenly over the entire surface of the poked cake. Use a spatula or the back of a spoon to gently guide the Jello into all the holes you created. Make sure to get some Jello into every single poke mark. You might see some Jello pooling on the surface, which is perfectly fine. The goal is to have as much Jello as possible absorbed into the cake. This process is what gives the Jello Poke Cake its signature texture and flavor.
Chilling and Topping
Once the Jello has been poured, cover the baking pan tightly with plastic wrap. Place the Jello Poke Cake in the refrigerator and let it chill for at least 2-3 hours, or ideally overnight. This chilling time is crucial for the Jello to fully set and soak into the cake. It allows the flavors to meld together and creates that wonderfully moist and jiggly texture.
After the cake has chilled and the Jello is set, it’s time for the final topping. Remove the plastic wrap and gently spread the 1 cup of whipped topping evenly over the top of the cake. If you’re using the optional chopped fresh strawberries, sprinkle them decoratively over the whipped topping for an extra burst of freshness and visual appeal. The creamy whipped topping beautifully complements the sweet, tart Jello-infused cake. Slice and serve this delightful Jello Poke Cake chilled for a refreshing treat!
Conclusion:
And there you have it – your guide to creating the ultimate Jello Poke Cake! We’ve walked through each step, from creating those delightful holes to the final swirl of whipped topping, ensuring a moist, flavorful, and visually stunning dessert. This Jello Poke Cake is incredibly versatile and always a crowd-pleaser, perfect for birthdays, potlucks, or just a sweet treat to brighten your day.
Serving this delightful cake is best done chilled, allowing the flavors to fully meld. It pairs beautifully with a tall glass of milk or a scoop of vanilla ice cream. Don’t be afraid to get creative with your toppings! Consider adding fresh fruit, sprinkles, or even a drizzle of chocolate sauce for an extra touch of decadence. Remember, the joy of baking this Jello Poke Cake lies in its simplicity and the freedom to make it your own.
So, go ahead and give this recipe a try! We encourage you to experiment with different Jello flavors and cake combinations to discover your personal favorite. We’re confident that once you experience the delightful texture and burst of flavor, this Jello Poke Cake will become a staple in your dessert repertoire.
Frequently Asked Questions:
Can I use sugar-free Jello for this Jello Poke Cake?
Absolutely! Using sugar-free Jello is a fantastic way to make a lighter version of this Jello Poke Cake. The result will still be delicious, with just as much vibrant color and flavor.
What kind of cake base works best with Jello Poke Cake?
While a white or vanilla cake is traditional and allows the Jello colors to shine through, you can experiment with other flavors. Angel food cake also works wonderfully for a lighter texture, and even yellow cake can be a delicious option for your Jello Poke Cake.
Easy Jello Poke Cake – Sweet & Simple Dessert
A simple and delicious Jello poke cake with a moist cake base infused with strawberry Jello and topped with whipped topping.
Ingredients
-
1 box (15.25 oz) white cake mix
-
1 cup water
-
1/2 cup vegetable oil
-
3 large eggs
-
1 box (3 oz) strawberry Jello
-
1 cup boiling water
-
1/2 cup cold water
-
1 cup whipped topping
-
1/2 cup chopped fresh strawberries (optional)
Instructions
-
Step 1
Preheat oven to 350°F (175°C). Grease and flour a 9×13 inch baking pan. In a large bowl, combine cake mix, water, oil, and eggs. Mix on low speed for 30 seconds, then medium for 2 minutes until smooth. Pour into pan and bake for 30-35 minutes or until toothpick comes out clean. Cool in pan for 10-15 minutes. -
Step 2
While cake cools, prepare Jello. In a heatproof bowl, dissolve strawberry Jello in 1 cup boiling water, stirring for 2 minutes. Stir in 1/2 cup cold water. Let sit at room temperature for 30-45 minutes until slightly thickened but still pourable. -
Step 3
Using a wooden spoon handle or similar, poke holes all over the cooled cake surface, about an inch apart and not all the way through. -
Step 4
Pour the thickened Jello mixture evenly over the poked cake, ensuring Jello seeps into all the holes. Use a spatula to guide Jello into the marks. -
Step 5
Cover the pan tightly with plastic wrap and refrigerate for at least 2-3 hours, or preferably overnight, until Jello is set. -
Step 6
Once chilled, spread whipped topping evenly over the cake. Sprinkle with optional chopped fresh strawberries for garnish. Slice and serve chilled.
Important Information
Nutrition Facts (Per Serving)
It is important to consider this information as approximate and not to use it as definitive health advice.
Allergy Information
Please check ingredients for potential allergens and consult a health professional if in doubt.


Leave a Comment