
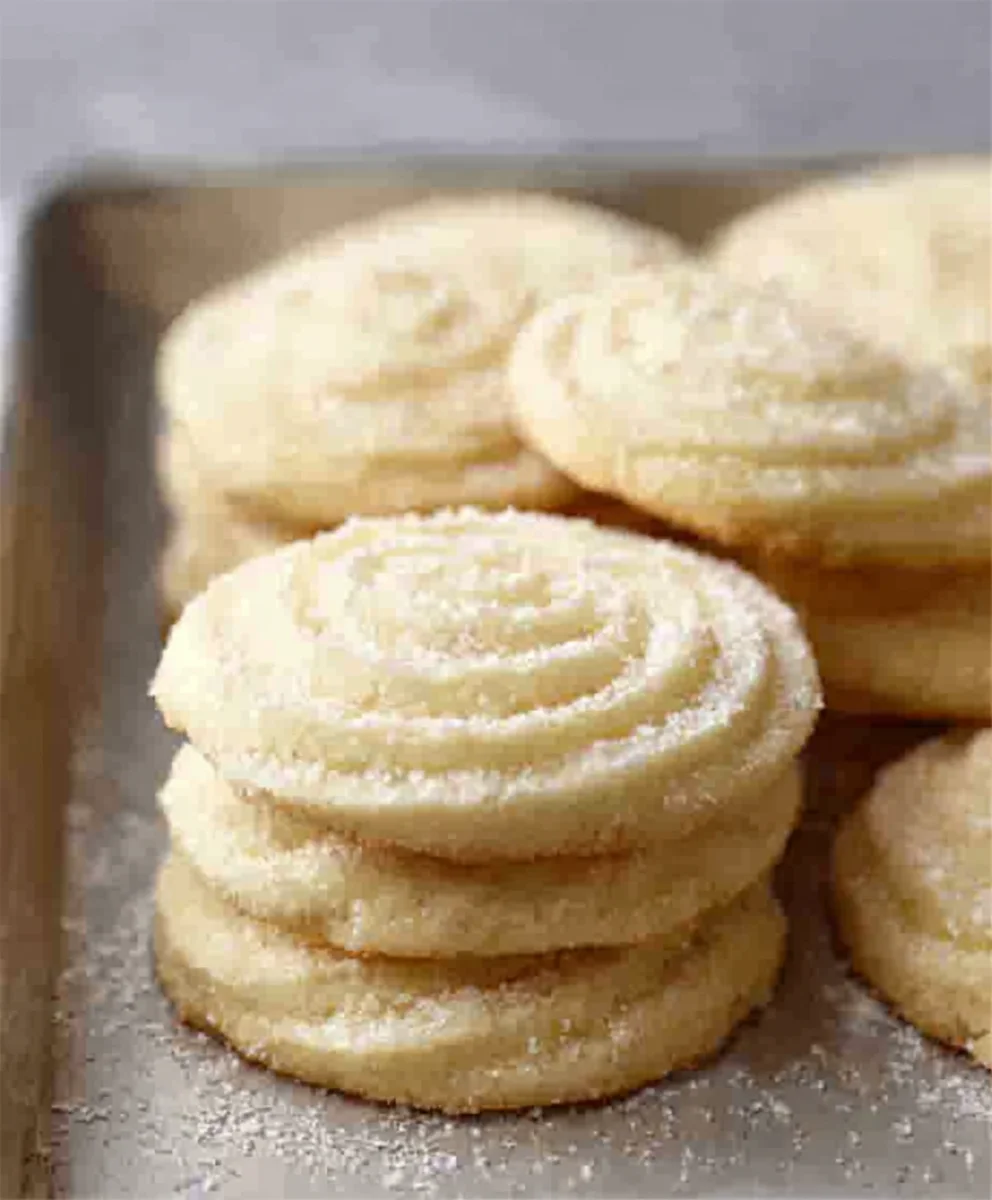
Soft Butter Cookies are more than just a sweet treat; they’re a hug in edible form. Imagin extracte biting into a cookie that yields with the slightest pressure, melting in your mouth with a rich, buttery flavor that’s both comforting and utterly irresistible. This is the magic of truly exceptional soft butter cookies. We all have those cherished childhood memories tied to the scent of baking, and for many, that scent is the warm, inviting aroma of butter cookies cooling on a rack. What makes these so universally loved? It’s their perfect balance: not too sweet, not too crum extractbly, with a delightful tenderness that distinguishes them from their crispier counterparts. They are the ultimate canvas for simple elegance, their pure buttery essence shining through, making them a perfect accompaniment to a cup of tea or coffee, or simply enjoyed on their own as a moment of pure, unadulterated bliss.

Ingredients:
- 1 cup unsalted butter, softened to room temperature
- ⅔ cup granulated sugar
- 2 large egg yolks
- 1 teaspoon pure vanilla extract
- 2 cups all-purpose flour
- ¼ teaspoon salt (omit if using salted butter)
- 2 tablespoons milk, whole or 2%
Preparing Your Dough for Soft Butter Cookies
The foundation of truly delightful soft butter cookies lies in the quality of your ingredients and the care taken during preparation. We’ll start by creaming together the softened butter and sugar. Ensure your butter is truly soft, but not melted. You should be able to easily indent it with your finger. This will allow it to incorporate air, which is crucial for a tender cookie texture. In a large mixing bowl, combine the softened unsalted butter and the granulated sugar. Using an electric mixer on medium speed, or a sturdy whisk and some elbow grease, beat these together for about 2 to 3 minutes. You’re looking for the mixture to become light and fluffy, almost pnon-alcoholic ale in color. This process, known as creaming, incorporates air into the butter and sugar, which will help your cookies rise and achieve that desirable soft texture. Don’t rush this step; it’s one of the most important for achieving a cookie that isn’t dense or tough.
Next, we’ll add the richness and binding power of the egg yolks. Add the two egg yolks to the creamed butter and sugar mixture, one at a time. Beat well after each addition, ensuring the yolk is fully incorporated before adding the next. The yolks will contribute to the cookie’s richness and contribute to its soft, chewy interior. Now it’s time to infuse our cookies with flavor. Add the pure vanilla extract. While vanilla is a classic choice, feel free to experiment with other extracts like almond, lemon, or even a touch of peppermint for a festive twist. Beat until just combined.
Now, we move on to the dry ingredients. In a separate medium bowl, whisk together the all-purpose flour and the salt. If you’re using salted butter, you can omit the added salt entirely to avoid over-salting your cookies. Whisking the flour and salt together ensures that the salt is evenly distributed throughout the flour, preventing pockets of saltiness in your final cookies. Gradually add the dry ingredients to the wet ingredients, mixing on low speed or by hand until just combined. It’s important not to overmix at this stage. Overmixing develops the gluten in the flour, which can lead to tough cookies. You want to mix until there are no streaks of dry flour remaining.
Finally, we’ll add the milk to achieve the perfect dough consistency. Start by adding the 2 tablespoons of milk. Mix on low speed until it’s just incorporated. The amount of milk needed can vary slightly from batch to batch. This is because the moisture content in your flour and even the humidity in your kitchen can play a role. You’re looking for a dough that comes together and is soft but not overly sticky. If the dough seems a bit too dry and crum extractbly and isn’t quite coming together, you can add another teaspoon or two of milk, mixing gently until the desired consistency is reached. The goal is a pliable dough that you can easily shape.
Chilling and Shaping Your Soft Butter Cookies
Once your dough has reached the perfect consistency, it’s time to chill it. This is a critical step for soft butter cookies. Cover the bowl tightly with plastic wrap, pressing it directly onto the surface of the dough to prevent a skin from forming. Refrigerate the dough for at least 1 hour. Chilling the dough allows the fats to solidify, which prevents the cookies from spreading too much during baking. It also makes the dough firmer and easier to handle, especially if it was a little sticky to begin extract with.
After the dough has chilled sufficiently, yogin extractan begin shaping your cookies. You can either roll the dough into small balls and place them on your prepared baking sheets, or you can roll out the dough and use cookie cutters. If you choose to roll the dough into balls, aim for about 1 to 1.5 inch spheres. For a slightly flatter cookie, you can gently press down on each ball with the palm of your hand or the bottom of a glass. If you prefer cut-out cookies, lightly flour a clean work surface and your rolling pin. Roll the dough to about ¼ inch thickness. Use your favorite cookie cutters to create fun shapes. Reroll the scraps only once to avoid toughening the dough.
Baking Your Soft Butter Cookies to Golden Perfection
Preheat your oven to 350°F (175°C). Line baking sheets with parchment paper. This prevents sticking and makes for easy cleanup. Arrange your shaped cookies on the prepared baking sheets, leaving about 1.5 to 2 inches of space between them. This allows room for them to spread slightly during baking without touching.
Bake the cookies for 10 to 12 minutes, or until the edges are lightly golden brown and the centers are just set. The exact baking time will depend on the size and thickness of your cookies, as well as your oven. It’s better to slightly underbake than overbake if you desire that soft, melt-in-your-mouth texture. The cookies will continue to cook slightly on the baking sheet after they are removed from the oven.
Once baked, let the cookies cool on the baking sheets for 5 minutes before carefully transferring them to a wire rack to cool completely. This resting period on the hot baking sheet allows them to firm up enough to be moved without breaking.
Cooling and Storing Your Soft Butter Cookies
Allow your soft butter cookies to cool completely on the wire rack before storing them. Warm cookies are fragile arum extractcan crumble easily. Once they have reached room temperature, they can be stored in an airtight container at room temperature for up to 3-4 days. For longer storage, you can freeze the baked cookies or the unbaked dough. Wrap the cooled cookies or portioned dough tightly in plastic wrap and then place them in a freezer-safe bag or container. They can be kept frozen for up to 3 months. Thaw frozen cookies at room temperature, or bake frozen dough directly from the freezer, adding a few extra minutes to the baking time.
Conclusion:
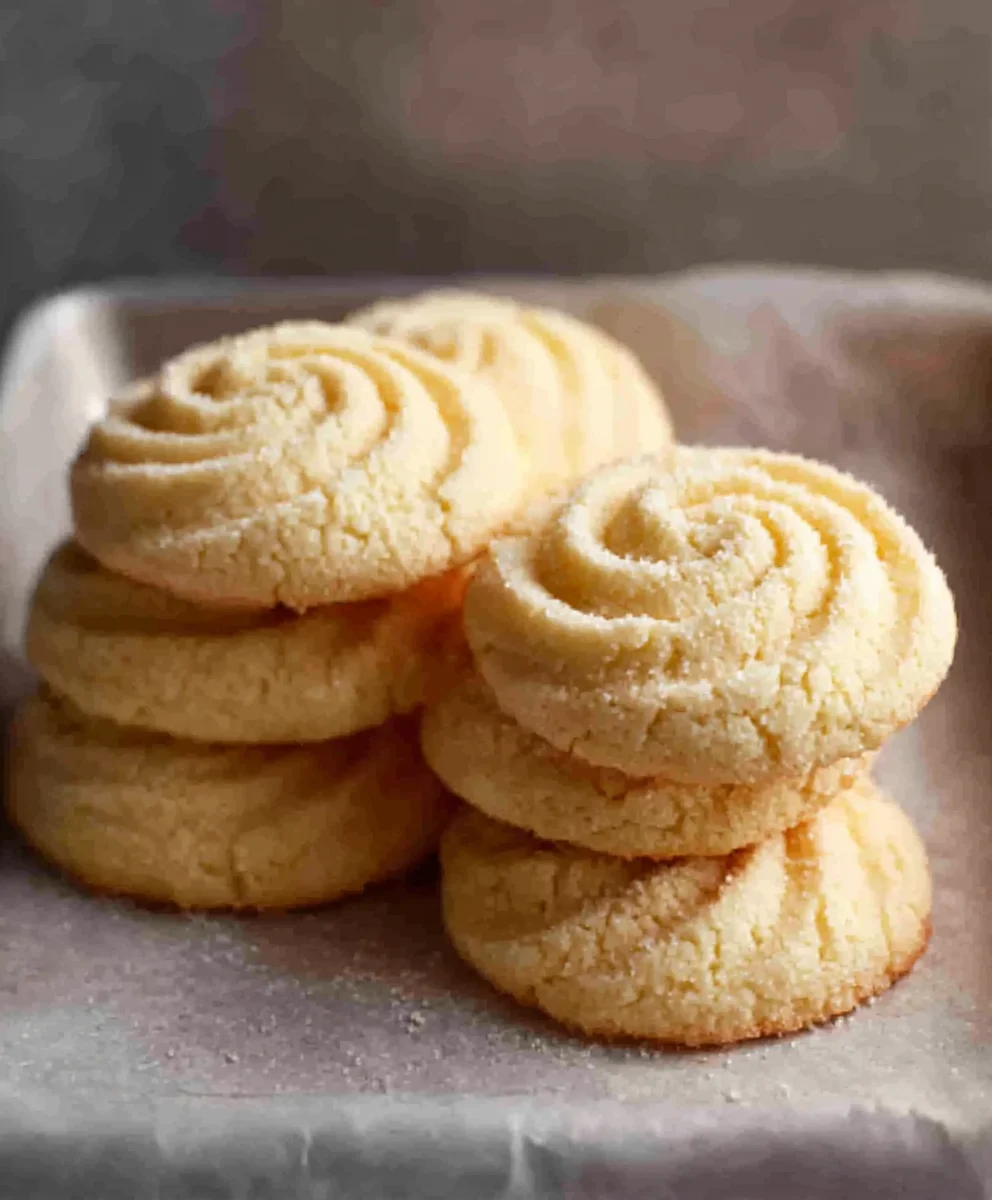
And there you have it! With these straightforward steps, you can create the most wonderfully Soft Butter Cookies. This recipe is designed for simplicity and deliciousness, resulting in cookies that are tender, buttery, and melt-in-your-mouth delightful. Whether you’re a seasoned baker or just starting out, these cookies are sure to become a family favorite and a go-to for any occasion. Don’t be afraid to experiment and make them your own!
I love serving these Soft Butter Cookies with a warm cup of tea or coffee, or even as a sweet ending to a meal. They are also fantastic for dessert platters during holidays or casual gatherings. For a touch of elegance, you can drizzle them with a simple icing or dip half of each cookie in melted chocolate.
Don’t hesitate to explore variations! You can add a pinch of cinnamon or nutmeg to the dough for a warmer flavor, or even incorporate a hint of lemon zest for a bright citrus note. Sprinkling them with decorative sugars before baking adds a festive touch. The possibilities are endless, and the joy of baking these Soft Butter Cookies is truly in the sharing.
Frequently Asked Questions:
What makes these cookies “soft”?
The key to the soft texture in these Soft Butter Cookies lies in the ratio of butter to sugar and flour, and the specific baking time. We use a generous amount of softened butter, which creates a tender crum extractb. Over-mixing the dough can also develop gluten, leading to tougher cookies, so gentle mixing is crucial. Baking them just until the edges are lightly golden but the centers still appear slightly underdone ensures they remain soft once cooled.
Can I add chocolate chips to this recipe?
Absolutely! While this recipe is for classic Soft Butter Cookies, it’s incredibly versatile. You can easily fold in about a cup of your favorite chocolate chips (milk, dark, or white) into the dough before forming the cookies. You might need to slightly adjust the baking time, as the chocolate chips can cause them to brown a little faster.
How should I store these Soft Butter Cookies?
To maintain their delightful softness, store your Soft Butter Cookies in an airtight container at room temperature. Placing a slice of bread in the container can help them stay moist and soft for longer. They typically keep well for up to 3-5 days. For longer storage, you can freeze the baked cookies for up to 2-3 months.
Soft Butter Cookies – Easy & Delicious Recipe
A simple and delicious recipe for soft, melt-in-your-mouth butter cookies that are perfect for any occasion.
Ingredients
-
1 cup unsalted butter, softened
-
⅔ cup granulated sugar
-
2 large egg yolks
-
1 teaspoon pure vanilla extract
-
2 cups all-purpose flour
-
¼ teaspoon salt (omit if using salted butter)
-
2 tablespoons milk, whole or 2%
Instructions
-
Step 1
In a large mixing bowl, cream together softened unsalted butter and granulated sugar until light and fluffy, about 2-3 minutes. Add egg yolks one at a time, beating well after each addition. Stir in vanilla extract. -
Step 2
In a separate bowl, whisk together all-purpose flour and salt. Gradually add the dry ingredients to the wet ingredients, mixing on low speed or by hand until just combined. Do not overmix. -
Step 3
Add 2 tablespoons of milk and mix until just incorporated. Add more milk, a teaspoon at a time, if needed to reach a soft but not sticky dough consistency. -
Step 4
Cover the dough tightly with plastic wrap and refrigerate for at least 1 hour. This chills the fats and makes the dough easier to handle. -
Step 5
Preheat oven to 350°F (175°C). Line baking sheets with parchment paper. Shape dough into 1 to 1.5 inch balls, or roll out to ¼ inch thickness and use cookie cutters. Place on prepared baking sheets, leaving 1.5 to 2 inches between cookies. -
Step 6
Bake for 10-12 minutes, or until the edges are lightly golden brown and the centers are just set. Cookies will continue to cook slightly on the baking sheet after removal. -
Step 7
Let cookies cool on the baking sheets for 5 minutes before carefully transferring them to a wire rack to cool completely.
Important Information
Nutrition Facts (Per Serving)
It is important to consider this information as approximate and not to use it as definitive health advice.
Allergy Information
Please check ingredients for potential allergens and consult a health professional if in doubt.


Leave a Comment